
The Em Scale on Guitar: Every Position, Explained
The E minor (Em) scale on guitar: every note, the open-position and movable box shapes, the chords it builds, and why it isn't ringing clean yet.

The E minor scale on guitar, often written as the Em scale, is seven notes: E, F#, G, A, B, C, and D. You can play a full run of it in open position using your first three fingers plus your pinky across the first four frets, starting from the open 6th string (low E), or you can play a movable box shape one octave up, starting at the 12th fret. Both get you playing the scale within a few minutes. What takes longer, and what this post actually covers, is making it sound like music instead of an exercise.
The Notes in the E Minor Scale
E natural minor is built from a fixed pattern of whole steps (two frets) and half steps (one fret): whole, half, whole, whole, half, whole, whole. Starting on E and following that pattern gives you every note in the scale.
| Degree | Note | Interval from E |
|---|---|---|
| 1 (root) | E | Start |
| 2 | F# | Major 2nd |
| b3 | G | Minor 3rd |
| 4 | A | Perfect 4th |
| 5 | B | Perfect 5th |
| b6 | C | Minor 6th |
| b7 | D | Minor 7th |
| 1 (octave) | E | Octave |
One note in that list carries a sharp: F#. That single sharp is the whole key signature, E minor shares it note for note with G major, and it is worth naming up front because it changes how the open-position shape sits under your hand compared with a scale like A minor that uses no sharps or flats at all.
Compare this to the E minor pentatonic scale, which most players learn even earlier, often before they learn any other scale on the instrument. Pentatonic strips out the 2nd (F#) and the 6th (C) and keeps the other five notes. The scale in this post is the complete, seven-note version those five notes were taken from.
Why E Minor Has One Sharp (and A Minor Doesn't)
If you have already learned the A minor scale, the open-position shape here will feel a little different under your hand, and the reason is that single F#. A minor's seven notes fit entirely inside the first three frets of the neck because none of them are sharp or flat. E minor's do not: reaching F# on the 4th string (D) and the 3rd string (G) means going out to the 4th fret, which is exactly the fret your pinky is built for.
That is not a complication to work around, it is simply what this particular key asks of your hand. Every key on guitar has some note that will not sit conveniently under your first three fingers, and E minor's is F#. Once you know that going in, the 4th-fret stretch stops feeling like a mistake and starts feeling like the one deliberate reach in an otherwise easy shape.
Why Guitarists Reach for E Minor So Often
Two things make E minor one of the most commonly played minor keys on guitar, right alongside A minor. First, its root note, E, sits on the open 6th string and the open 1st string simultaneously, the two strings you are already tuning to on every single guitar in standard tuning (E-A-D-G-B-E, low to high). You never have to hunt for home, it is the two outer strings of the instrument, open. Second, E minor's relative major is G major, one of the first open chord shapes most beginners learn, so the scale and a familiar chord vocabulary develop side by side.
There is a third reason specific to electric guitar: because the root sits on the open low E string, E minor lets you combine an open, ringing bass note with fretted notes higher up without ever muting the string you are resting on. That is part of why so much rock, metal, and blues material lives in this key, the open low string does double duty as a drone and as the tonic of the scale at the same time.
The E Minor Scale in Open Position
The clearest starting point is a one-octave run built entirely from the open 6th, 5th, and 4th strings, using only the first three frets. Every note here is within easy reach without moving your hand.
| String | Fret | Note | Finger |
|---|---|---|---|
| 6 (low E) | Open | E | - |
| 6 (low E) | 2 | F# | 2 |
| 6 (low E) | 3 | G | 3 |
| 5 (A) | Open | A | - |
| 5 (A) | 2 | B | 2 |
| 5 (A) | 3 | C | 3 |
| 4 (D) | Open | D | - |
| 4 (D) | 2 | E | 2 |
Play that in order, low to high, and you have gone from E up to E, a full octave of the natural minor scale, without your hand ever leaving position. Then play it backward from the top E down to the open 6th string to hear the same scale in reverse. Both directions matter. Most players over-practice ascending and then freeze the first time a descending line shows up in a song.
The Fuller Open Position Version
The one-octave shape above is the fastest way in, but open position holds more of the scale than that. Extend up through the 3rd, 2nd, and 1st strings, staying within the first four frets the whole time, and you get more than two octaves without a single position shift.
| String | Fret | Note |
|---|---|---|
| 6 (low E) | Open | E |
| 6 (low E) | 2 | F# |
| 6 (low E) | 3 | G |
| 5 (A) | Open | A |
| 5 (A) | 2 | B |
| 5 (A) | 3 | C |
| 4 (D) | Open | D |
| 4 (D) | 2 | E |
| 4 (D) | 4 | F# |
| 3 (G) | Open | G |
| 3 (G) | 2 | A |
| 3 (G) | 4 | B |
| 2 (B) | Open | B |
| 2 (B) | 1 | C |
| 2 (B) | 3 | D |
| 1 (high E) | Open | E |
| 1 (high E) | 2 | F# |
| 1 (high E) | 3 | G |
Notice the two 4th-fret notes, the F# on the 4th string and the B on the 3rd string. Those are the reaches that A minor's open position never asks for. Everywhere else in this shape, the fretting logic is identical to A minor's: open strings and low frets, nothing further than the 3rd fret.
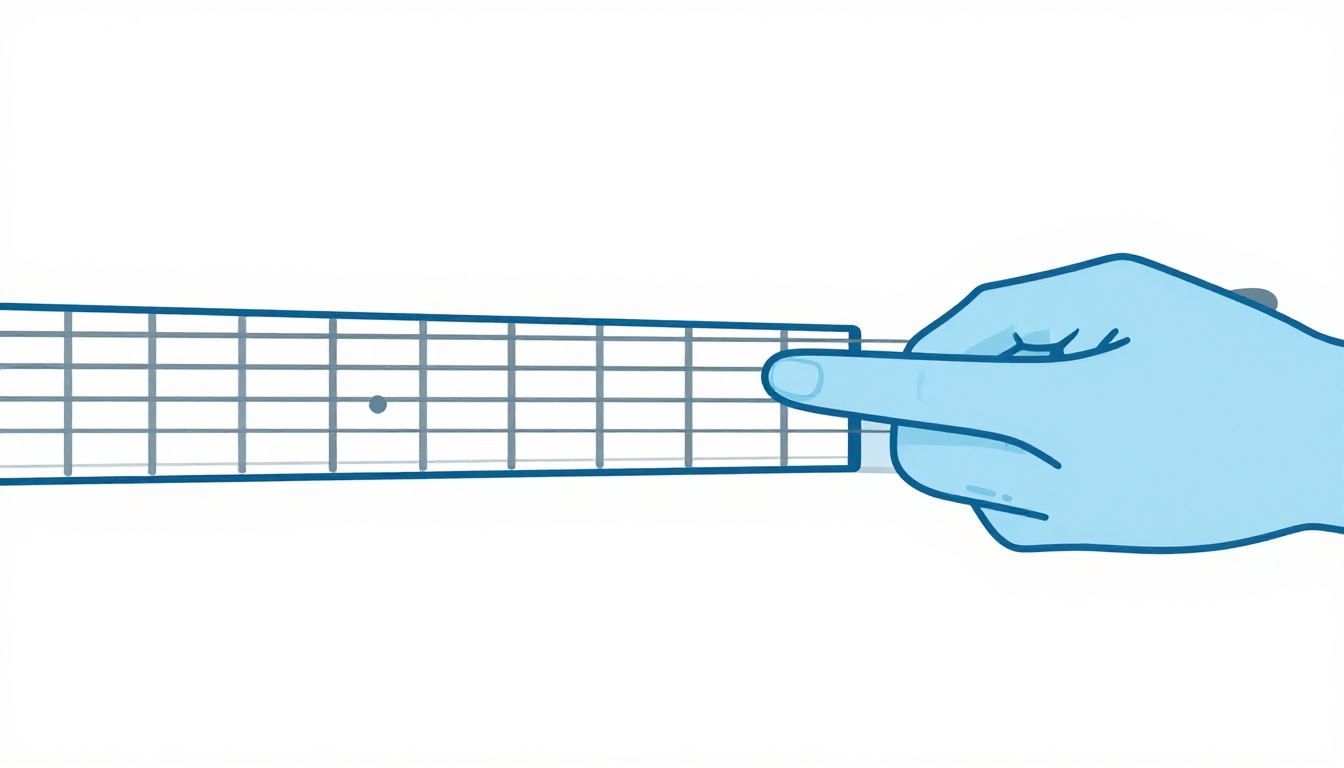
Fingering the Open Position Shape
The finger logic in open position is close to automatic once you know the rule: index finger for any note on the 1st fret, middle finger for the 2nd fret, ring finger for the 3rd fret, pinky for the 4th fret, and no finger at all on the open strings. That is the same one-finger-per-fret logic you would use anywhere on the neck, it just happens to only reach the 1st fret in one place in this scale, the C on the 2nd string.
Keep your thumb roughly behind the 2nd fret on the back of the neck, not hooked over the top, and let each fretting finger come down on its tip rather than flat. That hand position is what lets your pinky reach the two 4th-fret notes without your whole hand lurching up the neck for what is really just a one-fret difference from your ring finger's usual spot.
Reading This Scale From Tab
If you come across this scale written out as tab instead of the tables above, it is the same information in a different layout. Tab uses six horizontal lines, one per string, read bottom to top as low E to high E, with a number on a line telling you which fret to press. A "0" means play that string open. A line of tab for the one-octave open-position run from earlier would show a 0 on the low E string line, then a 2, then a 3, moving to the A-string line for a 0, a 2, a 3, then up to the D-string line for a 0 and a 2. There is no separate skill to learn here beyond matching each number to its fret and each line to its string; if the shape is already under your fingers from the tables above, tab for the same scale should look immediately familiar rather than like a new notation to decode.
The Movable Box Shape (One Octave Up)
Open position is easy, but it ties you to the bottom of the neck. The next shape most players learn is a movable box, and because E minor's root already sits on the open 6th string, the natural next stop for this particular box is the 12th fret, exactly one octave above the open string. If you already know a minor scale box shape rooted anywhere else on the neck, this is the same shape, just moved so the root lines up with E.
| String | Frets | Notes |
|---|---|---|
| 6 (low E) | 12, 14, 15 | E, F#, G |
| 5 (A) | 12, 14, 15 | A, B, C |
| 4 (D) | 12, 14 | D, E |
| 3 (G) | 12, 14 | G, A |
| 2 (B) | 12, 13, 15 | B, C, D |
| 1 (high E) | 12, 14, 15 | E, F#, G |
The root note E sits under your index finger in three places here, the 12th fret of the 6th string, the 14th fret of the 4th string is actually the root's neighbor rather than the root itself, and the true second root is the 12th fret of the 1st string, an octave above the 6th string's open pitch and exactly matching it in name. Wherever your eye lands on this shape, a root is close by, either at the 12th fret on an E string or a fifth away on the notes in between.
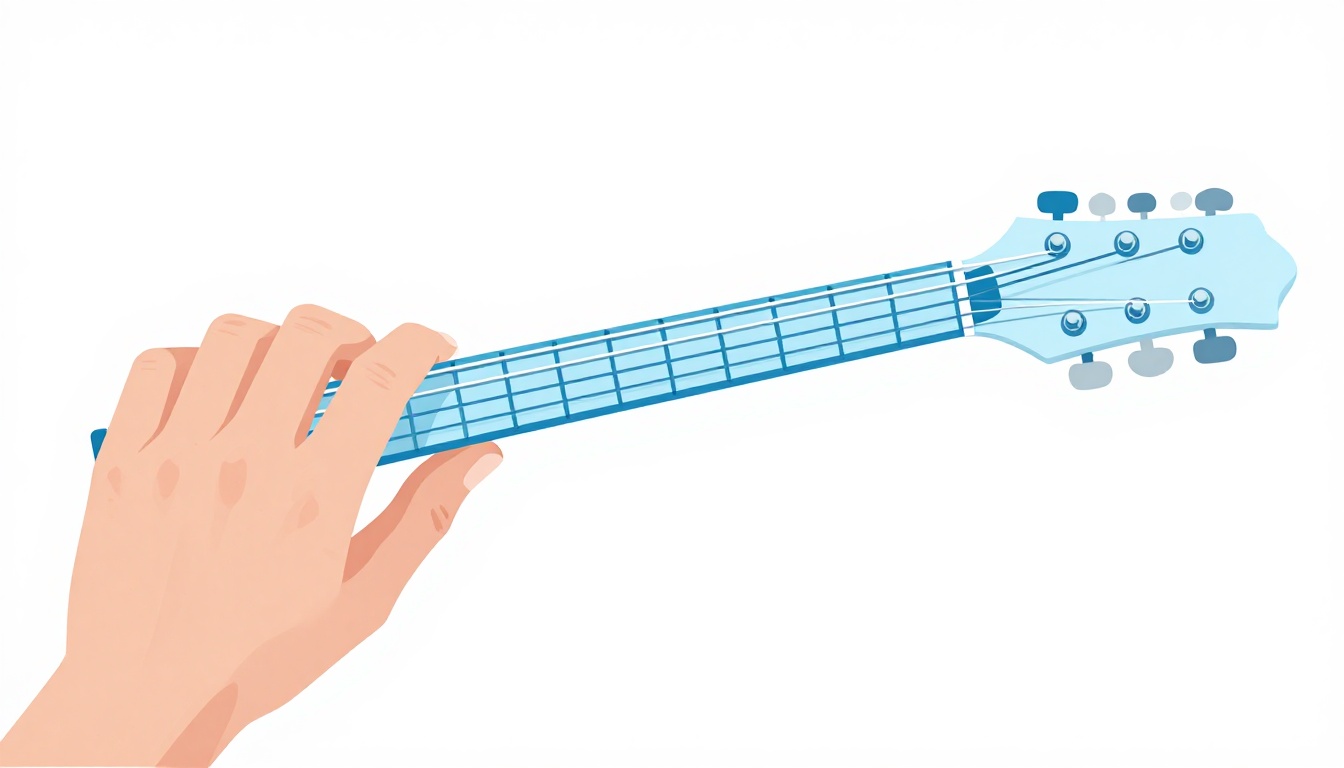
Fingering the Movable Box
Treat this shape as one-finger-per-fret, anchored to the lowest fret in the box: index finger on everything at the 12th fret, middle finger on the single note at the 13th fret (the C on the 2nd string), ring finger on everything at the 14th fret, and pinky on everything at the 15th fret. That is four fingers each doing one specific job, a different feel from open position's mix of open strings and a single pinky reach.
The 6th, 5th, and 1st strings each carry three notes spanning frets 12 to 15, a genuine stretch. The 4th and 3rd strings only carry two notes each, frets 12 and 14, which gives your hand a brief rest in the middle of the shape before the wider stretch resumes on the 2nd string. Play it slowly enough that you feel that alternation, rather than forcing a constant stretch across all six strings.
Adjusting the Shape for Smaller Hands
The movable box asks your fretting hand to cover four frets, a real stretch this high up the neck where the frets themselves are already closer together than they are in open position, which helps, but the four-finger reach can still be tiring the first few times through. Rather than forcing the strict one-finger-per-fret rule everywhere, shift your whole hand up by one fret partway through the shape: play the 12th and 14th-fret notes with your index and ring fingers as written, but for the 15th-fret notes, slide your hand slightly rather than reaching your pinky back. This trades a small hand shift for a smaller stretch, and it is a completely normal adjustment, not a workaround for doing it "wrong."
On a left-handed guitar, the string order in every table above mirrors left to right: what these tables call the 6th string (low E) sits closest to the floor rather than the ceiling. The fret numbers, note names, and finger logic are all identical, only the physical layout under your eye flips.
Finding E Anywhere on the Neck
Beyond open position and the movable box, the root note E shows up in the same handful of places on every guitar, and knowing them means you are never more than a glance away from a starting point.
| String | Fret | Fret (octave up) |
|---|---|---|
| 6 (low E) | Open | 12 |
| 5 (A) | 7 | 19 |
| 4 (D) | 2 | 14 |
| 3 (G) | 9 | - |
| 2 (B) | 5 | 17 |
| 1 (high E) | Open | 12 |
The open 6th string and the open 1st string are worth locking in first, since between them they anchor the whole scale before you fret a single note. The 12th fret is also worth knowing on sight: it is the octave marker on most fretboards and, on both E strings, it lands on E again, one octave above the open string.
How the Positions Connect Into One Fretboard
Open position and the 12th-fret box are not two unrelated shapes, they are two neighboring views of the same seven notes, just an octave apart. The open 6th string (E) and its own octave at the 12th fret are the exact same note name, and the same relationship holds for every note in between, played an octave lower down at the nut or an octave higher up the neck.
Between those two shapes lies most of the neck, and guitarists commonly fill that middle ground with root positions around the 2nd fret (4th string), the 5th fret (2nd string), the 7th fret (5th string), and the 9th fret (3rd string), each one the starting point for another version of this scale, often organized into five interlocking positions tied to the CAGED system. You do not need all five to start playing real music in this key. The two shapes already covered here, open position and the 12th-fret box, are enough to solo over an E minor progression in two different registers for a long time before that becomes a real limitation.
E Minor and Its Relative Major, G Major
E minor and G major share every single note, E, F#, G, A, B, C, D. The only difference is which note your ear treats as home. Resolve a phrase to E and it sounds like E minor, moody and unresolved in a specific way. Resolve the exact same notes to G and it sounds like G major, bright and settled.
This means every shape in this post already doubles as a G major scale shape, just aimed at a different target note. Play the open-position run from earlier but land your long notes on G instead of E, and you are playing G major using fingerings you already have under your hand. It also explains why a chord progression can sit "in E minor" for a verse and lean into a G major feeling for a chorus without a single note changing, only the emphasis does. It is worth comparing this directly against the E major scale if you want to hear how differently the same root letter, E, can sound depending on whether the 3rd, 6th, and 7th degrees are major or minor.
E Minor and the Aeolian Mode
If you have run into the word "Aeolian" while reading about guitar modes, it is worth knowing that E natural minor and E Aeolian are the same seven notes in the same order, just named from two different traditions. "Natural minor" is the name used in standard major and minor key theory, while "Aeolian" is the name for the same pattern within the seven-mode system built from the major scale. You are not learning a second, different scale by exploring modes later, you already know this one. For the full picture of how Aeolian relates to the other six modes, see the guide to guitar modes.
E Minor Scale vs. E Minor Pentatonic Scale
If you already play E minor pentatonic, the full natural minor scale in this post is not a replacement, it is an expansion. Pentatonic keeps five notes, E, G, A, B, D, and leaves out the 2nd (F#) and the 6th (C). Natural minor puts both of those back in.
| Scale | Notes |
|---|---|
| E minor pentatonic (5 notes) | E, G, A, B, D |
| E natural minor (7 notes) | E, F#, G, A, B, C, D |
The open-position pentatonic shape is one of the most commonly played patterns on the whole instrument: open low E, 3rd fret for G; open A, 2nd fret for B; open D, 2nd fret for E; open G, 2nd fret for A; open B, 3rd fret for D; open high E, 3rd fret for G. It uses only open strings and the 2nd and 3rd frets, no pinky reach required, which is part of why it usually gets taught before the full natural minor shape in this post.
Those two extra notes, F# and C, are not decoration, they change what the scale can do. F# sits a whole step above the root and pulls toward the 3rd. C sits a half step below B and creates real tension leading down into the 5th. Both are more exposed than the pentatonic notes around them, more likely to sound wrong if you land on one at the wrong moment, which is exactly why pentatonic gets taught first: fewer notes, fewer wrong turns. Once phrasing with five notes feels natural, adding F# and C back in is what gives a line more color and more places to create tension before resolving it. For the general shape system this scale builds on, see the guide to the guitar pentatonic scale.
Natural Minor vs. Harmonic Minor vs. Melodic Minor
"The E minor scale" almost always means natural minor, the version covered so far in this post. It has two well-known relatives that share most of its notes and change the character of the scale by altering just one or two of them.
| Scale | Notes | What changed |
|---|---|---|
| E natural minor | E, F#, G, A, B, C, D | Baseline |
| E harmonic minor | E, F#, G, A, B, C, D# | 7th raised a half step |
| E melodic minor (ascending) | E, F#, G, A, B, C#, D# | 6th and 7th raised a half step |
Raising the 7th from D to D# in harmonic minor closes the gap between the 7th and the root down to a half step, the same "leading tone" pull that major keys have, which is what gives harmonic minor its distinctive, slightly exotic sound. That gap between the new D# and the C just before it is a stretch of three frets on one string, a wider jump than anything in natural minor, which is part of why harmonic minor feels noticeably harder under the fingers the first time through.
Melodic minor, in its classical form, raises both the 6th and the 7th when ascending specifically to smooth out that gap, then drops back to the natural minor notes when descending. In practice, most guitarists learning rock, blues, or pop material will use natural minor for the vast majority of playing and reach for harmonic minor only when a song or a lick specifically calls for that raised-7th sound.
The Chords Built From the E Minor Scale
Every chord that belongs naturally in the key of E minor comes from stacking notes of this same scale in thirds, one on top of another, starting from each of the seven degrees.
| Degree | Chord | Notes |
|---|---|---|
| i | E minor | E, G, B |
| ii° | F# diminished | F#, A, C |
| III | G major | G, B, D |
| iv | A minor | A, C, E |
| v | B minor | B, D, F# |
| VI | C major | C, E, G |
| VII | D major | D, F#, A |
Notice that four of the seven, G, C, D, and A minor, are major or minor chords built from the exact same seven notes you have been fretting as a scale. That overlap is not a coincidence, it is the whole reason the scale and the chords in a key are taught together: the notes you use to solo are drawn from the same pool as the notes in the chords underneath you.
Seventh Chords Built From the Same Scale
Stack one more third on top of each triad above, and the same seven scale degrees produce seven-note chords with a richer, more colored sound, common in jazz and in more harmonically adventurous rock and pop.
| Degree | Chord | Notes |
|---|---|---|
| i7 | E minor 7 | E, G, B, D |
| ii7b5 | F# half-diminished 7 | F#, A, C, E |
| IIImaj7 | G major 7 | G, B, D, F# |
| iv7 | A minor 7 | A, C, E, G |
| v7 | B minor 7 | B, D, F#, A |
| VImaj7 | C major 7 | C, E, G, B |
| VII7 | D dominant 7 | D, F#, A, C |
Every note in every one of those seven chords is still drawn from the same E, F#, G, A, B, C, D pool as the scale itself. Nothing here is a new set of notes to learn, it is the same seven notes recombined into denser stacks. Em7 in particular, adding the D to a plain Em triad, is worth knowing on sight, since it is a common substitute for a plain Em chord in slower or jazzier arrangements. For a full breakdown of that shape and four more voicings of it up the neck, see the guide to the Em7 chord.
Chord Progressions in E Minor
Four shapes account for a large share of the E minor chord progressions you will run into.
The i-iv-v progression (Em, Am, Bm) is the most direct minor-key equivalent of the I-IV-V pattern most beginners learn in a major key, and it moves through chords built entirely from the natural minor scale without needing any borrowed chords.
The i-VI-VII progression (Em, C, D) leans on the major chords built from the b6 and b7 degrees, and it has a lifted, driving quality that shows up constantly in rock and pop written in a minor key. Because it resolves back to Em at the top of the loop, it can repeat indefinitely without ever feeling like it needs to escape into a major key to sound complete.
The i-VII-VI-VII progression (Em, D, C, D) is a close cousin of the one above, descending through the VII and VI before circling back, and it is common enough that recognizing it by ear is worth the time on its own.
The i-III-VII-VI progression (Em, G, D, C) climbs from the root up to the relative major before descending back through the b7 and b6, and it is one of the most widely used four-chord loops in popular music written in a minor key, largely because every chord in it is easy to reach from the one before it.
All four use only chords already in the diatonic tables above, which means the scale shapes from earlier in this post line up directly with the chord tones in every one of them.
How This Scale Connects to the Open Em Chord
The open Em chord, one of the very first two chords most players learn, is built from three of the same notes as this scale: E (root), G (b3), and B (5th). Play the open Em chord (022000: middle finger on the 2nd fret of the 5th string, ring finger on the 2nd fret of the 4th string, everything else open), then pick out those same three notes inside the open-position scale table from earlier: the open 6th string E, the 3rd-fret G on that same string, and the open 5th string's B a fret up at the 2nd fret.
This is also why resolving a solo phrase onto E, G, or B, the three notes of the Em chord, tends to sound settled and "in the pocket" against an Em chord, while resolving onto F# or C, the two notes natural minor adds beyond pentatonic, creates more tension that wants to move somewhere else. Neither is wrong, they are just different tools: chord tones for landing, the other scale tones for passing through on the way there.

Why It Isn't Working
If the shapes above are technically correct but the scale still sounds rough, muted, or lifeless coming out of your hands, the cause is almost always one of these.
You're Muting a String Without Meaning To
A fretting finger that leans even slightly onto the string next to it will kill that string's sound, and in a scale shape where several fingers are close together across adjacent strings, this happens constantly without the player noticing. It is especially common on the two 4th-fret reaches in this scale, the F# on the 4th string and the B on the 3rd string, since your pinky has to stretch past the neighboring string to get there cleanly. Curl your fingers so each one contacts the string on its tip, close to (but just behind) the fret wire, not flat across the pad. Play each note in the scale alone and listen for a clean, ringing sound before moving to the next.
You're Losing the Root
It is easy to play every note in a shape correctly and still lose track of which one is "home." Practice landing deliberately on the root E at the end of a phrase, held slightly longer than the notes around it, until your ear locks onto it as the note the whole scale is orbiting.
It Sounds Like an Exercise, Not Music
Playing a scale strictly up and down, one note at a time, at a fixed tempo, will always sound like practice rather than a musical line, because that is not how real melodies move. The fix is not a different scale, it is different rhythm and direction: skip notes, repeat one, double back, rest on a beat instead of always filling it. A scale is raw material, not a finished phrase.
Your Hand Cramps in the Movable Box
The three-note-per-string stretch in the 12th-fret box is a genuine reach, even though the frets themselves are physically closer together up there. Keep your thumb centered behind the 13th or 14th fret rather than chasing whichever finger is currently pressing, and take breaks. A hand that is tensing up to fight the stretch will sound stiff even when the notes are technically correct.
You Sound Different Every Time You Repeat a Phrase
Inconsistent picking-hand attack, alternating between hard and soft strokes without meaning to, makes a scale line sound uneven even when every fretted note lands correctly. Practice a short phrase slowly enough to keep your pick attack even across every note, then bring the tempo up gradually rather than immediately.
Your Timing Drifts the Moment You Stop Counting
Scales practiced silently, without a metronome or a backing track, tend to speed up on the easy notes and slow down on the awkward ones, which trains an uneven sense of time without you noticing. A metronome, even a slow one, exposes that drift immediately and gives you something honest to play against.
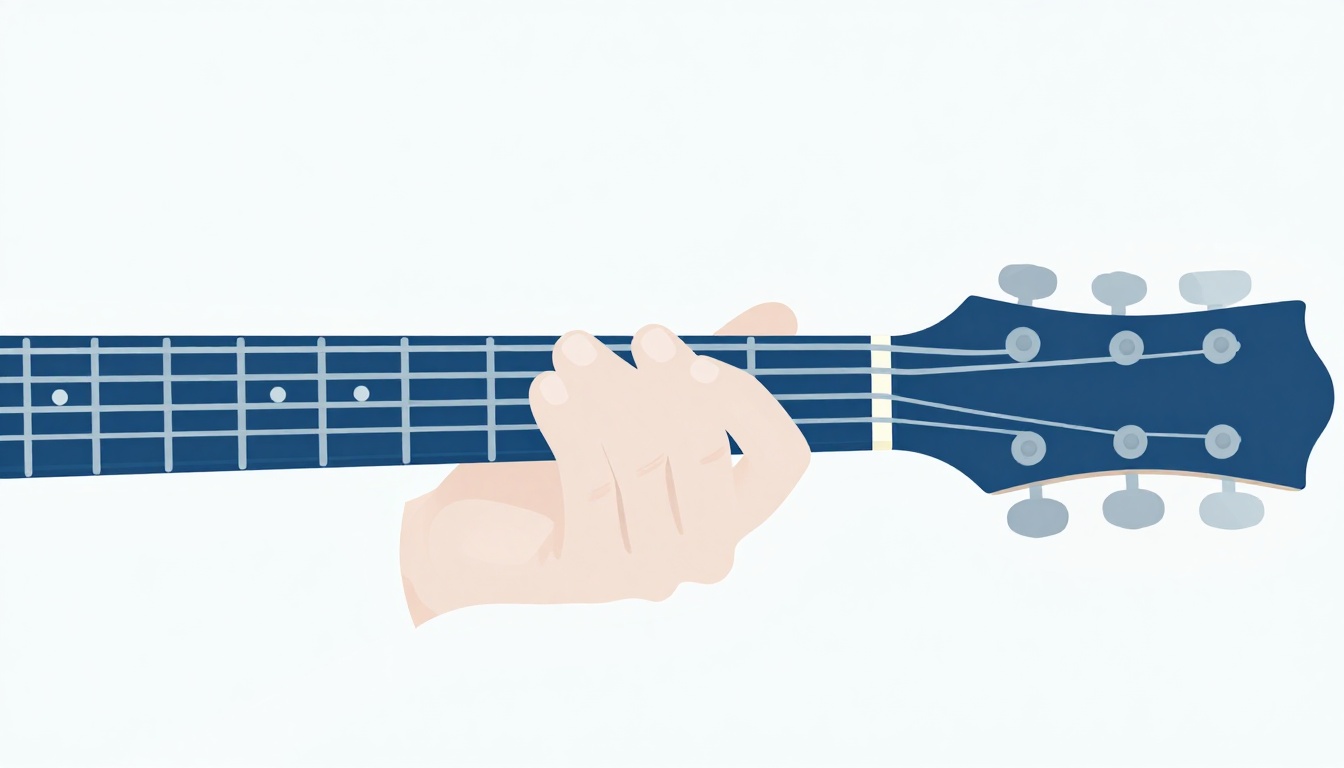
Turning the Scale Into Something Musical
Once the raw shapes are under your fingers, a few simple techniques are what separate "I can play the notes" from "that sounded like a real phrase." Hammer-ons and pull-offs, fretting a note without a fresh pick stroke, let you connect two notes on the same string with a slur instead of a hard attack on every single one, which is closer to how a phrased vocal line moves. Sliding a finger from one fret to the next scale tone on the same string does the same job in the other direction, connecting notes smoothly rather than picking each one separately.
Sequences are another useful tool: instead of playing the scale straight (1-2-3-4-5-6-7), try it in groups of three (1-2-3, 2-3-4, 3-4-5, and so on) or in broken thirds (1-3, 2-4, 3-5). Neither pattern is difficult once you know the notes, and both force your hand to move through the shape in an order it has not memorized by rote, which is usually when a scale starts sounding like a lick instead of a drill.
String skipping, deliberately jumping from one string to a non-adjacent one instead of always moving to the next string over, is a third tool worth adding once the first two feel comfortable. Using the open-position table from earlier, try playing the b7 (D) at the 3rd fret of the 2nd string, then jump straight to the 4th (A) on the open 5th string, skipping the 4th string entirely. It sounds noticeably more like a melodic leap than a scale run, because that is closer to how a lot of real melodies actually move, in jumps as often as in steps.
Picking Hand Technique for This Scale
Alternate picking, strictly switching between a downstroke and an upstroke for every note, is the default approach for playing this scale at any real tempo. It is more efficient than picking every note with a downstroke, since your pick is never traveling further than it needs to reach the next string. When a phrase crosses from one string to the next, the general rule is to let the direction fall wherever it naturally lands rather than resetting to a downstroke at the start of every string, which keeps the motion smooth instead of choppy.
Palm muting, resting the edge of your picking hand lightly on the strings near the bridge, can also change the character of this scale considerably, turning an open, ringing line into a tighter, more percussive one. This pairs especially well with E minor's open low string, since a palm-muted open E is one of the most common rhythmic building blocks in rock and metal guitar. It is worth practicing the same phrase both muted and open to hear how much of a scale's character comes from the picking hand rather than the notes themselves.
Vibrato on a Held Note
A note held without any movement, even a perfectly in-tune one, tends to sound flat and static compared to a note with vibrato, a small, controlled wavering in pitch created by rocking your fretting finger back and forth slightly while holding the string down. Vibrato is most useful on longer notes, particularly the root E when you land on it at the end of a phrase, since it turns a held note from something that just stops into something that feels intentional and expressive.
Start slow and exaggerated to learn the motion, then narrow it down once it feels controlled. A vibrato that is too fast or too wide from the start usually sounds nervous rather than musical; the goal is a smooth, even wave, not a rapid shake.
Where You'll Hear This Scale
E minor's combination of no complicated key signature and a root on both open outer strings makes it one of the two or three most common home keys in rock, metal, and blues, genres where an open low string doing double duty as a rhythm anchor and a scale tone is part of the practical appeal of playing electric guitar in the first place. Rather than memorizing a list of specific songs, the more transferable skill is training your ear to recognize a minor key by its sound, the same somber, unresolved quality this scale carries throughout, and knowing that whatever you are hearing in this register is very likely built from these same seven notes.

Playing the Scale Over a Chord Progression
The fastest way to hear this scale as music rather than an exercise is to play it against a real chord progression underneath it, either a recording, a looper, or a second guitarist holding down chords while you solo. Try it over the i-iv-v progression (Em, Am, Bm) from earlier in this post: as each chord changes, lean into the notes that belong to that specific chord (the root, 3rd, and 5th of whichever chord is currently sounding) rather than treating the whole progression as one long, undifferentiated E minor scale to noodle over.
That small shift, choosing target notes that match the current chord instead of playing the scale on autopilot, is most of what separates a soloist who sounds like they are following the song from one who sounds like they are just running scale patterns over the top of it.
Ear Training Before You Fret
Before you reach for the fretboard, sing or hum the scale, ascending and descending, from the root. If you can hear a phrase in your head before your fingers play it, your hand starts moving toward what you meant to play rather than toward whatever shape happens to be nearby. This matters more in a seven-note scale than a five-note pentatonic one, because there are more notes close together and more chances for your hand to land on the wrong neighbor if your ear is not leading the way.
A simple daily habit: play the root E, then try to sing the next note before you play it, then check yourself against the fretboard. Repeat ascending through the full scale, then reverse it descending. This is slow, unglamorous work, and it pays off faster than almost anything else on this list.
Practicing With a Drone Note
A drone, a single sustained note, usually the root, played underneath whatever you are practicing, is a simple way to sharpen your ear to how each scale degree actually relates to "home." Play a low open E on a second guitar left ringing, loop a single held E note, or use any tuner or drone app set to E, then play through the scale slowly over the top of it.
Notes that are stable against the drone, particularly the root, the b3, and the 5th, will sound settled and restful. Notes that are more tense, especially the 2nd and the b6, will sound like they are pulling toward a neighboring note. Hearing that tension and release against a fixed reference pitch, rather than only against a full chord progression, isolates exactly what each individual scale degree contributes, which is a different and more precise kind of listening than practicing against a full band or backing track.
Common Mistakes Beginners Make With This Scale
Rushing straight from open position to the movable box without spending real time in open position first is one of the most common. Open position teaches your ear the sound of the scale with almost no technical demand beyond the two pinky reaches, and skipping past that in a hurry to learn a "cooler" high-neck shape usually means neither one gets learned solidly.
Treating the scale as only a soloing tool and never connecting it back to the chords in the key is another. The chord table earlier in this post is not a side note, it is the other half of what makes this scale useful: a scale you cannot relate to the chords underneath it is a pattern, not a musical vocabulary.
Practicing only ascending is a third. Descending lines, and lines that change direction mid-phrase, are just as common in real music as straight ascending runs, and a hand that has only drilled one direction will stumble the first time a melody doubles back.
Ignoring the metronome because "it's just a scale, not a song" is a fourth. Timing habits formed while learning a scale carry directly into everything you play afterward, and an uneven scale becomes an uneven solo.
Gripping the neck with the fretting-hand thumb wrapped over the top, like holding a baseball bat, is a fifth. It locks your wrist and makes the pinky reaches in open position, and the four-fret stretch in the movable box, far harder than they need to be. Keeping the thumb roughly centered on the back of the neck frees the rest of the hand to move independently.
A Practice Routine for the Em Scale
Something concrete to run today, in order:
- Play the one-octave open-position scale, ascending then descending, slowly enough that every note rings clean with no buzz or mute.
- Sing or hum the same scale before you play it, then check your ear against the fretboard.
- Set a slow metronome and play the same one-octave scale in time, focusing on even picking-hand attack.
- Move to the movable box at the 12th fret and repeat the same slow, clean, in-time approach, one string at a time before attempting the full shape.
- Play the i-iv-v progression (Em, Am, Bm) on a looper or with a recording, and improvise short, simple phrases over it using notes from the scale, resting more than you play.
- Finish by singing the root note E and playing it once, cleanly, to end the session on the sound the whole scale is built around.
Fifteen focused minutes on that routine, done consistently, moves this scale from "something I can technically play" to "something I can actually use" far faster than an hour of unfocused noodling once a week.

Frequently Asked Questions
Is the Em scale the same as E minor pentatonic? No. E minor pentatonic is a five-note subset of E natural minor, leaving out the 2nd (F#) and the 6th (C). The full scale in this post includes both.
Why does the open-position Em scale need my pinky when the A minor scale doesn't? Because E minor's one sharp, F#, lands on the 4th fret of the 4th and 3rd strings, one fret past where A minor's sharp-free notes ever reach. That single reach is the only real difference in difficulty between the two open-position shapes.
What is the relative major of E minor? G major. The two scales share every note, E, F#, G, A, B, C, D, and only differ in which note the music resolves to as "home."
Do I need to learn harmonic minor and melodic minor too? Not right away. Natural minor covers the vast majority of rock, blues, folk, and pop playing. Harmonic and melodic minor are worth learning once you want the specific, more tense sound they add, or once you run into a lick or a song that clearly uses one.
Why does E minor sound sad? The minor 3rd (G) sitting close to the root, along with the minor 6th (C) and minor 7th (D), creates intervals that most listeners in Western music have learned to associate with a somber or unresolved feeling, as opposed to the brighter intervals in a major scale. It is a learned association from a lifetime of listening, not a property of the sound waves themselves.
Can I use the E minor scale over a G major chord progression? Yes. E minor and G major share every note, so the same scale shapes work over both, provided your phrasing resolves to whichever note the song is actually centered on.
How long does it take to learn the Em scale? The shapes themselves, open position and the 12th-fret box, can be memorized in a single sitting. Playing them cleanly, in time, and musically rather than mechanically takes ongoing practice, typically weeks rather than days.
Should I learn E minor or E minor pentatonic first? Most players learn pentatonic first, since five notes are easier to place safely than seven, and the open-position pentatonic shape needs no pinky reach at all. If you already know E minor pentatonic, this scale is a natural next step: the same open strings and low frets with two notes added back in.
Is the Em scale the same on a 4-string bass? The note names and the whole-step, half-step formula are identical on bass. The fretboard layout differs since a standard 4-string bass is tuned E-A-D-G, one octave below the guitar's bottom four strings, so the open low E string carries over directly as the root, just in a lower register.
GuitarLowKey
Ready for fifteen focused minutes?
Open the web app and train the change that is blocking your song.