
The Right Guitar for Strumming, and How to Strum It Well
What actually makes a guitar good for strumming, from body size and string gauge to pick grip, wrist motion, and the patterns that keep steady time.
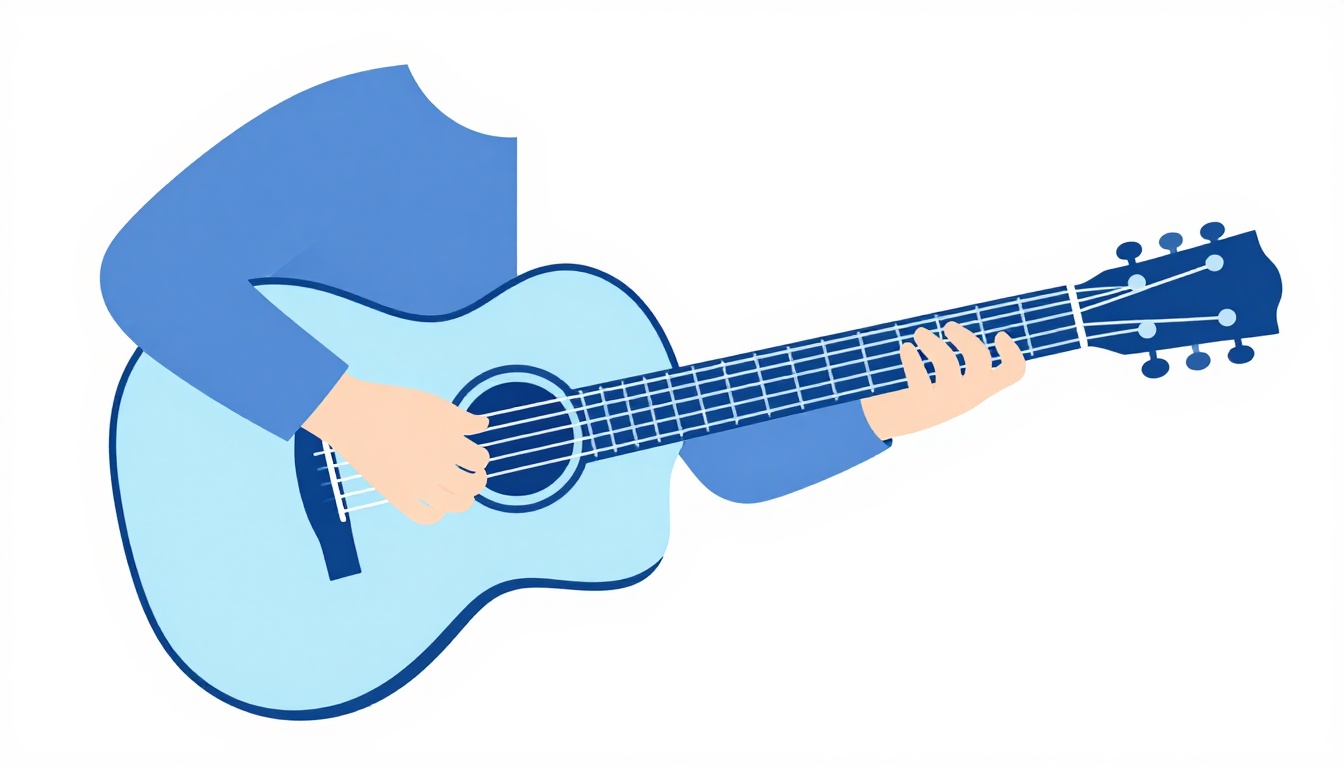
A guitar that is good for strumming has a body large enough to move air, strings heavy enough to ring instead of buzz, and an action low enough that full chords do not fight your hand. A steel-string dreadnought or jumbo acoustic is the classic choice, but strumming well matters more than owning the "right" guitar, and the technique below works on whatever you already have, acoustic or electric, steel or nylon.
That is the short version. The rest of this covers what to listen for in a guitar's build if you are choosing or evaluating one, and then, because the shape you own is rarely the thing holding you back, a full breakdown of the hand technique that actually makes a strum sound full: pick grip, wrist motion, timing, dynamics, and what to do when a chord change breaks the rhythm.
What Makes a Guitar Good for Strumming
Four things decide how a guitar responds to a strum: body size, tonewood, string type, and setup.
- Body size sets the volume ceiling. A larger, wider-bodied guitar moves more air and gets louder the harder you strum, without the top distorting the way a smaller body's will.
- Tonewood sets the character. Darker, warmer woods smooth out the attack of a strum; brighter woods make each stroke more percussive and separated.
- String type sets the attack. Steel strings snap and ring, which is what most strumming genres want. Nylon strings are softer and rounder, which suits a different kind of strumming.
- Setup, meaning string height off the fretboard, decides whether full chords ring cleanly or choke out. A guitar with poor setup will sound bad no matter how good its body and wood are.
None of this means a small-bodied or electric guitar cannot be strummed well. It means the four traits above explain why one guitar feels effortless to strum and another feels like it is fighting you, so you can either shop with that in mind or understand what to expect from the guitar in your hands right now.
Body Size and Shape: Why Dreadnoughts and Jumbos Strum Loudest
The dreadnought is the body shape most associated with strumming, and for a specific reason: it has a wide lower bout and comparatively little waist, which gives the top a large surface area to vibrate. Play a full open chord on a dreadnought and the sound comes out loud, a little boomy in the low end, and forgiving of an aggressive attack.
Jumbo-bodied guitars go even larger and add extra low end and volume, at the cost of being a bigger instrument to hold, especially for a smaller player.
Smaller bodies (concert, parlor, grand auditorium) trade some of that volume ceiling for a tighter, more balanced tone that responds better to a light touch. They are not bad for strumming, they are simply built for a different job first: fingerpicking, recording clarity, or comfort for a smaller frame. If you strum hard on a small-bodied guitar, the top runs out of headroom sooner and the tone can start to compress or distort at the loudest point of the strum.
If you are choosing a guitar with strumming as the main use, a dreadnought or jumbo is the safer default. If you already own a smaller-bodied guitar, you are not stuck: you get a tighter, more controlled sound in exchange, and the technique later in this post (particularly the section on dynamics) matters more for you, because you cannot rely on the body alone to fill out a loud strum.
Body Depth and Player Size
A larger body is not free of tradeoffs for the player holding it. A deep-bodied jumbo or dreadnought puts more distance between your strumming arm and the strings, which can force a smaller-framed player's arm into an awkward reach, particularly seated without a strap. This is one reason smaller body shapes exist at all: they are not simply a compromise on volume, they are also a genuine comfort choice for a smaller player or a shorter torso, and a guitar you can hold relaxed will usually strum better than a bigger one you are fighting to reach around.
If you are shopping and torn between sizes, sitting with the actual instrument in playing position and running through a simple strumming pattern tells you more in two minutes than any spec sheet, since the right size is as much about your body as it is about the guitar's tone.
Tonewood and How It Changes a Strummed Chord
The wood a guitar's top, back, and sides are built from changes how a strummed chord decays, not just how loud it is.
Mahogany, used for the D-15M and many entry to mid-range strummers, produces a darker, warmer voice with a forward midrange. Chords played on a mahogany-heavy guitar feel a little softer at the edges, which is often described as "strum-friendly" because it forgives an imprecise stroke.
Spruce, the most common top wood overall, produces a brighter, more articulate voice with a stronger high end. Spruce-topped guitars are often paired with mahogany or rosewood back and sides specifically to balance that brightness, which is why "spruce top, mahogany back and sides" is one of the most common combinations in strumming acoustics.
Rosewood, used more on backs and sides than tops, adds low end and complexity, extending the sustain of a strummed chord and adding overtones that a mahogany body would not produce.
None of these differences are large enough to make or break a beginner's strumming. They matter most once your ear is developed enough to notice that two guitars playing the same G chord sound different, and they explain why a guitar recommendation for strumming will usually mention wood at all.
Acoustic or Electric: Which Suits Strumming
Acoustic guitars are the default for strumming because the sound comes straight from the body with no signal chain in between: you sit down and play, and the guitar's own compression evens out the strokes so a slightly uneven strum still sounds musical. That immediacy is also why acoustic guitars are the instrument most beginners first learn strumming and rhythm on, and most singer-songwriter chord progressions are written with an acoustic strum in mind.
Electric guitars can absolutely be strummed, and are, across rock, pop-punk, and indie rhythm parts. The tradeoff runs the other way: an electric needs an amp to sound like anything, the neck and string spacing are usually narrower (which helps some hands and cramps others), and full chords through a distorted amp can turn into a wall of noise rather than distinct notes, so a clean or lightly overdriven amp setting matters for strumming specifically. Electric strings are also typically a lighter gauge than acoustic strings, which makes fast strumming easier on the hand but produces a thinner sound than a strummed acoustic at the same technique level.
If you already own an electric and strumming is your goal, nothing below in this post requires switching instruments. The hand technique is identical; only the amp settings section further down applies specifically to you.
Steel Strings or Nylon Strings for Strumming
Steel strings are under significantly more tension at pitch than nylon, which gives them a faster attack, brighter tone, and more projection and sustain. That combination, sharp attack plus long ring, is what most people mean when they picture a strummed guitar, and it is why steel-string acoustics dominate folk, pop, and rock rhythm playing.
Nylon strings are more flexible and under less tension, producing a slower attack and a warmer, more rounded tone with a softer top end. Classical guitars built for nylon strings are not designed around aggressive strumming, and the wider neck and closer string spacing associated with the classical style are built for fingerstyle technique rather than a moving pick hand. That said, nylon-string strumming is a real and old tradition, particularly in Spanish and Latin styles, where a percussive strum on nylon strings produces an intense, softer-edged sound rather than the ringing brightness of steel.
If you inherited or already own a nylon-string classical guitar and strumming is what you want to do on it, it will work, and it will simply sound warmer and less bright than the same chords on a steel-string. It is not the wrong instrument, it is a different flavor of the same technique.
String Gauge: Why Heavier Strings Strum Fuller
String gauge, meaning the thickness of the string measured in thousandths of an inch, changes how much a string resists your pick and how loud and full the resulting note is. For strumming specifically, guitar builders and repair techs commonly recommend gauges in the 0.054 to 0.056 range for the low E string, on the heavier end of what is available, because a thicker string moves more air per stroke and holds pitch stability better under the harder attack that strumming involves.
The tradeoff is playability. Heavier strings require more finger strength to fret cleanly, particularly for barre chords, and are harder on a beginner's fingertips during the first weeks of playing. Lighter strings (in the 0.048 to 0.052 range for the low E) are easier to fret and bend but give up some of that fullness and stability when strummed hard.
There is no single correct gauge. A beginner building calluses is usually better served by a lighter or medium gauge that keeps practice comfortable, and can move to a heavier set once fretting is no longer the limiting factor. If your current strings feel thin and weak under a strum, a heavier set is a cheap, reversible change worth trying before assuming the guitar itself is the problem.
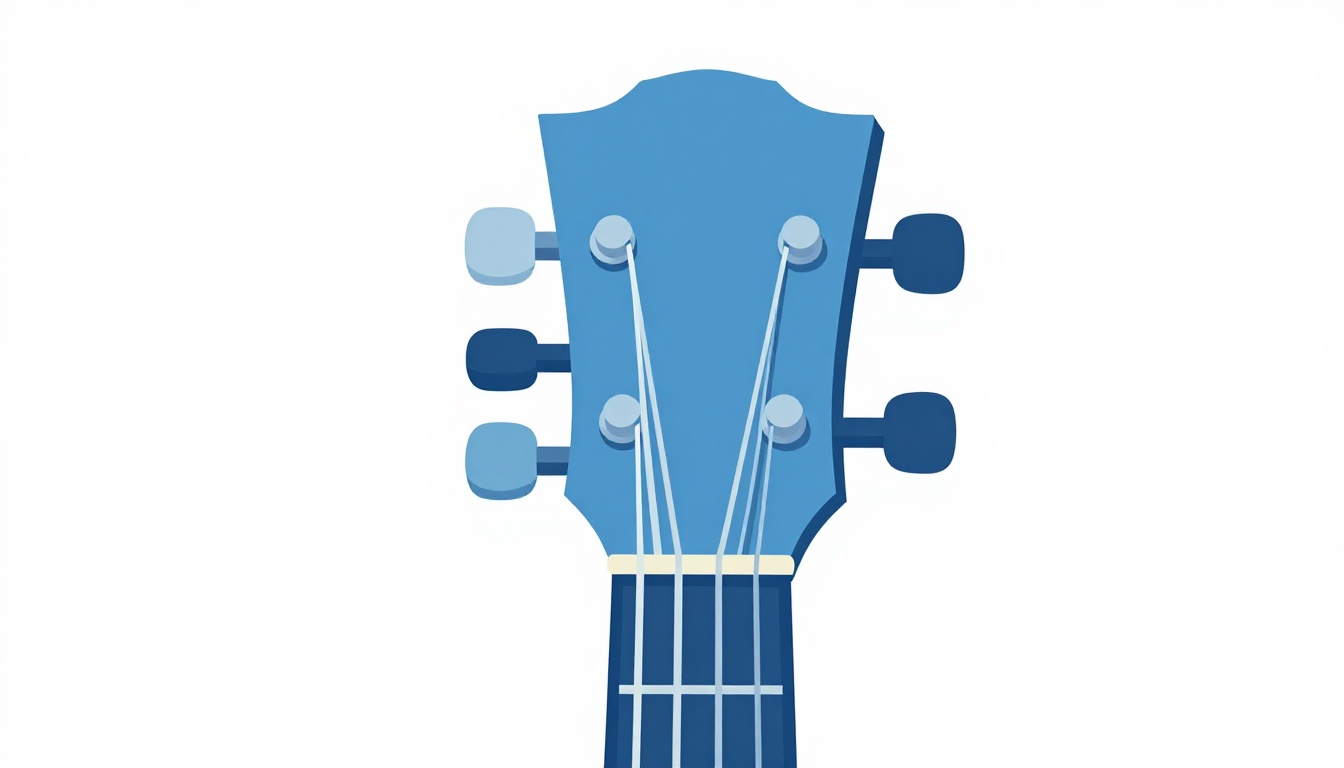
String Material: Bronze, Phosphor Bronze, and Coated
Gauge is not the only string variable that changes how a strum sounds. The alloy wrapped around the string's core changes tone in its own right, independent of thickness.
80/20 bronze, also called brass, is roughly 80 percent copper and 20 percent zinc. It produces a bright, crisp, immediate tone with a pronounced high end, which some players want for a punchy strum, but that brightness fades faster than other alloys as the strings age.
Phosphor bronze adds a small amount of phosphor to a copper and tin mix, which slows tarnishing and produces a warmer, fuller tone with more midrange and a longer-lasting voice. It is the more common default on modern strumming acoustics because it holds its tone longer and suits a wider range of playing styles.
Coated strings add a thin polymer layer over either alloy, which extends the string's life two to five times longer before it goes dull, at a small cost in output and sustain that most players do not notice by ear. Coating also reduces the squeak of a fretting hand sliding along a wound string, which is a minor detail for strumming but a real one for recording.
None of these choices will make a bad-sounding guitar good, but on a guitar that already strums well, phosphor bronze is the safer general-purpose choice, 80/20 bronze rewards a player who wants maximum brightness and does not mind restringing more often, and coated strings suit a player who wants consistent tone over months rather than the freshest possible sound in week one.
Action and Setup Matter More Than the Guitar Itself
Action is the height of the strings above the frets. Set too high, and a full strummed chord requires more finger pressure than it should, tires your hand faster, and can throw notes slightly sharp because you are bending the string down harder than necessary to fret it. Set too low without other adjustments, strings buzz against the frets, which is especially audible on a hard-strummed open chord because every string is ringing at once and one buzzing string stands out.
A guitar with a well-cut nut, correct neck relief, and action matched to how hard you actually play will sound better strummed than a more expensive guitar with a poor setup. This is the one factor in this whole list that has nothing to do with which guitar you own and everything to do with whether that guitar has been adjusted for you. If chords sound choked, buzzy, or unexpectedly hard to fret cleanly across the board, rather than on one specific chord shape, a setup at a local shop is usually the highest-value change you can make before buying a different instrument.
12-Strings and Other Strumming-Friendly Variants
A handful of guitar variants are built around strumming and rhythm specifically, rather than adapting general-purpose instruments to the job.
The 12-string acoustic doubles each string into a pair, tuned in unison on the higher strings and an octave apart on the lower four, which creates a natural chorus-like shimmer on every strummed chord that a 6-string cannot reproduce. It asks more of a beginner's hands, since fretting two strings per finger position takes more pressure, and it needs a properly cut nut and correctly staggered gauges across the twelve strings to stay in tune and playable, covered in more detail in our guide to 12-string guitar tuning.
The dreadnought and jumbo shapes already covered above exist specifically because rhythm guitarists in early folk and bluegrass wanted more volume to strum against a full band or group singing, and they remain the default recommendation for that reason.
Semi-hollow and hollow-body electrics sit between an acoustic and a solid-body electric: the hollow chamber adds natural resonance and a fuller, rounder tone when strummed clean, closer to an acoustic's character, while still plugging into an amp for volume and control. They are a reasonable middle ground for a player who wants an acoustic-like strum with an electric's narrower neck and lower string tension.
None of these are required equipment. They are worth knowing about specifically because "guitar for strumming" as a search often turns up recommendations for one of these variants without explaining why, and the reasoning above is that why.
How to Hold the Pick for Strumming
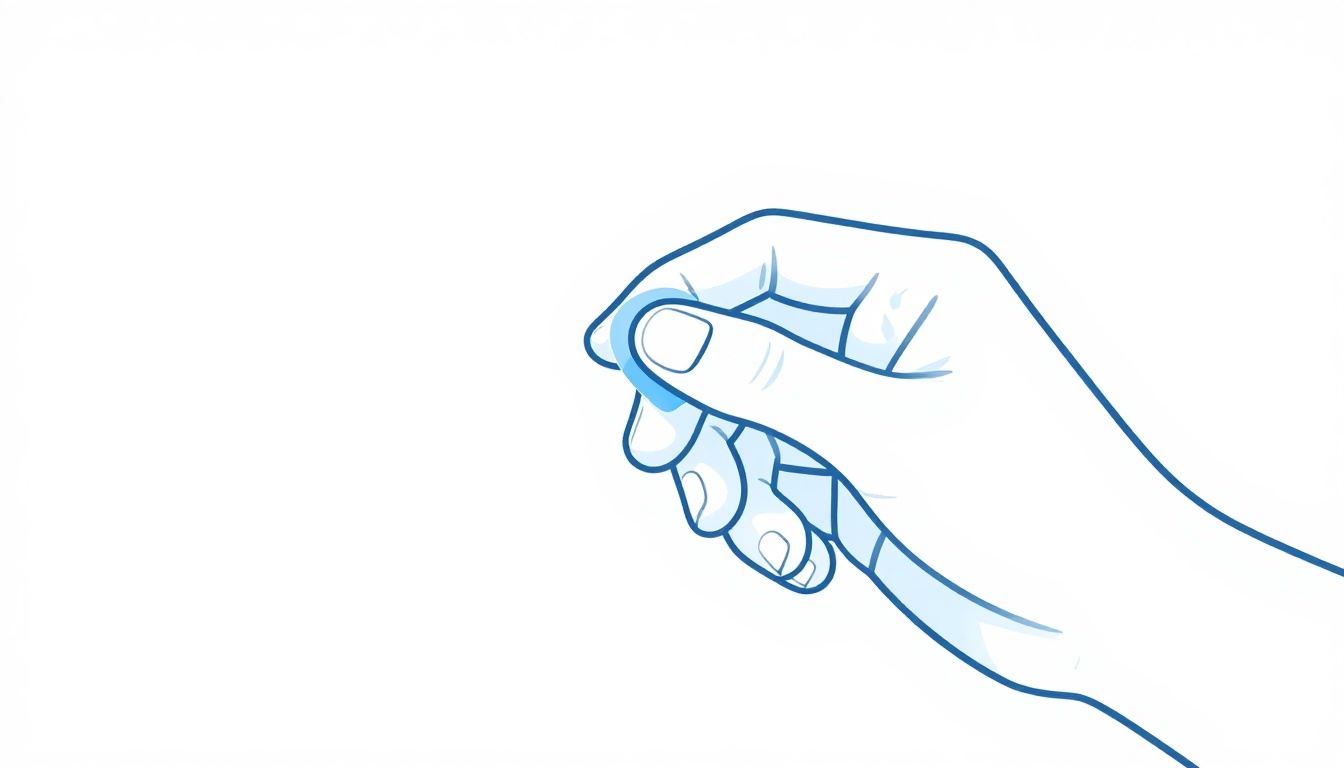
Curl your index finger slightly, and rest the pick on the side of the fingertip rather than flat across the pad. Bring your thumb down on top so the pick is pinched between thumb and index finger with only a small tip, roughly a quarter inch, showing past your fingers.
Too much pick exposed causes the tip to catch on strings instead of gliding across them, which produces a stuttering, uneven attack. Too little exposed and you lose control and volume. The quarter-inch guideline is a starting point, not a rule: the right amount is whatever lets the pick glide over all six strings in one smooth motion without snagging on any of them.
Keep the grip firm enough that the pick does not rotate in your fingers mid-strum, but not so tight that your hand tenses up. A tense grip transfers into a tense wrist, and a tense wrist is where a harsh, brittle strumming tone comes from.
Pick Thickness Changes the Tone as Much as the Grip
Picks are commonly grouped into thin (roughly 0.38 to 0.60 millimeters), medium (0.60 to 0.80 millimeters), and heavy (0.80 millimeters and above). A thin pick flexes against the strings as it strikes them, producing a brighter, softer-attack tone that many players find easiest to strum with, since the flex forgives a slightly uneven stroke. A heavy pick barely flexes at all, transferring more energy directly into the string for a fuller, warmer, more forceful tone, at the cost of feeling less forgiving in an untrained hand.
For strumming specifically, thin to medium picks are the common starting recommendation, since the extra flex helps a beginner's stroke glide rather than catch. Heavier picks are common among players chasing a fuller rock or metal rhythm tone once their technique is controlled enough to use one without the strum feeling stiff. Material matters less than thickness for strumming, though harder materials like Delrin or ultem generally feel closer to a heavy pick than their thickness alone suggests.
Wrist or Arm: The Motion That Drives a Strum
Two different joints can drive a strumming motion, and they produce different results.
Wrist-driven strumming keeps the forearm relatively still and pivots the motion from the wrist. This produces shorter, tighter, more controlled strokes, which is what most fast or precise strumming patterns need, and it is the motion most rhythm guitar teaching defaults to.
Arm-driven strumming (sometimes called elbow strumming) moves the whole forearm from the elbow, producing bigger, louder, more aggressive strokes. This suits big, sustained rock rhythm parts and open chords played for maximum volume, but it is harder to control at speed and tires the arm faster over a full song.
Most players end up blending both: wrist motion for the bulk of a pattern, with a bit of arm motion added on accented downbeats for extra weight. What does not work is locking the wrist completely rigid and trying to strum from the shoulder, which produces a harsh, uncontrolled tone and fatigues quickly. If your strumming feels physically tiring within a couple of minutes, check whether your wrist has gone rigid; that is almost always the cause.
The Down-Up Motion and Constant Time
The core physical habit underneath every strumming pattern is keeping your strumming arm moving continuously, down and up, in time, whether or not the pick is actually making contact with the strings on a given stroke. This is usually called constant strumming, and it is the single most useful habit for a beginner to build before learning specific patterns.
The reasoning is simple: a strumming pattern is a rhythm, and rhythm depends on evenly spaced motion. If your arm only moves when it is time to hit the strings, the motion becomes reactive and the timing drifts, speeding up or slowing down without you noticing. If your arm keeps moving on every eighth note of the bar, down on the beat and up on the off-beat, and you simply choose which passes actually strike the strings, the underlying pulse never breaks, even when the pattern skips a stroke.
Downstrokes fall on the beat (moving from the thickest string toward the thinnest). Upstrokes fall on the off-beat, between the numbered counts (moving from thinnest back to thickest). Practicing a plain down-up-down-up pattern on a muted set of strings, focused purely on keeping the arm moving in even time, is worth doing before adding any specific pattern.
Guitar Position and Posture While Strumming
The motion described above only works freely if the guitar itself is positioned so your strumming arm can move without obstruction. Sitting with the guitar's waist resting on your strumming-side leg, body angled slightly toward you, keeps the strings within comfortable reach of a relaxed forearm. Sitting with the guitar flat against both legs or too far from your body forces the strumming arm into an awkward angle, which is a common hidden cause of a stiff, tense strum that has nothing to do with the hand technique itself.
Standing with a strap changes the geometry again: a strap adjusted so the guitar sits at roughly the same height as it does seated keeps the same arm angle and playing feel. A strap that is too long drops the guitar low and forces the strumming arm to reach down and across, which is both harder to control and visibly why some players strum less cleanly standing than sitting. If a pattern that feels solid seated falls apart standing, check the strap height before assuming the pattern itself is the problem.
Strumming Patterns Worth Learning First
A strumming pattern is written as a sequence of downstrokes (D) and upstrokes (U) mapped onto a count, usually "1 and 2 and 3 and 4 and" for a bar in 4/4 time. These four patterns cover most of what a beginner encounters in pop, folk, and rock rhythm parts.
| Pattern name | Notation | Count | Common use |
|---|---|---|---|
| Straight eighths | D U D U D U D U | 1 & 2 & 3 & 4 & | Steady, driving rhythm, easy to keep in time |
| Island strum | D DU UDU | 1, 2&, 3, &4& | Folk and pop ballads, laid-back feel |
| Folk strum | D DU UDU DU | 1, 2&, 3, &4&4& | Fuller, busier version of the island strum |
| Reggae upstroke | (skip) U (skip) U | Off-beats only | Off-beat accents, ska and reggae rhythm parts |
Read each letter as one motion of the strumming arm on that count, remembering that your arm keeps moving through the counts marked with a dash even when the pick does not strike. The straight eighths pattern is the best starting point because every motion actually strikes the strings, which makes the timing easiest to hear and correct.
Patterns Change by Genre and Time Signature
The four patterns above cover common time (4/4), which is the vast majority of pop, rock, and folk songs, but the same down-up logic adapts to other feels. A waltz, in 3/4 time, is commonly strummed as a single downstroke on beat 1 followed by lighter upstrokes or muted taps on beats 2 and 3, giving the pattern its lilting, uneven feel rather than the square pulse of common time.
A gallop rhythm, heard across country and some rock rhythm parts, packs a down-down-up into a single beat repeated across the bar, producing a driving, horse-like triplet feel rather than the even eighth-note spacing of a straight strum. The reggae and ska upstroke pattern shown in the table above deliberately skips the downbeat strokes entirely, emphasizing only the off-beats, which is what gives that style its distinctive, bouncing lift rather than a driving pulse.
None of these require new hand technique. They are the same wrist motion and the same constant-time habit, applied to a different map of which beats get struck and which get skipped or muted.
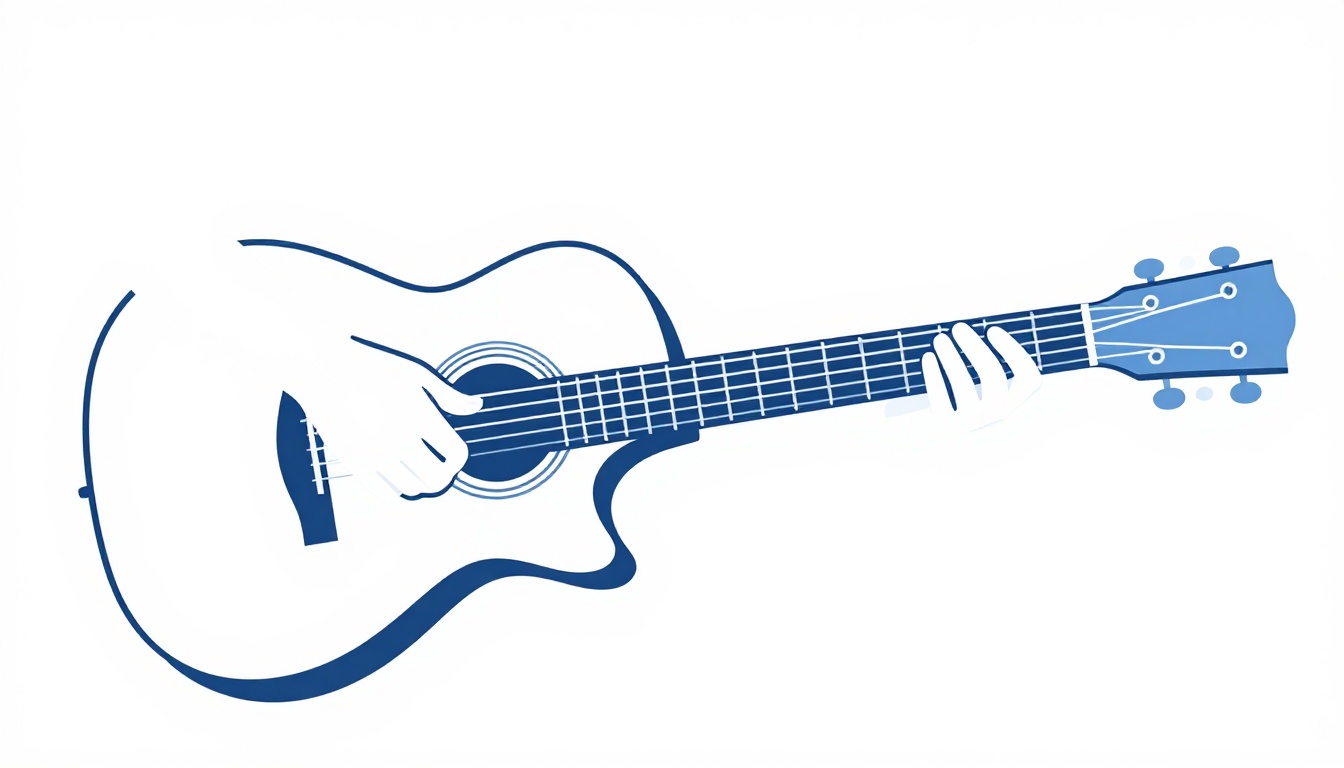
Once a pattern is comfortable at a slow, steady tempo, the next real skill is not learning more patterns, it is applying the pattern to a full chord progression without the timing falling apart at the chord change, which the section below on changing chords covers directly.
Why Your Strumming Sounds Weak, Choppy, or Buzzy
Most strumming problems trace back to one of five specific causes, and each has its own fix.
The Pick Is Angled Wrong
If the pick strikes the strings dead flat rather than with a slight tilt, it catches rather than glides, producing a rattling or snagging sound instead of a clean stroke. Tilt the pick slightly in the direction of the stroke, as if it were gliding over the strings rather than digging into them.
The Wrist Has Locked Up
A rigid wrist forces the motion into the shoulder or elbow, producing a harsh, uneven tone and a strum that tires your arm quickly. Loosen the wrist and let it do most of the work for standard patterns, reserving arm motion for occasional accented strokes.
You Are Striking Too Hard
More force does not equal more volume in a useful way. A hard strike on light strings often produces string buzz against the frets or an unpleasant, clattering attack rather than a fuller tone. Aim for a light, fast flick, similar to shaking a drop of water off the pick, and let the guitar's body do the work of projecting volume.
One or More Strings Are Muted by Accident
If a chord sounds thin or partially dead when strummed, a fretting finger is very likely resting against an adjacent string it should not be touching. This is common on chords that use three or four fingers close together, and it shows up specifically on a full strum because a fingerpicked or single-note version of the same chord might not reveal the muted string as clearly.
The Tempo Is Drifting
A pattern that sounds clean in isolation often falls apart once played along with a real song, usually because the underlying tempo speeds up or drags without the player noticing. This is where practicing with a metronome earns its keep, and it is worth building into a regular routine rather than only using it when a pattern feels shaky.
Warming Up and Avoiding Hand Fatigue
A strumming arm that feels stiff or a fretting hand that cramps partway through a practice session is usually a warm-up and posture issue rather than a strength problem to push through. A short warm-up of loose, muted strumming for a minute or two, without fretting any chord, gets blood into the wrist and forearm before asking them to do controlled work.
Fretting-hand fatigue during strumming specifically often comes from pressing harder than the chord needs, which is common early on because a beginner has not yet learned exactly how little pressure a clean note actually requires. Pressing only as hard as needed to stop the buzz, and no harder, reduces fatigue over a full session and, combined with correctly set action, is usually enough to fix a hand that cramps within a few minutes of starting.
If your fingertips are sore rather than your hand cramping, that is calluses forming, which is a normal and temporary part of the first few weeks of regular playing, not a sign of doing anything wrong. Heavier strings, discussed earlier, will make that adjustment period longer; lighter strings shorten it, which is one more reason a beginner might reasonably choose comfort over fullness of tone for the first several weeks.
Getting Dynamics Without Changing the Chord
A strummed chord is not one fixed volume. Controlling how hard or lightly you strike the strings, stroke to stroke, is what makes a strumming pattern sound musical instead of mechanical, and it is a separate skill from learning the pattern itself.
The simplest dynamic tool is accenting the downbeat: strike slightly harder on beat 1 (and often beat 3) of a bar, and lighter on the off-beats and any upstrokes, which gives a pattern a sense of pulse rather than a flat wall of even volume. The second tool is muting: resting the strumming hand's palm lightly against the strings near the bridge softens and shortens the sound of a strum without changing which strings ring, useful for a verse that needs to sit quieter than a chorus using the exact same chords and pattern.
Both tools are physical habits built through repetition at a slow tempo, not something to think through consciously while playing at full speed. Practicing the same simple pattern at three distinct volumes (quiet, medium, loud) on the same chord, without changing the notes, is a direct way to build the muscle memory for controlling dynamics on demand.
Using a Capo When You Strum
A capo clamps across all six strings at a given fret, effectively shortening the strings and raising the pitch of every open string equally, which lets you play familiar open-chord shapes in a different key without relearning new fingerings. For strumming, this matters in two practical ways.
First, it lets you match a song's actual key without abandoning the easier open-chord shapes: a song in the key of G might actually be recorded a few steps higher, and rather than learning unfamiliar barre shapes, a capo lets you keep strumming G-shaped chords while the capo does the transposition. Second, moving a capo up the neck changes the tone of a strum, since the strings are shorter and under different effective tension above the capo, typically producing a brighter, tighter sound, which some strumming parts specifically want, particularly layered under a second guitar playing lower open chords.
A capo does not change your strumming technique at all; everything from pick grip to the down-up motion works identically with a capo on. It only changes which chord shapes produce which sounding pitches.
Strumming Without a Pick
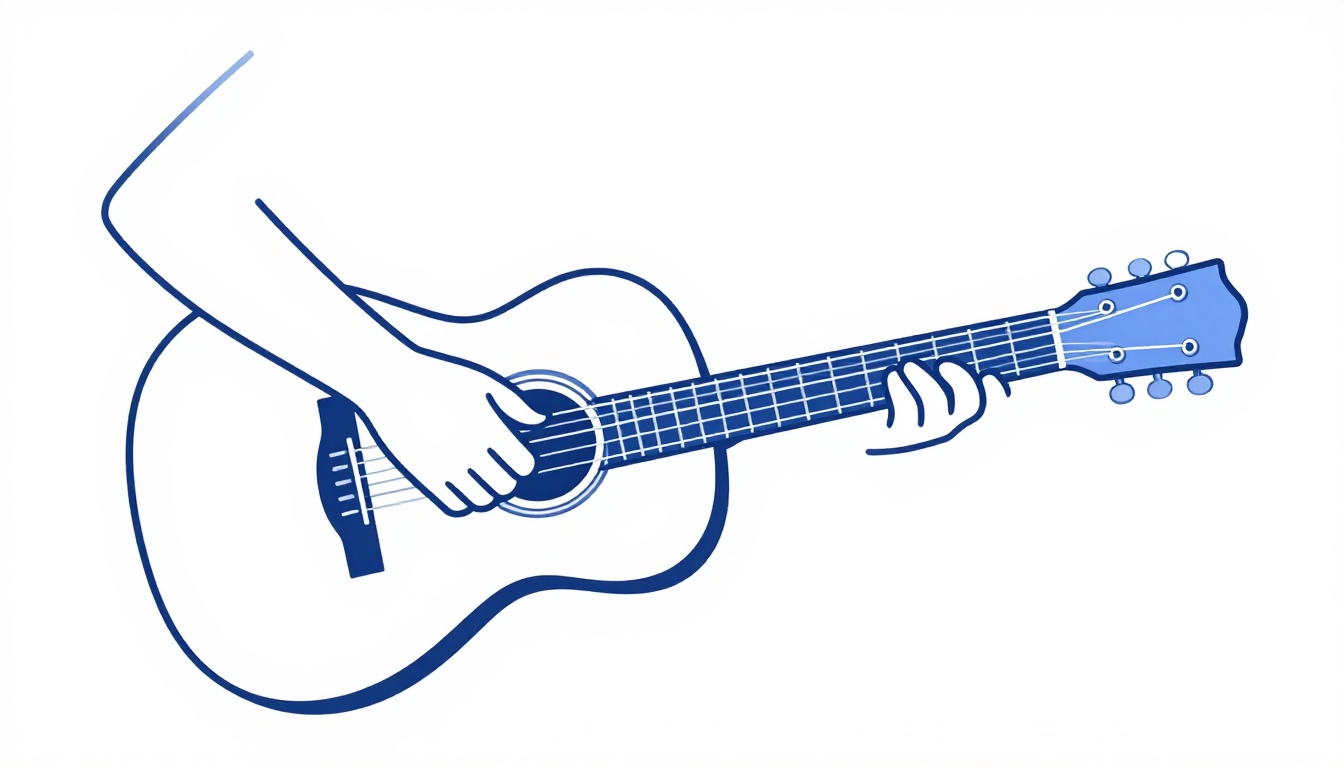
Strumming with the fingers instead of a pick is common in folk, flamenco-influenced playing, and any style where a softer, rounder attack is wanted. The most common approach uses the back of the fingernails on the downstroke, sweeping across the strings the same way a pick would, and the thumb or a finger on the upstroke.
Finger strumming produces a naturally softer, warmer attack than a pick, because skin and nail contact the string differently than plastic does, and it removes the possibility of losing or dropping a pick mid-song. The tradeoff is volume and cutting power: a pick projects further and articulates faster patterns more cleanly, which is why fast, driving rock strumming is almost always done with a pick, while a softer folk or singer-songwriter strum is common to hear done with fingers alone.
The wrist and arm motion described earlier applies the same way whether or not a pick is in your hand. If you strum both ways depending on the song, it is worth deliberately practicing both grips rather than assuming the pick technique transfers automatically, since the angle and pressure of nail-on-string differs enough from plastic-on-string to need its own repetition.
Electric Guitar Settings That Help a Strum Sit Right
If the guitar in your hands is electric, three settings change how a strummed chord comes through the amp before your hand technique even enters the picture.
A clean or lightly overdriven amp channel preserves the separation between the notes in a chord. Heavy distortion compresses and blurs a full six-string chord into a dense wall of harmonics, which is why distorted rhythm parts in rock are frequently played on fewer strings (power chords, or muted chugging) rather than full open chords. If you want a full, ringing strummed chord on electric, back the gain off.
Pickup selection changes brightness and body. A neck pickup gives a warmer, fuller sound closer to what an acoustic strum feels like, while a bridge pickup gives a brighter, thinner, more cutting sound. Many players strumming full chords favor the neck pickup or a blended middle position for exactly this reason.
Tone knob and EQ shape the top end. Rolling off some treble on the guitar or amp softens a strum that feels harsh or brittle, particularly useful on an electric with a bright bridge pickup and light-gauge strings, which is the combination most likely to sound thin when strummed hard.
If the Guitar You Own Isn't "Built" for Strumming
Everything above describes tendencies, not hard limits. A concert-bodied acoustic, a nylon-string classical, or an electric with light strings will all strum, and all of them will sound different from a dreadnought loaded with heavy steel strings, not worse, different.
If the guitar you already own leans away from the classic strumming build, three adjustments close most of the gap without buying anything new. Moving to a slightly heavier string gauge, within what the guitar and your hands can comfortably handle, adds fullness and stability. Getting the action properly set removes any buzz or stiffness that has nothing to do with the guitar's fundamental character. And leaning on the dynamics and accenting technique covered above matters more on a smaller or quieter-bodied guitar, because you cannot rely on sheer body volume to make a pattern sound alive; the variation has to come from your hand.
The guitar you already own is very likely capable of a good strum. The technique in this post is what actually closes the gap, far more reliably than trading up to a different instrument.
Changing Chords Without Breaking the Strum
The hardest part of strumming is rarely the strum itself, it is keeping the pattern going while your fretting hand moves to a new chord shape. Most beginners either stop strumming during the change (which breaks the timing) or rush the strum to compensate (which throws the whole bar off).
The fix is to keep the strumming arm moving in time through the chord change, even if the notes that come out during the exact moment of the change are muted or slightly wrong, and let the fretting hand catch up rather than waiting for it. This feels wrong at first because it means deliberately playing an imperfect-sounding chord change rather than pausing to get it right, but it is the only way the underlying rhythm survives a change, and the fretting hand's accuracy on the change catches up quickly with repetition once the timing habit is set.
Practicing a two-chord loop (a common pairing like G and D, or Em and C) at a slow, steady tempo, focused purely on never letting the strumming arm stop or hesitate through the change, builds this faster than practicing the chords themselves in isolation. Once the arm keeps time reliably through a change between two chords, it generalizes to any chord pair.
Pre-Forming the Next Shape Early
A related habit worth building deliberately: start moving your fretting fingers toward the next chord shape slightly before the strumming arm reaches the beat where the change needs to land, rather than waiting for the beat and then scrambling. This means the fingers are already in motion, and often already in position, by the time the strum actually needs the new chord to ring. It feels rushed at first because it means committing to the next shape while the current chord is still sounding, but it is the same underlying idea as keeping the strumming arm moving through a change: anticipate the transition rather than reacting to it.
Practicing with a Metronome and Backing Tracks
A metronome is the single most useful tool for exposing the tempo drift described earlier, because it gives you an external, unmoving reference instead of relying on your own sense of time, which speeds up and slows down without you noticing it happening. Setting a metronome to a slow, comfortable tempo and strumming a simple pattern against it, adjusting until every downstroke lands exactly on the click, trains your internal sense of tempo in a way that practicing without one cannot. Our guide to using a metronome for rhythm guitar covers starting tempos, subdivision drills, and how to fix the most common timing problems in more depth than fits here.
Backing tracks and simple drum loops serve a similar purpose once a pattern is solid against a plain click, since they add the feel of playing with other musicians and expose whether your strumming holds up in a more realistic musical context. Neither tool is required to strum well, but both shorten the path there considerably compared to practicing against nothing at all.
A Practice Routine for Better Strumming
A short, focused routine beats a long, unfocused one for building strumming technique specifically.
- Two minutes, muted strings. Rest your fretting hand lightly across the strings without pressing any notes, and strum a straight eighth-note pattern, focused only on keeping the arm moving in even time and the pick gliding cleanly.
- Three minutes, one chord. Fret a single open chord you know well and repeat the same pattern, listening specifically for buzz or muted strings, and adjusting finger placement until every string rings clean under a full strum.
- Five minutes, two-chord change. Loop between two chords, focused entirely on keeping the strumming arm moving through the change rather than getting the chord shape perfect on the first attempt.
- Five minutes, dynamics. Play the same pattern and chord loop at three different volumes, then add a palm-muted section, to build control over how hard you strike independent of the pattern itself.
- Metronome check. Run the whole routine, or at minimum the two-chord loop, with a metronome on a comfortably slow tempo, and only increase the tempo once the pattern holds steady without drifting.
Ten to fifteen minutes of this, done consistently, moves strumming forward faster than an hour of playing full songs badly, because each piece isolates one specific skill instead of asking your hands to manage all of them simultaneously.
Applying a Pattern to a Real Song
Isolated pattern drills only prove their worth once a pattern survives a real song, played at the song's actual tempo with its actual chord changes, rather than a metronome click in a practice room. The habit here is not to grab the first song you like, but to match a song to the chords and pattern you have actually built, so the song reinforces what you just practiced instead of exposing a gap in it.
A two-chord song at a moderate tempo is the right first target once your straight eighths pattern and one chord change are both solid, before adding a third or fourth chord to the rotation. The easiest songs for beginners guide sorts songs by exactly this, chord count and which specific chords they use, so you can pick a song that matches where your hands already are rather than one that demands a chord vocabulary or switch speed you have not built yet.
Recording Yourself to Catch What You Can't Hear While Playing
A phone's voice memo app or camera is enough to reveal problems that are almost impossible to hear accurately while you are the one playing, because your attention is split between the pattern, the chord shape, and the timing all at once. Recording a minute of a simple pattern and chord loop, then listening back with your eyes closed and no instrument in your hands, exposes tempo drift, uneven downstroke and upstroke volume, and buzzing strings far more clearly than playing does in the moment.
This is worth doing periodically rather than constantly, since obsessively reviewing every practice minute becomes its own distraction. A short recording once every week or two, compared honestly against how the same pattern sounded a few weeks earlier, is enough to show whether the fundamentals covered in this post, the down-up motion, dynamics, and clean chord changes, are actually improving or have quietly plateaued.
FAQ
Is an acoustic or electric guitar easier to strum for a beginner? Acoustic is generally the easier starting point for strumming specifically, since it needs no amp, provides its own natural volume and tone, and its wider string spacing and typically heavier strings reward the exact technique strumming depends on. Electric is not a bad choice, it simply needs an amp and benefits from a clean or lightly overdriven setting to keep a full chord sounding clear.
Do heavier strings actually make strumming sound better? Within a reasonable range, yes: heavier strings move more air and hold pitch more stably under a hard strumming attack, which is why gauges around 0.054 to 0.056 on the low E are commonly recommended for strumming acoustics. The tradeoff is that heavier strings are harder to fret, so a complete beginner may be better served starting lighter and moving up once fretting is comfortable.
Why does my strumming sound rushed or uneven even when I know the pattern? This is almost always a constant-motion problem rather than a pattern problem: if your strumming arm only moves when the pick is meant to strike the strings, the underlying pulse has nowhere to live and drifts. Keeping the arm moving in even time through every count of the bar, whether or not it makes contact, is the fix, and it is worth isolating with a metronome before blaming the specific pattern.
Can I strum a classical (nylon-string) guitar, or is it only for fingerpicking? You can strum a nylon-string guitar, and it is a real tradition in several styles, particularly Spanish and Latin playing. It will sound warmer and less bright than a strummed steel-string, since nylon has a slower attack and less projection, which is a difference in character rather than a limitation.
Should I use a pick or my fingers to strum? Either works, and the choice is mostly about the sound you want: a pick projects further and articulates fast patterns more cleanly, while fingers produce a softer, rounder attack suited to quieter folk-style playing. If you use both depending on the song, it is worth practicing each grip on its own rather than assuming the technique transfers automatically.
What pick thickness is best for strumming? Thin to medium picks, roughly 0.38 to 0.80 millimeters, are the common starting point for strumming, since the extra flex in a thinner pick glides more forgivingly across the strings than a stiff, heavy pick does in an untrained hand. Heavier picks suit a fuller, more forceful rhythm tone once your stroke is controlled enough to use one without feeling stiff.
Is a 12-string guitar good for strumming? Yes, and it is one of the more distinctive-sounding choices for it: the doubled strings ring with a natural shimmer on every strummed chord that a standard 6-string cannot reproduce. It asks more of a beginner's fretting hand, since each finger presses two strings per position, and it needs correctly staggered gauges and a properly cut nut to stay in tune and comfortable to play.
Does a capo change how I should strum? No. A capo only shortens the strings and raises their pitch; your pick grip, wrist motion, and pattern all work exactly the same with a capo on. What changes is the resulting tone (typically brighter higher up the neck) and which chord shapes produce which actual pitches.
Why does one string always sound muted when I strum a full chord? This is almost always a fretting finger resting against the neighboring string rather than a guitar problem, and it is more noticeable on a strummed chord than a picked one because every string rings at once and a dead one stands out. Check the arch of your fretting fingers, particularly on chords using three or four fingers close together.
How long does it take to strum comfortably in time? Most beginners reach a comfortable, consistent basic strumming pattern within one to three weeks of short, focused daily practice, though changing chords smoothly while maintaining that pattern typically takes longer and benefits specifically from the two-chord loop drill described above.
If you already own a guitar, whatever its body size, wood, or string type, the fastest path to a fuller strum is almost never a different instrument. It is pick grip, wrist motion, constant time, and the patience to practice a chord change slowly enough that the rhythm never breaks.
GuitarLowKey
Ready for fifteen focused minutes?
Open the web app and train the change that is blocking your song.