
How to Read Guitar Tab: A Complete Beginner's Guide
How to read guitar tab from scratch: the six string lines, fret numbers, every technique symbol like hammer-ons and bends, and what tab never tells you.
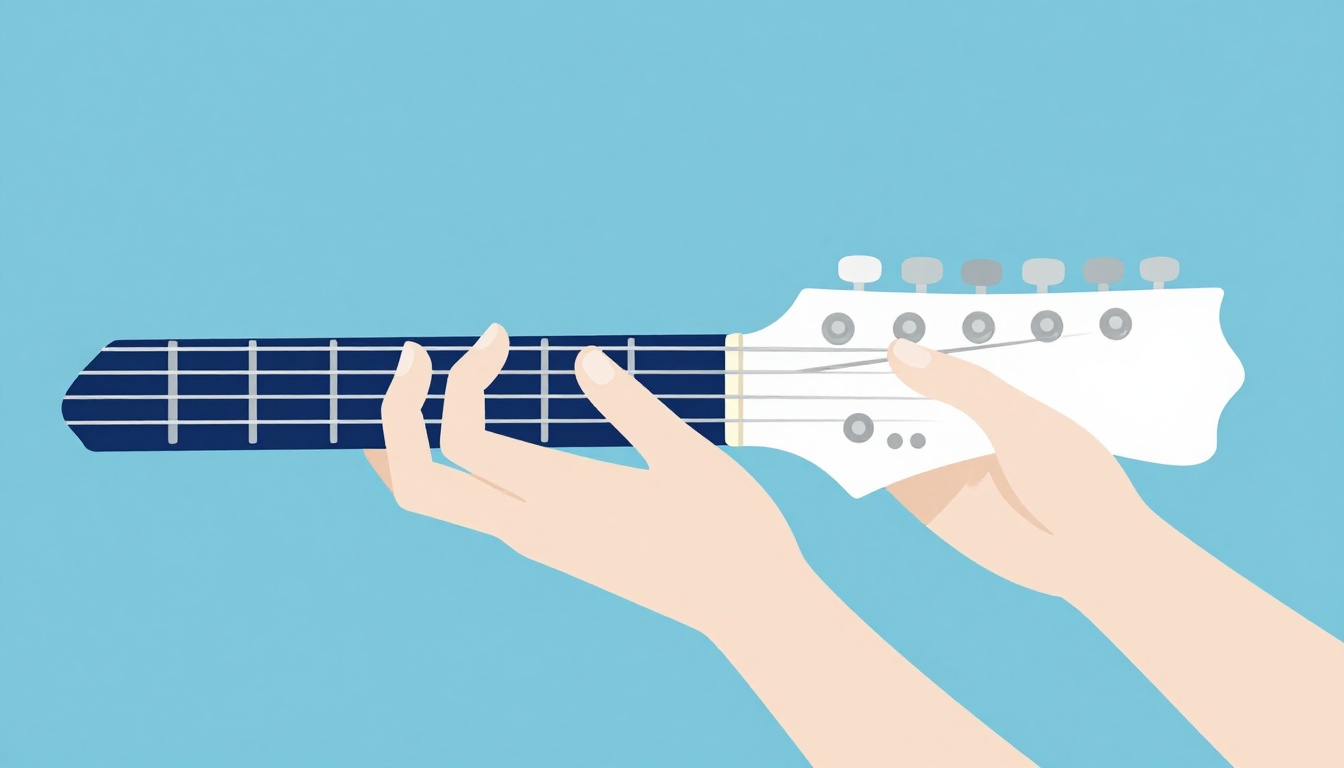
A guitar tab is six horizontal lines, one per string, with numbers on them telling you which fret to press. The top line is your thinnest string, the high E, and the bottom line is your thickest, the low E. Read the numbers left to right, press the fret shown, pick the string it sits on, and you are playing the line. That is the entire system. Everything below this paragraph is the detail that turns "I can decode the numbers" into "I can actually play the song."
What Guitar Tab Actually Looks Like
Before the symbols and the exceptions, look at the shape of the thing. A basic six-string tab is drawn like this:
e|--------------------------------|
B|--------------------------------|
G|--------------------------------|
D|--------------------------------|
A|--------------------------------|
E|--------------------------------|
Six lines, each labeled with the open string it represents, running left to right. Nothing is happening yet because there are no numbers on it. The moment you add a number, you have a note:
e|--------------------------------|
B|--------------------------------|
G|--------------------------------|
D|--------------------------------|
A|--0-----2-----3-----2-----------|
E|--------------------------------|
That line says: play the open A string, then the 2nd fret of the A string, then the 3rd fret, then back to the 2nd, in that order, moving left to right. Nothing here tells you which finger to use or how long to hold each note, and that is deliberate. Tab is a map of where, not a full script of how long or how hard. You fill in the rest with your ears, and eventually with instinct.
Standard tuning on a six-string guitar, low to high, is E, A, D, G, B, and E again, an octave higher. Every tab in this post assumes standard tuning unless it says otherwise, so if a line sounds wrong in a way that reading the numbers correctly should not produce, checking your tuning is the first thing to try.
How the Six Lines Map to Your Strings
The line at the top of the tab is your high E string, the thinnest one, closest to your chin when you hold the guitar in playing position. The line at the bottom is your low E string, the thickest, closest to the floor. In between, top to bottom, sit B, G, D, and A.
| Line position | String | Standard name | Standard pitch |
|---|---|---|---|
| Top | 1st string | High E | E |
| 2nd from top | 2nd string | B | B |
| 3rd from top | 3rd string | G | G |
| 4th from top | 4th string | D | D |
| 5th from top | 5th string | A | A |
| Bottom | 6th string | Low E | E |
This layout does not match the order you would count the strings on a chord diagram, which usually lists the low E first because it is the fattest and most obvious string to a beginner's eye. On a tab, the top-to-bottom order instead mirrors what you see looking down at the neck while you play, thin string near your face at the top of the page, thick string near the floor at the bottom. Once that clicks, the page stops being an abstract grid and starts being a picture of your own guitar.
The most common beginner slip is reading the top line as string "number one" in the sense of "the first string I should think about," which some players wrongly assume is the low E because it is the biggest and lowest sounding. On a guitar tab, the string numbering used in string names like "1st string" or "6th string" always counts from the thinnest string up, so the 1st string is the high E at the top of the tab, and the 6th string is the low E at the bottom. If a line you are playing suddenly sounds an octave off from what you expected, check that you have not flipped the strings in your head.
A Note for Left-Handed Players
Every string and fret reference in this post assumes a right-handed guitar held in the standard way, fretting hand on the neck, picking hand over the body. If you play a left-handed, reverse-strung guitar, mirror the string positions in every tab and table here (the top line becomes your low E and the bottom line becomes your high E) rather than the fret numbers, which stay the same either way since a fret is still a fret regardless of which hand is fretting it.
Reading Fret Numbers: Open Strings and Fretted Notes
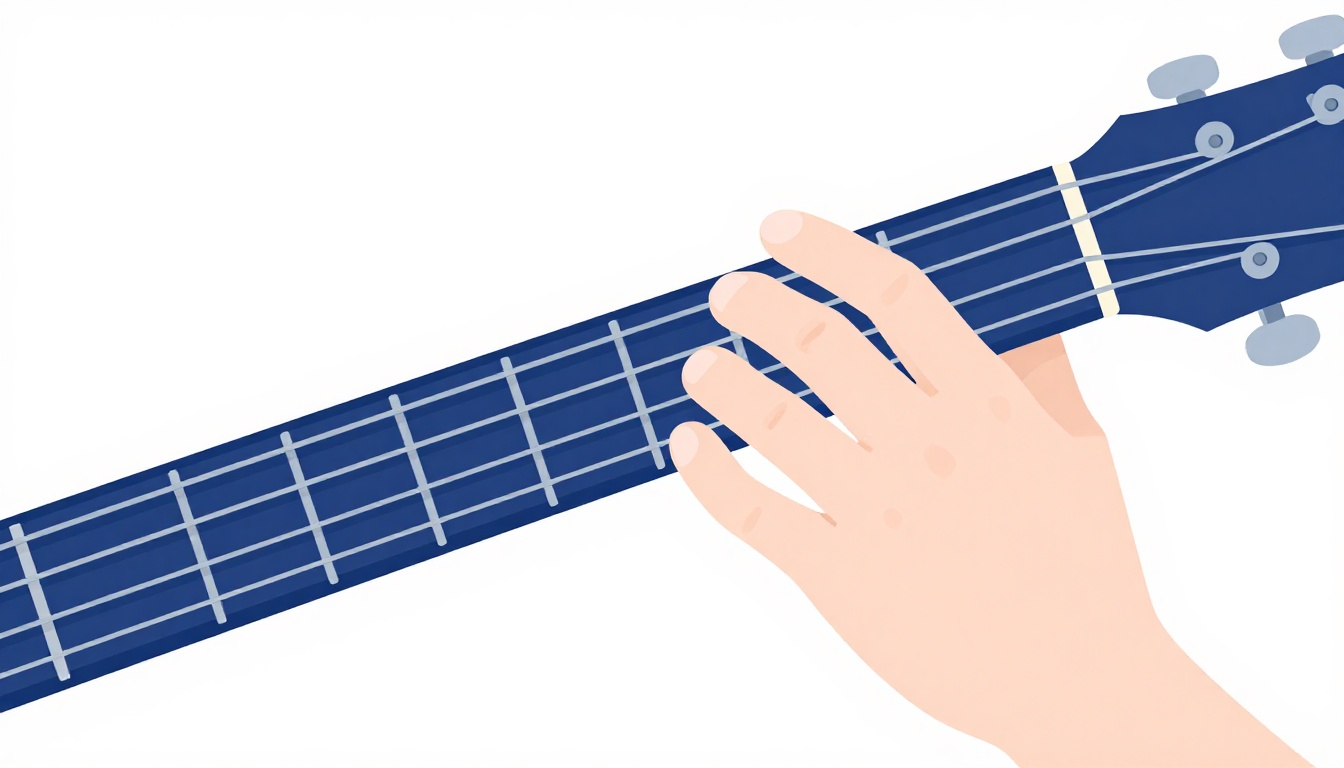
A 0 on any line means play that string open, no finger pressing anywhere. Any other number tells you the fret to press, counted from the nut, the strip of material at the top of the neck where the strings meet the headstock.
Frets are numbered outward from the nut, so the 1st fret is the space closest to the headstock, and the numbers climb as you move down the neck toward the body. A 3 on the A string line means press the 3rd fret of your A string and pick it. A 12 means the 12th fret, which on most guitars lines up with a double dot inlay and sits exactly one octave above that string's open pitch.
| Number on the tab | What it means |
|---|---|
| 0 | Play the string open, no fret pressed |
| 1 to 4 | Play in the first few frets, closest to the headstock |
| 3, 5, 7, 9, 12 | Common single or double dot marker frets, useful visual anchors |
| 12 | One octave above the open string |
You do not need to memorize every fret's pitch to start reading tab. You need to know that the number is a location, not a note name, and that the same number produces a different pitch on every string, because each open string starts on a different note. If you want that deeper layer, learning the natural notes across the fretboard is worth doing once reading fret numbers feels automatic, since it turns "press the 3rd fret" into "that's a G," which is useful once you start transposing or writing your own parts.
Fret Numbers vs Finger Numbers
A fret number and a finger number look identical on the page, a single small digit, and beginners often assume the number on a tab tells them which finger to use. It does not. The number on a guitar tab is always a fret, a location on the neck, never an instruction about your fretting hand.
Finger numbering is a separate system: 1 is your index finger, 2 is your middle finger, 3 is your ring finger, and 4 is your pinky. Thumb is written as T, mostly seen wrapping around the neck to fret the low E string in some chord voicings or in tapping notation. Some lesson materials print finger numbers above a tab as a teaching aid, usually circled or bracketed so they are visually distinct from the fret numbers, but plain community tabs almost never include them. Left alone, a tab expects you to work out sensible fingering yourself, typically one finger per fret in a four-fret hand position, though there is rarely only one correct fingering for a given line.
| Symbol | System | Example meaning |
|---|---|---|
| A number on a string line | Fret | "5" means the 5th fret |
| 1, 2, 3, 4 near a note (when shown) | Finger | "2" means use your middle finger |
| T | Finger | Thumb, used for wraparound bass notes or tapping |
If a tab you are reading suddenly has small numbers in brackets, above the staff, or circled and out of line with the string layout, that is very likely finger guidance layered on top of the fret numbers, not a second set of frets to play.
Rhythm Tab vs Lead Tab: Reading Chords vs Single Notes
Guitar tab does two different jobs depending on what is being written, and mixing them up is a common source of confusion that bass players rarely run into, since a bass mostly plays one note at a time. Rhythm tab shows chords, several notes stacked and strummed together. Lead tab shows single-note lines, melodies, riffs, and solos, one note at a time.
A chord in tab looks like several numbers stacked directly on top of each other at the same point on the page:
e|--0--|
B|--1--|
G|--0--|
D|--2--|
A|--3--|
E|--x--|
Read straight down, that stack is a C major chord, muted low E, 3rd fret A, 2nd fret D, open G, 1st fret B, open high E, all strummed together as one sound. A lead line, by contrast, spreads its numbers out left to right, one at a time:
e|-----------------|
B|-----------------|
G|--0--2--3--2--0--|
D|-----------------|
A|-----------------|
E|-----------------|
Both examples are valid guitar tab. The skill of telling them apart at a glance, chord blocks stacked vertically versus melodic runs spread horizontally, saves you from strumming a line that was meant to be picked note by note, or picking through a passage that was meant to ring as a full chord.
Many songs mix both formats in the same tab, rhythm chords for the verse and chorus, a lead riff for the intro or a solo section, sometimes even switching mid-line when a chord briefly breaks into a short melodic fill. Scan a new tab for this shift before you start playing it, so you already know which sections call for a strum and which call for picking single notes.
Reading Left to Right: Order, Timing, and Stacked Notes
Tab reads the way English text reads, left to right, and top of a page to the bottom for a full song, one block of six strings at a time. Two numbers side by side on the same line are played one after another. Two numbers stacked directly on top of each other, on different strings, are played at the same instant, which is how tab shows a chord or a two-note interval.
e|----------2--|
B|----------3--|
G|--0--2-------|
D|-------------|
A|-------------|
E|-------------|
Reading this left to right: first the open G string alone, then the 2nd fret of the G string alone, then the B and high E strings together at the 3rd and 2nd frets, played as one combined sound. That last pair is a two-note interval, common in lead guitar for adding harmony to a single-note line without playing a full chord.
Spacing between numbers is a rough visual cue for timing, more space usually meaning more time before the next note, but it is not a precise measurement the way sheet music is. Two tabs of the same riff from two different transcribers can space the identical rhythm completely differently. Treat spacing as a hint, not a metronome, a point this post comes back to in more detail shortly.
Common Guitar Tab Symbols and What They Mean
Beyond plain fret numbers, tab uses a small alphabet of letters and punctuation marks to show technique, the physical thing your hands do to produce a note, not just where. These symbols are close to universal across tab sites and Guitar Pro files, though small variations exist, so check a tab's own legend if one is provided.
Hammer-Ons (h)
A hammer-on is fretting a note by striking the string with a fretting finger hard enough to sound the pitch, without picking again. In tab it sits between two numbers on the same string, lower fret first: 5h7 means pick the 5th fret, then hammer onto the 7th fret with another finger, no second pick stroke. Hammer-ons almost always move from a lower fret to a higher one, since you need somewhere for the string to still be vibrating from.
Pull-Offs (p)
A pull-off is the reverse. You are already fretting a higher note, and you release it with a slight downward flick of the fretting finger, letting the string ring at a lower fret or open, without picking again. Written 7p5, meaning you are already sounding the 7th fret and pull off to the 5th, still ringing from the original pick stroke. A pull-off almost always moves from a higher fret down to a lower one or to an open string.
Hammer-ons and pull-offs are how riffs and solos get their smoothness and their speed. A line played with every single note freshly picked sounds mechanical next to the same line played with a few well-placed hammers and pulls woven in, which is also why fast lead lines almost always lean on them rather than picking every note.
Slides (/ and )
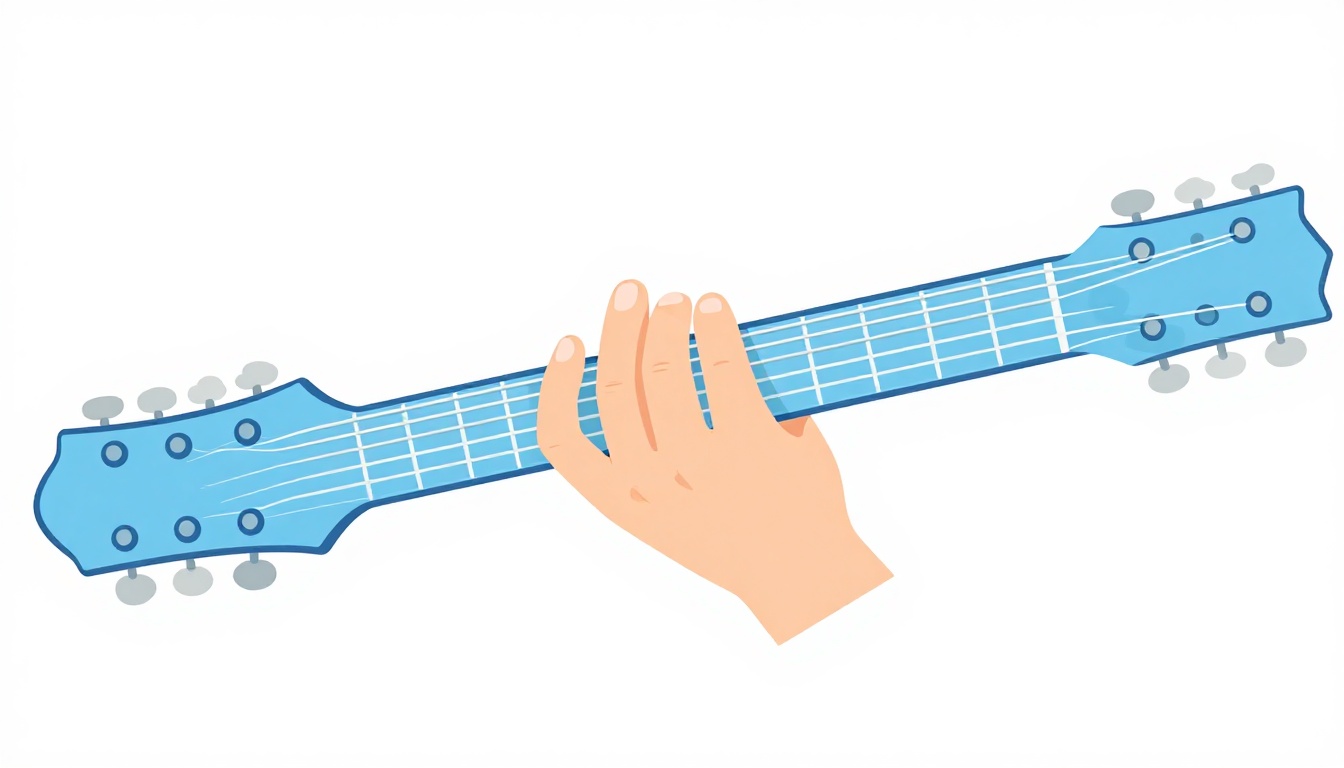
A forward slash means slide up in pitch, a backslash means slide down. 3/5 means fret the 3rd fret, pick it, then slide your finger up to the 5th fret while it keeps ringing, no second pick stroke. 5\3 is the same motion in reverse, sliding down. A slide connects two notes with one continuous sound instead of a clean jump between them, and it is common at the start or end of a phrase, gliding into or out of the next section of a riff.
Some tab styles use a plain "s" instead of a slash when the direction is obvious from context, and some mark a slide into a note from an indefinite starting point with a slash before the number and no starting fret shown, meaning slide up into that note from somewhere below it.
Bends (b) and Releases (r)
A bend means pushing or pulling the string sideways across the fret to raise its pitch without moving to a different fret. It is written as a "b" after the starting fret, often followed by the target pitch, or as an upward arrow above the number depending on the tab source. 7b9 means fret the 7th fret, pick it, then bend the string until it sounds like the 9th fret's pitch, without moving your finger to that fret.
Bends come in a few common sizes, and getting the size right matters more than most beginners expect, since an undershoot or overshoot sounds noticeably out of tune rather than just "close enough."
| Bend size | Pitch change | Common notation |
|---|---|---|
| Quarter bend | A subtle curl, less than a half step | "1/4" or a small curved line |
| Half bend | One fret's worth of pitch | "1/2" or plain "b" |
| Full bend | Two frets' worth of pitch, a whole step | "full" or plain "b" |
| Step and a half bend | Three frets' worth of pitch | "1 1/2" |
A release, marked with an "r," brings a bent string back down to its starting pitch: 7b9r7 means bend up from the 7th fret to sound like the 9th, then release back down to the 7th fret's pitch, all from a single pick stroke. A pre-bend, sometimes written "pb," means bending the string up before you pick it at all, so the pick stroke itself sounds the higher pitch, often followed immediately by a release back down.
Vibrato (~)
A tilde after a note means vibrato, a small, rapid wobble of pitch created by rocking your fretting finger back and forth, or on electric guitar sometimes shaking the whammy bar, while the note keeps ringing. It adds warmth and sustain to a held note, and it is most useful and most often written on longer notes near the end of a phrase, where the note has time to breathe before the next one arrives.
Palm Muting (P.M.)
Written as "P.M." followed by a dashed line stretching over the affected notes, palm muting means resting the edge of your picking hand lightly across the strings near the bridge while you play, shortening the notes and giving them a tighter, chugging sound. It shows up constantly in rock and punk rhythm parts, where a driving, muted eighth note pulse under the chords is part of the song's identity, and it is one of the few tab symbols that spans multiple notes rather than modifying just one.
Dead Notes and Muted Strings (x)
An x on a tab means a muted, percussive note with no clear pitch. You rest your fretting hand lightly across the strings, enough to stop them ringing a real note, then pick anyway, producing a click or thud instead of a tone. This is a real, deliberate part of many riffs, not a mistake, and funk and some metal rhythm parts lean on it heavily for a chunky, rhythmic feel between actual chord hits.
Natural and Pinch Harmonics
A natural harmonic is produced by touching a string very lightly, without pressing it down, directly over certain frets, most reliably the 12th, 7th, and 5th, then picking, which produces a bell-like, higher pitched chime instead of the string's normal fretted tone. Tabs mark this with a diamond shaped note head, angle brackets around the fret number, or the letters "N.H.," depending on the source.
A pinch harmonic is a different, electric-guitar-specific technique, producing a similar bell-like squeal but from a normally fretted note, by grazing the edge of your picking-hand thumb against the string a fraction of a second after picking it. It is marked "P.H." above the note, and it depends heavily on pickup position and amp gain, so a clean, low-gain tone will produce a much fainter effect than a heavily distorted one even with identical technique.
Tapping (T)
Tapping uses a finger of your picking hand, instead of your pick, to strike a fret directly, usually combined with hammer-ons and pull-offs on the same string to play notes spanning a wider range than one hand alone could comfortably reach. It is marked with a "T" above the tapped note. A simple tapping figure might read T12h15p12h8, meaning tap the 12th fret with your picking hand finger, hammer up to 15 with your fretting hand, pull off back to 12, then hammer down further to 8, all from one initial tap.
Trills and Tremolo Picking
A trill, marked "tr" above a note, means rapidly alternating between two notes, almost always played as a continuous stream of hammer-ons and pull-offs between the same two frets for as long as the note is held. Tremolo picking, marked "trem" or "T.P." above a note, is different: it means picking a single note as fast and evenly as possible with alternating down and up strokes, without changing which fret is fretted, common in metal riffs and dramatic string-section-style guitar parts.
PIMA: Fingerstyle's Other p, i, m, and a
Fingerpicked and classical guitar tab uses a second, completely separate set of letters to mark which picking-hand finger plays each note, borrowed from Spanish finger names: p for pulgar, the thumb, i for indice, the index finger, m for medio, the middle finger, and a for anular, the ring finger. This is not the same "p" used above for a pull-off, and the overlap between the two is a genuine source of confusion the first time you meet it.
Context tells them apart. A lowercase p sitting between two fret numbers on the same string, like 7p5, is a pull-off. A lowercase p sitting below or above a single note in a fingerpicked passage, with no second fret number tied to it, is telling you to pluck that note with your thumb. The letters used for pull-offs always appear connected to a second fret number, since a pull-off only makes sense as a move between two notes, while PIMA letters attach to single notes one at a time.
A common fingerstyle pattern assigns the thumb to the lowest two or three strings for bass notes and a steady pulse, while the index, middle, and ring fingers each take one of the top three strings, index on the G string, middle on the B string, ring on the high E string, letting one repeating hand pattern carry across many different chords without rethinking the fingering every time the chord changes. Not every fingerpicked tab includes PIMA letters at all. Plenty of tab from mainstream community sites only encodes fret numbers and leaves the picking-hand assignment up to whatever pattern feels comfortable in your own hand.
Why Your Tab-Reading Doesn't Sound Right Yet
Even once every symbol above makes sense, a line played exactly as the fret numbers and letters suggest can still sound flat and mechanical compared to the recording. This is not a sign you misread the tab. It is a sign of what tab, as a system, was never designed to show.
It Rarely Shows Rhythm or Note Duration
Standard sheet music uses different note shapes, filled or hollow heads, stems, flags, to show exactly how long each note rings before the next one starts. Plain text tab, the kind found on most community tab sites, usually just shows the order of notes with dashes as filler. A dash is not a rest and not a held note. It is spacing, nothing more.
The fix is to listen to the actual recording while you look at the tab, not instead of it. Your eyes get the fret numbers, your ears get the rhythm. Play a phrase from the tab, check it against the song, adjust, repeat. Every working guitarist still does this, even ones who have been reading tab for years.
It Skips Dynamics and Articulation
Tab is also silent on dynamics, how loud or soft a note is, and on articulation, how a note is attacked and how long it rings before the next one cuts it off. A guitarist might pick the first note of a phrase hard and let the rest trail off softly, or dig into a chord right before a chorus to push the energy up, and none of that shows up as anything different in the numbers on the page.
Copying the dynamic shape you hear in a recording, louder here, softer there, a slight push right before a section change, is what turns a technically correct reading of a tab into something that actually sounds like the song. Tab gets you to the right notes. The recording is still where the feel comes from.
It Says Nothing About Tempo
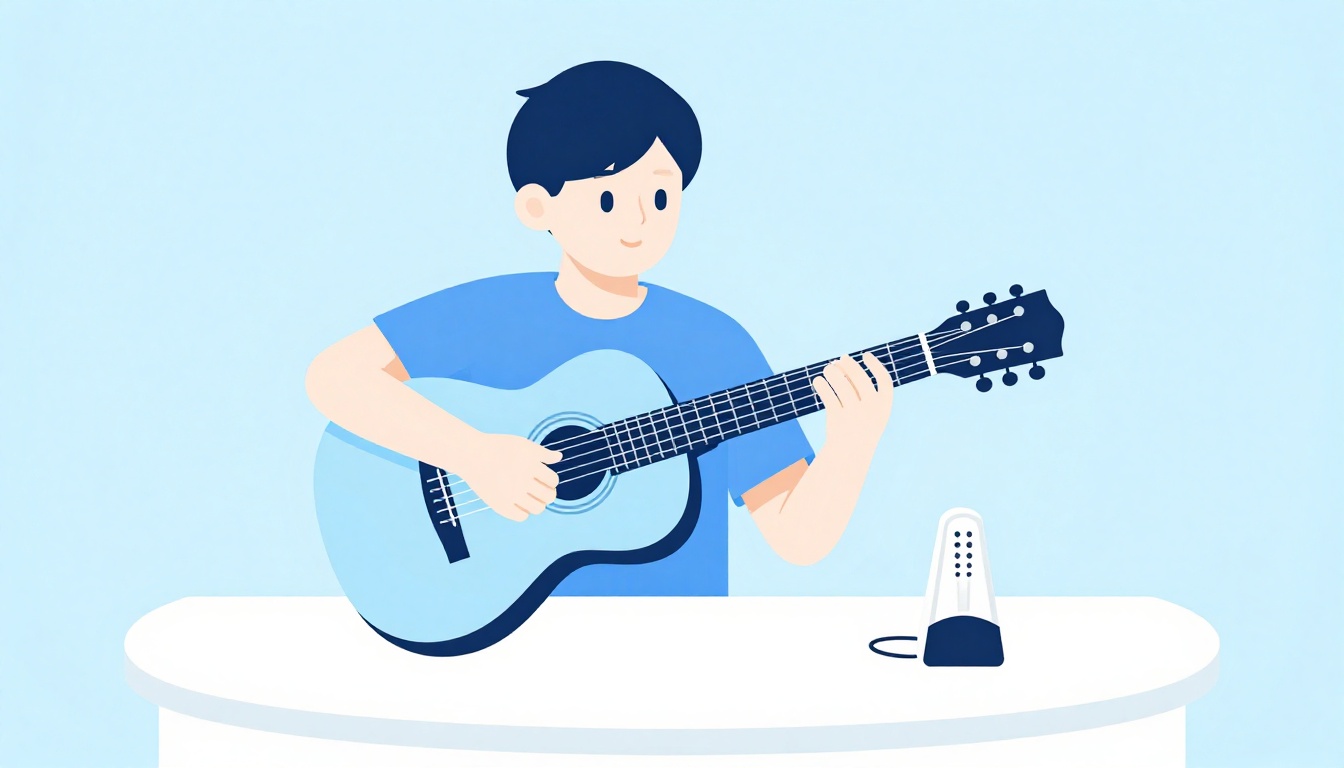
A tab has no built-in speed. The same string of numbers could be a slow ballad phrase or a fast punk riff, and the page looks identical either way. Some tabs add a beats-per-minute number or a time signature like 4/4 at the top as a courtesy, but plenty do not. Set your own tempo from the recording, and while you are still learning a line, slow it down evenly with a metronome rather than guessing at a rhythm that feels roughly right.
Counting Along When Rhythm Isn't Marked
Since plain text tab usually skips rhythm entirely, some transcribers add a simple counting line underneath the numbers to help, using the standard "1 and 2 and 3 and 4 and" count musicians use to feel eighth notes within a bar of four beats:
e|--------------------|
B|--------------------|
G|--------2-----------|
D|--------2-----------|
A|--0---3-------5-----|
E|---------------------|
1  &  2  &  3  &  4  &
Each number or "and" underneath lines up with a beat or half beat, giving you a rough grid to place the notes on even without formal note durations above them. Not every tab includes this, and when one does, treat it as a helpful approximation rather than an exact transcription, since the person adding it is estimating by ear the same way you would.
Where no counting line exists at all, build your own by listening to the recording and tapping your foot on the beat while you trace the tab with a finger. Once you can feel where beat one lands in the recording, you can usually place the rest of a short phrase around it even from bare numbers.
Reading the Tab Header: Tuning, Capo, and Tempo
Most full song tabs open with a short header block above the first line of numbers, and it is worth reading before you play a single note. A typical header lists the song title and artist, the tuning the tab assumes, and sometimes a tempo in beats per minute, a time signature, or a capo instruction.
The tuning line matters more than it looks. Most guitar tabs assume standard tuning, but a large share of rock, metal, and folk tabs are written for a guitarist tuned differently.
| Tuning name | Strings, low to high | Common in |
|---|---|---|
| Standard | E, A, D, G, B, E | Most genres |
| Drop D | D, A, D, G, B, E | Rock, metal |
| Half step down | Eb, Ab, Db, Gb, Bb, Eb | Rock, blues, some metal |
| Open G | D, G, D, G, B, D | Slide guitar, blues, some rock |
| DADGAD | D, A, D, G, A, D | Folk, fingerstyle |
If a tab's header says Drop D and you try to play it in standard tuning, every note involving the low string will be off in a way no amount of careful reading fixes, because the problem sits upstream of the numbers themselves. Always match your tuning to the header before deciding a tab is wrong.
A capo instruction works differently from a tuning change. Rather than retuning any string, a capo clamps across the neck at a given fret and acts as a movable nut, raising every open string's pitch by the number of frets it sits at. When a header says "Capo 2," every fret number in the tab that follows is counted from the capo, not from the actual nut. If choosing where to place a capo is still new to you, that post walks through matching a capo position to a song's key, which pairs directly with reading a capoed tab correctly.
Tab vs Chord Diagrams: Two Different Formats
Beginners sometimes mix up guitar tab with chord diagrams, and while both use grids of lines and numbers, they answer different questions and are read differently. A chord diagram is a small vertical grid representing a short section of the fretboard, showing exactly where to place your fingers for one specific chord shape, the kind of table you would find in a post breaking down a single chord shape. Tab, by contrast, stretches horizontally across the page and shows a sequence of notes or chords over time, one column for every moment in the music.
A chord diagram answers "where do my fingers go for this one chord." A tab answers "what do I play, in what order, over the course of this whole passage." Full song tabs sometimes include both, a chord diagram above the staff the first time a new chord shape appears, then plain tab numbers everywhere that chord repeats afterward, so you only need the visual shape reminder once.
Tab vs Standard Notation: Why Guitarists Still Use Tab
Standard notation, the five line staff with note heads and stems, tells you exact pitch and exact duration, but it does not tell you where on the neck to play a note, and on guitar the same pitch often exists in more than one place, sometimes three or four. Tab solves that problem directly. It tells you exactly where to put your fingers, which is the part a beginner actually gets stuck on.
The trade-off is real. Tab's silence on rhythm is the price paid for its clarity on fingering, which is why the two systems often appear stacked together on professional transcriptions and in Guitar Pro files, standard notation on top showing the rhythm, tab underneath showing the fret. If you only have plain text tab, you are supplying the rhythm half yourself, from your ears, every time. That is not a flaw in you or in tab as a system. It is simply what tab was built to do and not do.
The Same Note, Different Places on the Neck
The reason tab exists at all comes down to one fact about the guitar: almost every pitch can be played in more than one spot. Standard notation would show all of these as the identical note on the staff, since they sound the same, but a guitarist still needs to know which one to actually play. The G natural above middle C is a useful example of just how many places one note can hide.
| String | Fret |
|---|---|
| Low E (6th) | 3 |
| A (5th) | 10 |
| D (4th) | 5 |
| G (3rd) | Open |
| B (2nd) | 8 |
| High E (1st) | 3 |
All six of those produce the same pitch, and a piece of standard notation showing that G would look identical no matter which one a player chose. Tab removes the guesswork by naming the exact string and fret the transcriber intends, which is also why two tabs of the same song can legitimately disagree without either one being wrong. A phrase built around an open G string sounds and feels different under the fingers than the same pitch played on the 5th fret of the D string, even though a listener hears no difference at all.
Where the Word "Tab" Comes From
Tablature is far older than the guitar. The earliest known European tablature was written for pipe organ around the year 1300, and by the Renaissance, lute players had developed their own detailed tablature systems for showing exactly where to place their fingers, the same core problem guitarists still solve with tab today. The word itself traces back to the Latin "tabula," a flat board or table, a reference to laying music out on a grid rather than a musical staff.
Guitar tab as it looks today, plain text lines and numbers rather than a printed lute grid, is a much more recent, informal development, spread mostly through hand-typed song files shared between guitarists before community tab websites existed, then carried forward largely unchanged once those sites took over. The core idea connecting a medieval lute grid to a modern plain text tab has not changed in all that time: show the player exactly where to put their fingers, and let pitch and rhythm come from context, an instrument, and a set of ears.
Bar Lines, Repeats, and Reading a Full Song
A vertical line running through all six strings marks the end of a measure, a fixed chunk of time, most often four beats in common time. Bar lines help you keep your place and count along, even without formal rhythm notation, because you can count "1, 2, 3, 4" evenly across the notes between two bar lines and get a rough sense of how they should land.
Two vertical lines close together, one thin and one thick, usually mark the end of a whole section or the song. A colon next to a bar line, written as :| or |:, marks a repeat, telling you to go back and play that section again before moving on. Some tabs write "x2" or "x4" above a section instead of using repeat marks, meaning play that chunk that many times through.
Longer tabs are almost always broken into labeled sections, intro, verse, chorus, bridge, so you can find your place in a full song rather than reading one unbroken wall of numbers. When you sit down with a new tab, scan for these labels first and get a sense of the song's shape before you play a single note.
More detailed tabs, especially ones generated from Guitar Pro files, sometimes show a curved line connecting two identical fret numbers on the same string. That is a tie, telling you the first note is held through into the second beat rather than picked again, a piece of rhythmic detail that plain text tab usually cannot show at all.
Guitar Pro, Songsterr, and Other Tab Software
Plain text tab, the kind formatted with dashes and letters used throughout this post, is only one format. Interactive players display a similar string and fret layout but sync it to audio playback, moving a cursor across the notes in time with the song so you can see the rhythm you would otherwise have to guess at. Many of these tools also let you slow playback down without changing the pitch, one of the most useful practice aids available for a line that is too fast to read cleanly on a first pass.
Notation software such as Guitar Pro, and free alternatives that read the same file format, store tab in a format that includes real rhythmic information, note duration, rests, and tempo, alongside the fret numbers, closer to a full transcription than plain text tab can offer. These files play back through the software itself, so you both see and hear an accurate rhythm rather than reconstructing one from spacing and guesswork.
| Format type | What it looks like | What it adds |
|---|---|---|
| Plain text tab | Dashes and letters, found on most community tab sites | Fret numbers and technique symbols only |
| Interactive tab player | A tab layout synced to audio, with a moving playback cursor | Real rhythm and adjustable playback speed |
| Notation software file | Standard notation and tab shown together, playable | Full rhythm, tempo, and note duration alongside fret position |
None of this replaces the core skill this post is about. Whichever format you are looking at, you are still reading lines for strings and numbers for frets. Interactive tools simply fill in the timing gap that plain text tab leaves open, which makes them worth using once the basics are solid, especially for a song whose rhythm is hard to pin down by ear alone.
Where to Find Tabs You Can Trust, and How to Catch a Wrong One
Community tab sites host the largest libraries and let other players rate a tab's accuracy, worth checking before you invest time learning one, since anyone can submit a tab and quality varies widely. A tab with a high rating and a lot of votes from other users is a reasonable starting point. A tab with no ratings at all is closer to a coin flip.
The real test is always your ears against the recording. Play a phrase, then listen to the same moment in the song, and ask whether what you played matches what you heard. If it does not, the tab may be wrong, or you may be misreading it, and either way the fix is the same: find an isolated guitar track or a video of someone playing along with the recording, and use it to confirm the fret numbers you are unsure about. Treat every tab as a first draft you verify, not a finished answer you accept on sight.
Common Beginner Mistakes When Reading Guitar Tab
Confusing String Order
Reading the top line as the low E instead of the high E is the single most common early mistake, since it is a natural assumption if no one has explained the convention to you. If a line you are playing sounds wrong by roughly an octave, or a melody feels inverted, this is the first thing to check.
Ignoring the Header
Skipping past a tuning note, a capo instruction, or a tempo marking at the top of a tab, then wondering why nothing sounds right, is an easy trap. Read the header before you play the first note, every time, especially on a tab for a song you already know well enough to notice immediately if something is off.
Treating a Technique Symbol as a Plain Note
Playing an "h" or a "p" as a separately picked note instead of an actual hammer-on or pull-off changes the whole feel of a line. It is a small difference on paper and a large one to the ear, since much of a riff's smoothness lives entirely in those connecting techniques rather than in the raw fret numbers.
Rushing to Full Speed Immediately
A tab gives you no built-in tempo guardrails, so it is tempting to try matching a fast recording right away, get frustrated, and give up on the phrase. Slow it down with a metronome, get the fret order and the technique symbols clean, then bring the speed up in small steps.
Not Muting the Strings You Are Not Playing
A tab only tells you what to play, not what to silence, and a beginner's other fingers often rest against unused strings without realizing it, letting them ring or buzz underneath the intended note. Get in the habit of letting your fretting hand's unused fingers lightly touch the strings you are not using, muting them by default, especially the strings above the one you are currently fretting.
Skipping the Ear Check Entirely
Treating a tab as gospel rather than a best guess means any error in the original transcription becomes an error you learn and repeat. A few minutes with the actual recording playing alongside your practice catches most of these before they turn into a bad habit that is harder to unlearn later.
Reading Your First Tab: A Worked Example
Here is a short practice line, written to illustrate the ideas above rather than copied from any particular song, so you can walk through it slowly without worrying about matching a recording yet.
e|--------------------------|
B|--------------------------|
G|--0-----2--3h5-------5p3--|
D|----------------3----------|
A|--------------------------|
E|--------------------------|
Read it left to right. Start on the open G string. Move to the 2nd fret of the G string. Hammer from the 3rd fret to the 5th fret on the G string, without a second pick stroke. Drop to the 3rd fret of the D string. Come back up and pull off from the 5th fret to the 3rd fret on the G string. Every motion in that line is something this post has already covered: an open string, fretted notes, a hammer-on, a string change, a pull-off. Play it slowly, one motion at a time, before trying to connect it into a single smooth phrase.
A Second Worked Example: Combining Techniques in One Phrase
Once the first example feels automatic, try a phrase that stacks a few more techniques together, the way a real solo or riff usually does rather than isolating one symbol at a time.
e|--------------------------------|
B|--7b9r7---7~----------------------|
G|------------------7/9--9h11p9---|
D|--------------------------------|
A|--------------------------------|
E|--------------------------------|
Reading this left to right on the B string first: pick the 7th fret, bend it up to sound like the 9th fret, release back down to the 7th fret's pitch, all from one pick stroke, then pick the 7th fret again and add vibrato while it rings. Moving to the G string: slide from the 7th fret up to the 9th fret, then hammer from the 9th fret up to the 11th, then pull off back down to the 9th, all connected without picking again after the initial slide.
Nothing in that phrase is a new symbol. It is the same bend, release, vibrato, slide, hammer-on, and pull-off covered earlier, just placed back to back the way a real lead line compresses several techniques into a short space. If a combined phrase like this trips you up, break it back down into its individual techniques, confirm each one in isolation, then rebuild the full phrase one added technique at a time rather than trying to play all of it correctly on the first attempt.
Easy Songs to Practice Reading Tab On
Once the symbols feel familiar, the fastest way to get comfortable with real tab is applying it to songs simple enough that a wrong note is obvious the moment you hear it. If you want full, verified tabs to work from rather than building your own practice lines, the tab for "Under the Bridge" is built almost entirely from open and barre chord shapes, a good next step once plain fret numbers feel comfortable and you are ready to apply the same reading skills to full chord blocks. The "Everlong" tab mixes a recognizable picked riff with strummed chords, which is useful for practicing the shift between lead-style single notes and rhythm-style chord blocks covered earlier in this post.
Whichever song you start with, compare more than one transcription if you can find them, and check what you play against the actual recording as you go, the same verification habit covered earlier applies to every tab you will ever read, not just the tricky ones.
Weaning Off Tab: Reading Ahead and Playing by Ear
Tab is a starting point, not a permanent crutch, and most guitarists gradually need it less as their ear develops. Two habits speed that shift along.
The first is reading ahead of where your hands are, the same skill a fluent reader uses on a page of text, glancing at the next few notes while your hands are still playing the current one, rather than reading and playing one number at a time. This takes deliberate practice, but it is what makes reading tab at performance speed possible at all, since reading strictly one note at a time will always lag behind the music.
The second is trying to work out a short, simple line by ear before looking at the tab at all, then checking your guess against the transcription. Even getting it partly wrong is useful, because it trains the connection between what you hear and where it lives on the neck, the exact skill that eventually lets you play along with a song that has no tab written for it at all.
A Practice Routine for Learning to Read Guitar Tab Today
Pick one short tab, four to eight bars, of a song you already know well by ear. Read through it once without your guitar in hand, just tracing the numbers with a finger and saying the string and fret out loud, "G string, third fret, hammer to fifth." Then pick up the guitar and play it at a slow, even tempo, checking each note against what you said. Play it five times slowly before trying it any faster. Finally, play along with the actual recording at a reduced speed if your player supports it, and only move to full speed once the slow version is clean and matches what you hear.
| Step | What to do |
|---|---|
| 1 | Trace the tab with a finger, no guitar, saying string and fret aloud |
| 2 | Play it slowly, five clean repetitions, no metronome pressure yet |
| 3 | Add a metronome at a reduced tempo |
| 4 | Play along with the recording, slowed down if possible |
| 5 | Increase tempo in small steps only once the slow version is clean |
Fifteen minutes of this, done daily, builds tab literacy far faster than an hour once a week, because the pattern recognition, seeing a hammer-on symbol and immediately knowing what your hand should do, comes from repetition, not from a single long session. If you are building this into a short daily habit rather than one long session, the homepage has more on structuring focused fifteen-minute practice blocks that actually stick.
FAQ
Do I need to know music theory to read guitar tab?
No. Tab tells you exactly which string and fret to play, so you can follow it correctly without knowing note names, scale degrees, or key signatures. Theory becomes useful later, when you want to understand why a line works or write your own, but it is not a requirement to start reading tab today.
Why does the same tab sound different when two people play it?
Because plain text tab usually leaves out rhythm and dynamics. Two players reading identical fret numbers can land on different timing, different note lengths, and different accents unless both are cross-checking against the same recording.
Is tab less accurate than standard notation?
It answers a different question. Standard notation is precise about pitch and duration but silent about fingering position. Tab is precise about fingering position but usually silent about duration. Neither is strictly more accurate, they are built for different information.
What does a number in parentheses mean on a guitar tab?
Most commonly a ghost note, played much quieter than the notes around it, adding rhythmic texture without standing out melodically. Some tabs also use parentheses to show a note that rings on from an earlier string change rather than being freshly picked, so check a tab's legend if one is given.
How do I know if a tab I found online is wrong?
Play it slowly alongside the actual recording and listen for mismatches. A tab with a strong accuracy rating on a community site is a reasonable starting point, but your own ear against the recording is the only real confirmation.
Do all guitar tabs use the same symbols?
The core symbols, h for hammer-on, p for pull-off, slashes for slides, b for bends, x for dead notes, are close to universal, but small variations exist between tab sites and individual transcribers. Look for a legend at the top of a tab if a symbol you see is not covered here.
Why is the low E string drawn at the bottom instead of the top?
Because the tab is drawn to match what you see looking down at your own guitar while you play it, thick low E string closest to the floor, thin high E string closest to your chin. The layout mirrors the instrument rather than following a numbered counting order.
What is the difference between a guitar tab and a chord chart?
A tab gives you the exact fret and string for every note, including fills and rhythmic detail. A chord chart just lists chord names for a song, leaving you to strum your own rhythm pattern. Tab is more specific and easier to follow exactly, a chord chart demands more of your own rhythmic sense but is faster to read at a glance.
How long does it take to get comfortable reading guitar tab?
Most beginners can decode the basics, string lines, fret numbers, open strings, within a single practice session. Reading fluently, at speed and without stopping to work out each number, tends to take a few weeks of regular short sessions, since it depends on pattern recognition building up through repetition rather than on memorizing a rulebook.
GuitarLowKey
Ready for fifteen focused minutes?
Open the web app and train the change that is blocking your song.