
Twinkle Twinkle Little Star Guitar Chords in Every Key
The full twinkle twinkle little star guitar chords in G, C, and D, the note-by-note melody tab, and the exact reasons your chord change sounds off.

The simplest version of "Twinkle, Twinkle, Little Star" needs only three chords: G, C, and D. The whole song is G - C - G, D - G - D - G, G - D - G - D, G - D - G - D, G - C - G, D - G - D - G, played over four even strums per chord. If you already know open G, C, and D, you can play the whole thing right now. If you do not, every shape, an easier version in C, a version in D, a fuller version with two extra chords, and a note-by-note melody tab are all below.
Song Basics at a Glance
| Detail | Value |
|---|---|
| Simplest key | G major |
| Chords (simple version) | G, C, D |
| Chords (fuller version) | G, C, D, Em, Am |
| Tempo | Around 100 BPM, unhurried |
| Time signature | 4/4 |
| Capo | None needed; capo 3 with G shapes gives you Bb, a common key for young singers |
| Structure | Lines 1-2 repeat verbatim as lines 5-6; lines 3 and 4 share the identical melody and chords |
That last row matters more than it looks. Lines 3 and 4, "up above the world so high" and "like a diamond in the sky," use the exact same melody and the exact same G - D - G - D chords, and lines 1 and 2 simply repeat unchanged as lines 5 and 6. That means the six lines of this song contain only three distinct musical ideas, not six, so once your hand has learned the chords under the first two lines and the chords under line 3, you already know the entire song.
The Easiest Way to Play It: G, C, and D
This is the version taught in most beginner songbooks and the one to learn first if you have never played the song before.
| Line | Lyrics | Chords |
|---|---|---|
| 1 | Twinkle, twinkle, little star | G - C - G |
| 2 | How I wonder what you are | D - G - D - G |
| 3 | Up above the world so high | G - D - G - D |
| 4 | Like a diamond in the sky | G - D - G - D |
| 5 | Twinkle, twinkle, little star | G - C - G |
| 6 | How I wonder what you are | D - G - D - G |
Strum four beats per chord unless two chords share a line, in which case split the four beats in half, two beats each. The whole song is twelve bars long, two bars per line, and repeats from the top if you are singing it more than once, which, if there is a small child involved, you will be.
Getting Your Fretting Hand Ready
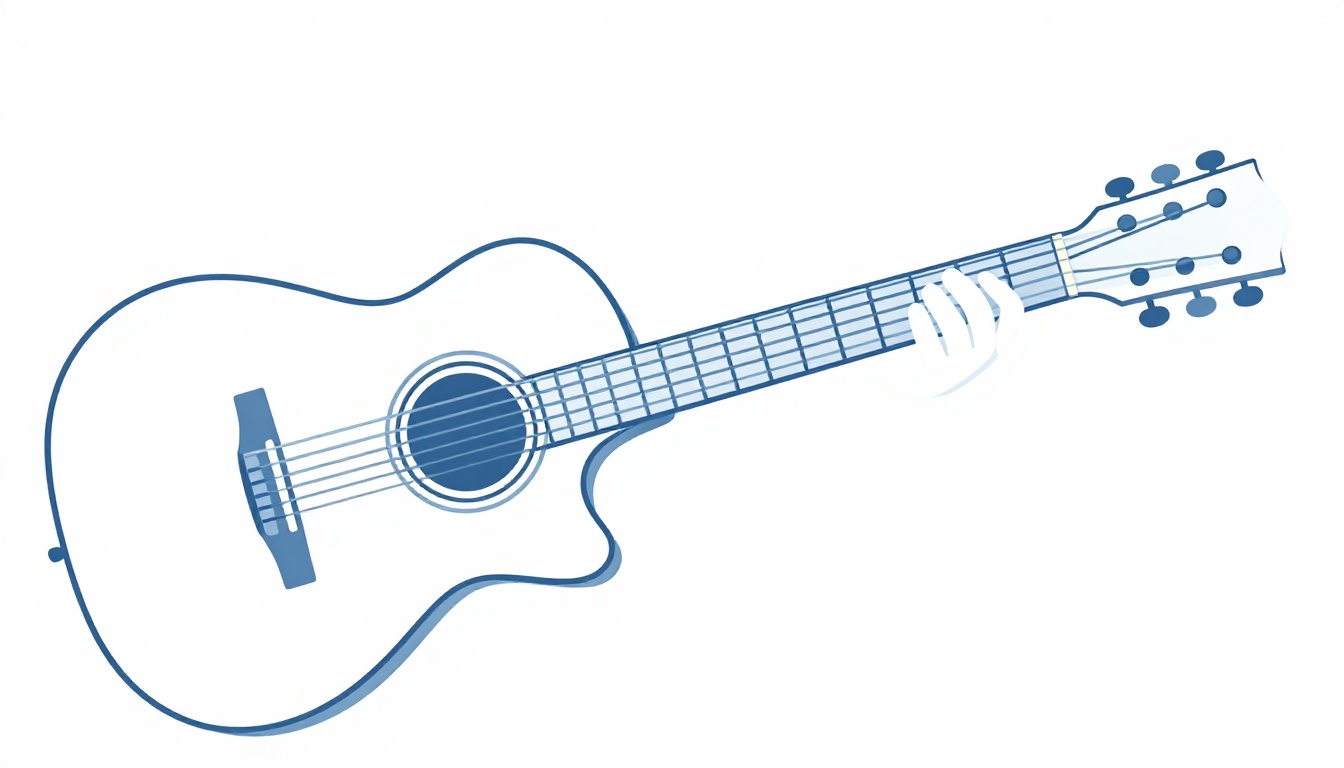
Before the shapes themselves, a few habits make every chord in this song easier to hold, and they matter more here than usual because two of the three shapes (G and D) ask a stretch of the hand a total beginner has not built yet.
- Keep your thumb behind the neck, roughly opposite your second finger. A thumb that creeps over the top of the neck, which feels natural at first because it mirrors how you would grip a bat or a bottle, pulls your fingers flat against the fretboard instead of curled, and a flat finger is the single most common cause of a muted or buzzing string in this song.
- Press with your fingertips, not your finger pads. Trim your fretting-hand nails short enough that the very tip of the finger, not the fleshy pad, is what lands on the string. This alone fixes a large share of "why does my chord sound dead" problems before you have changed anything else.
- Bring your wrist slightly forward rather than keeping it flat against the underside of the neck. A small forward bend gives your fingers a steeper angle to come down at, which is exactly what the fourth finger needs on the G chord to clear the first string cleanly.
- Let your arm carry your hand into position, not just your fingers. Reaching for a chord with only finger movement while your wrist and forearm stay still is slower and less accurate than moving your whole hand as a unit and letting your fingers land in roughly the right place before making small corrections.
None of this needs to be perfect before you start. It is easier to notice and correct these habits once you already know what a clean G, C, and D are supposed to sound like, which is the entire reason the next section exists.
The Open G, C, and D Chord Shapes
Three shapes, all standard open-position chords you likely already use in other songs.
Open G Major
| String | Fret | Finger |
|---|---|---|
| 6 (low E) | 3 | 3 |
| 5 (A) | 2 | 1 |
| 4 (D) | Open | - |
| 3 (G) | Open | - |
| 2 (B) | Open | - |
| 1 (high E) | 3 | 4 |
Strum all six strings. If your pinky will not comfortably reach the first string, use finger 2 there instead and drop finger 1 off the fifth string, leaving it open.
Open C Major
| String | Fret | Finger |
|---|---|---|
| 6 (low E) | Muted | - |
| 5 (A) | 3 | 3 |
| 4 (D) | 2 | 2 |
| 3 (G) | Open | - |
| 2 (B) | 1 | 1 |
| 1 (high E) | Open | - |
Strum from the fifth string down. If you catch the low E string by accident, mute it by letting the side of your third finger lean against it.
Open D Major
| String | Fret | Finger |
|---|---|---|
| 6 (low E) | Muted | - |
| 5 (A) | Muted | - |
| 4 (D) | Open | - |
| 3 (G) | 2 | 1 |
| 2 (B) | 3 | 3 |
| 1 (high E) | 2 | 2 |
Strum only the top four strings. This is the shape most new players catch buzzing on, usually because the first finger is flat instead of curled, and that is covered in the troubleshooting section below.
Why the Song Only Needs Three Chords
Every version of "Twinkle, Twinkle, Little Star" above, in G, in C, or in D, uses exactly the same relationship between its three chords: the key's home chord (called the 1st, or "I"), the chord four steps up from it (the "IV"), and the chord five steps up from it (the "V"). In G major that is G, C, and D. In C major it is C, F, and G. In D major it is D, G, and A. Different names, identical relationship.
This is not a coincidence specific to this song, it is the most common harmonic pattern in Western music, and it is worth knowing because it explains why transposing this song to a new key never introduces a fourth chord: as long as you move all three chords by the same interval, I-IV-V stays I-IV-V no matter where you start. It is also why, once you can play the G version cleanly, learning the C or D version is mostly a renaming exercise rather than a new skill.
| Key | I (home) | IV | V |
|---|---|---|---|
| G major | G | C | D |
| C major | C | F | G |
| D major | D | G | A |
The practical upshot: pick whichever of these three keys uses chords your hand already knows best, and you have not made the song harder or easier, only chosen which shapes you need.
Playing It in C Major Instead
Some songbooks teach this song in C major with a slightly different chord set: C, F, and G7, with an occasional Dm. It is not a different song, just a different transposition, and it suits players who already know C and F better than G and D, or who are accompanying a voice that sits more comfortably a fourth lower.
| Line | Lyrics | Chords |
|---|---|---|
| 1 | Twinkle, twinkle, little star | C - F - C |
| 2 | How I wonder what you are | G7 - C - G7 - C |
| 3 | Up above the world so high | C - G7 - C - G7 |
| 4 | Like a diamond in the sky | C - G7 - C - G7 |
| 5 | Twinkle, twinkle, little star | C - F - C |
| 6 | How I wonder what you are | G7 - C - G7 - C |
The tradeoff is that F usually means a small barre across the first two strings, which is a harder shape than anything in the G version. If F is still new to you, the G-C-D version above is the faster route to a clean-sounding song today.
Playing It in D Major
A third common option moves everything up again, into D major, using D, G, and A (A7 in place of plain A works just as well and is easier to grip).
| Line | Lyrics | Chords |
|---|---|---|
| 1 | Twinkle, twinkle, little star | D - G - D |
| 2 | How I wonder what you are | A - D - A - D |
| 3 | Up above the world so high | D - A - D - A |
| 4 | Like a diamond in the sky | D - A - D - A |
| 5 | Twinkle, twinkle, little star | D - G - D |
| 6 | How I wonder what you are | A - D - A - D |
This is the same shape pattern as the G version, just moved up by a fourth, because I-IV-V (the 1st, 4th, and 5th chords of the key) is the entire harmonic idea behind the song no matter which key you pick. If you can already play the G version, this one is the identical set of moves with different names on the chords.
Changing the Key With a Capo
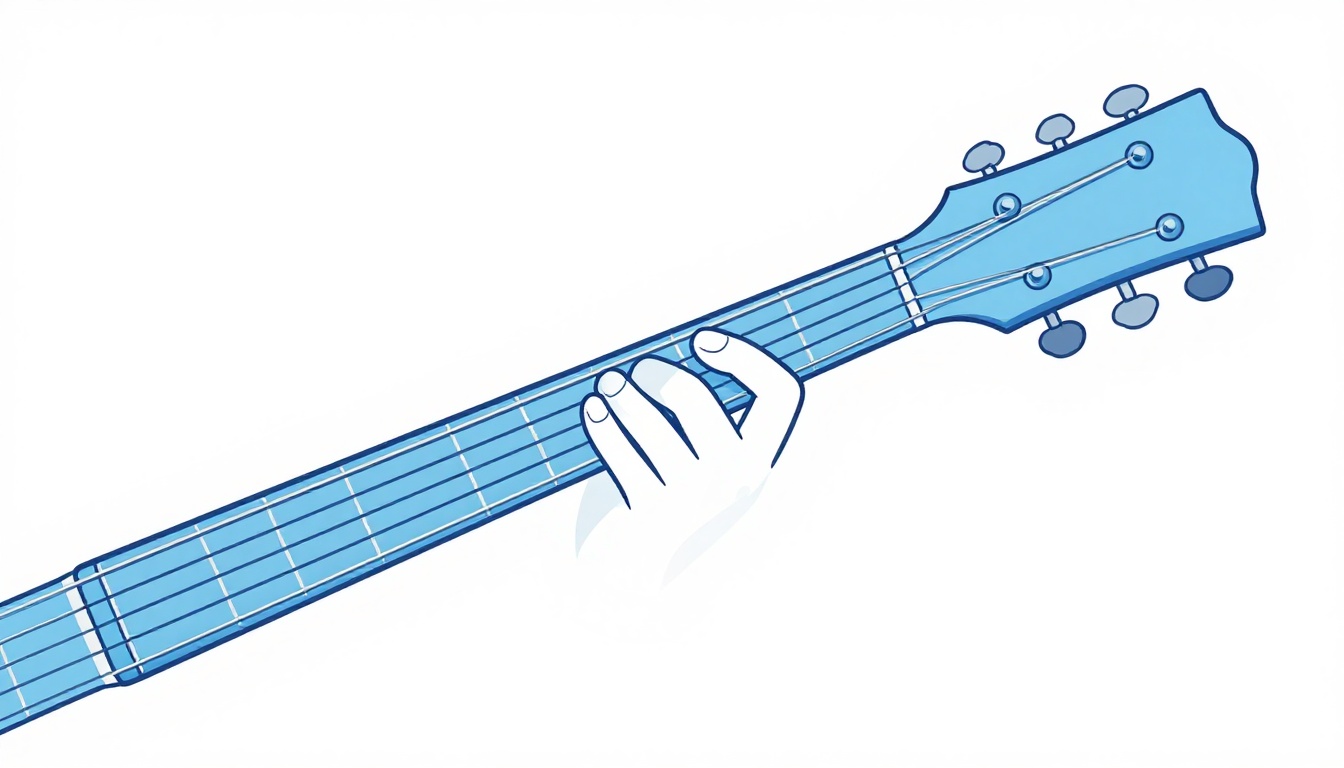
If you need a specific key, usually to match a child's singing range or another instrument in the room, a capo gets you there without learning a single new shape. Keep playing the G-C-D pattern you already know and clamp a capo on the fret that matches the key you need.
| Capo fret | G shape sounds as | C shape sounds as | D shape sounds as |
|---|---|---|---|
| 1 | G#/Ab | C#/Db | D#/Eb |
| 2 | A | D | E |
| 3 | A#/Bb | D#/Eb | F |
| 4 | B | E | F#/Gb |
| 5 | C | F | G |
A capo on the third fret is a common choice for this song specifically, since it lands the G shapes in Bb, a key that sits comfortably in a young child's singing range without being unreasonably high for an adult voice either. For every other fret and shape combination, including minor chords, the full breakdown is in the guitar capo chart.
Matching the Key to a Singer's Range
Most printed sheet music for this song is set in C major, which is worth knowing if you are accompanying a singer rather than just playing the chords alone. The melody, in C, sits between middle C and the A above it, a comfortable range for most speaking and singing voices, including young children's, without straining at either end.
Playing the guitar chords in G, the easiest key for the instrument, actually shifts that melody up a fifth compared to the C version, landing it between G and E instead. That is still perfectly singable for most voices, but if you are playing for a singer who sounds strained reaching the highest note of the melody, that is a genuine sign to drop into the C major chord version further up this page, or capo down, rather than a sign the singer is doing anything wrong. The chords have not changed in difficulty either way, only which notes the voice on top of them has to reach.
A Fuller Arrangement With Em and Am
Once the basic three-chord version feels automatic, a slightly richer arrangement adds two minor chords, Em and Am, on the repeat of the second half, without changing the melody at all.
| Line | Lyrics | Chords |
|---|---|---|
| 1 | Twinkle, twinkle, little star | G - C - G |
| 2 | How I wonder what you are | D - G - D - G |
| 3 | Up above the world so high | G - D - G - D |
| 4 | Like a diamond in the sky | G - D - G - D |
| 5 | Twinkle, twinkle, little star | G - C - G |
| 6 | How I wonder what you are | D - G - D - Em - Am - D - G |
The change lands on the very last line, stretching "how I wonder what you are" out with a Em - Am - D turnaround instead of resolving straight back to G. It is a small piece of harmony, borrowed from how a lot of folk and gospel arrangements close out a verse, and it gives the ending a little more weight without disturbing the tune a listener already knows by heart.
In terms of the I-IV-V relationship explained above, Em and Am are not outsiders, they are the 6th and 2nd chords of G major (usually written vi and ii), both built entirely from notes already inside the key. That is why they slot into the ending without sounding like a detour: nothing here leaves G major, the turnaround just visits two chords the melody had not used yet on its way back home.
| Chord | String 6 | String 5 | String 4 | String 3 | String 2 | String 1 |
|---|---|---|---|---|---|---|
| Em | Open (0) | 2 | 2 | Open (0) | Open (0) | Open (0) |
| Am | Muted | Open (0) | 2 | 2 | 1 | Open (0) |
Both are common open shapes you likely already know from other songs, so the only new work here is the turnaround itself: G to Em is a one-finger move (add the second finger on the fifth string, keep everything else where it was for G), and Em to Am shifts that same finger over one string.
The Melody on Just Two Strings
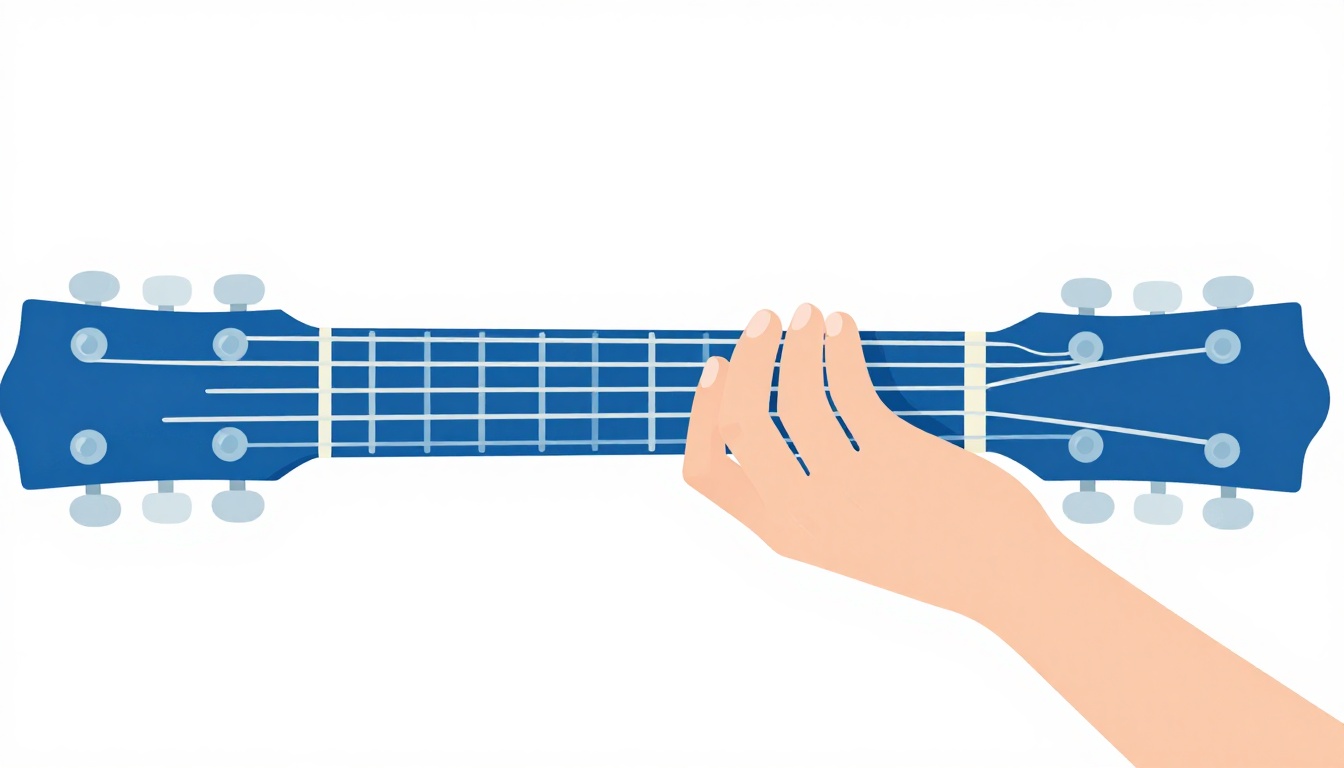
Chords carry the song, but the melody itself is simple enough to play as a beginner picking exercise, and it stays on only two strings in standard tuning: the 1st string (high E) and 2nd string (B).
| Note | String | Fret |
|---|---|---|
| C | 2 (B) | 1 |
| D | 2 (B) | 3 |
| E | 1 (high E) | Open |
| F | 1 (high E) | 1 |
| G | 1 (high E) | 3 |
| A | 1 (high E) | 5 |
With that table, the full melody in tab form (string:fret, one pair per note) reads:
Twinkle, twinkle, little star
2:1  2:1  1:3  1:3  1:5  1:5  1:3

How I wonder what you are
1:1  1:1  1:0  1:0  2:3  2:3  2:1

Up above the world so high
1:3  1:3  1:1  1:1  1:0  1:0  2:3

Like a diamond in the sky
1:3  1:3  1:1  1:1  1:0  1:0  2:3

Twinkle, twinkle, little star
2:1  2:1  1:3  1:3  1:5  1:5  1:3

How I wonder what you are
1:1  1:1  1:0  1:0  2:3  2:3  2:1
Play each note with a single downstroke of your first finger or a pick, letting your fretting hand's first finger cover fret 1 and third finger cover frets 3 and 5, moving between the two strings as the tab shows. Nothing here goes past the fifth fret, so it is a genuinely good first melody to learn before you move on to anything harder.

Where the Tune Actually Comes From
The melody is not originally an English nursery rhyme at all. It comes from a French song called "Ah! vous dirai-je, maman" ("Oh! Shall I tell you, Mama"), first published in 1761, decades before anyone had attached the English words to it. The composer of that original tune was never recorded and is still unknown today, and one researcher, Henri-Irenee Marrou, has argued the melody itself may go back even further, to an anonymous pastoral song from around 1740, with new lyrics added later.
The French lyrics that first came with it were not written for children at all. The earliest known printing of words and music together, from 1774, gives the song the title "La Confidence naive," and the text is a piece of adult romantic poetry about a pastoral courtship, not a lullaby. The gentle, sung-to-a-child version most people know today is, in effect, a much later parody of a love song, with the original grown-up subject matter stripped out entirely and replaced first by Mozart's instrumental variations and later by Jane Taylor's stargazing verse.
Wolfgang Amadeus Mozart did write something using this melody, but not the song itself and not as a child. Around 1781 or 1782, in his mid-twenties, he composed "Twelve Variations on 'Ah vous dirai-je, Maman,'" catalogued as K. 265, a set of piano variations built on the French tune. It is a real and well-documented piece, and it is also the entire source of the popular claim that Mozart wrote "Twinkle, Twinkle, Little Star" as a boy. He did not write the tune at all, borrowed or otherwise, and he was an adult composer working with an already-established French melody, one that was already two decades old by the time he touched it, when he wrote his variations on it.
Who Wrote the Words
The English lyrics were written by Jane Taylor (1783 to 1824), an English poet, and first published in 1806 in a collection called "Rhymes for the Nursery," which she produced together with her sister Ann Taylor. Jane Taylor's original poem, titled "The Star," runs to five stanzas in rhyming couplets, though only the first stanza, the one everybody knows, gets sung with any regularity. When the song is performed today, the first two lines are typically repeated as a refrain at the end of each stanza, which is why the version most people know feels like it opens and closes on the same line even though the poem itself keeps going.
Jane and Ann Taylor worked together often enough, starting with an earlier collection called "Original Poems for Infant Minds" in 1804 and 1805, that their individual contributions were frequently mixed up even at the time, and that confusion has followed the two sisters ever since. Jane went on to write a novel, "Display," published in 1814, which sold well enough to reach at least thirteen editions by 1832, putting her in the same commercial territory as contemporaries like Jane Austen and Maria Edgeworth. None of that later, more substantial work is what she is remembered for. She died of breast cancer at 40, and her brother Isaac compiled and published her collected writings in five volumes in 1832, yet the four-line stanza she wrote almost as an aside in a children's book has outlasted everything else she published, to the point that most people who sing it have no idea it was written by anyone in particular at all.

Why It Took Decades for the Words and Tune to Meet
Jane Taylor's poem was published in 1806. The French melody had already existed since 1761. But the two were not combined into the song known today until 1838, when they were printed together in a collection called "The Singing Master: First Class Tune Book." That is a 32 year gap between the words appearing in print and the tune being set to them, which is longer than most people assume for a song that now feels like it has always existed as a single, inseparable unit.
One Melody, Three Different Sets of Words
The same tune underneath "Twinkle, Twinkle, Little Star" is also the melody for "The Alphabet Song" (the one that teaches A through Z) and for "Baa, Baa, Black Sheep." All three sets of English lyrics were fitted, at different points, onto the same French melody from 1761. If you already know the chords to any one of them, you already know the chords to all three, because the harmony underneath is identical even though the words are not.
Music scholars have a specific term for exactly this, a contrafactum: an existing melody carried forward with new words written to fit it, rather than a new tune written for the words. It is a far older and more common practice than most people realize, and this melody is one of the clearest surviving examples in English, since three completely unrelated sets of lyrics, a lullaby, an alphabet primer, and a nursery rhyme about a sheep, all still share the identical eight-bar tune underneath.
Strumming Patterns That Fit a Lullaby
The song was written to be sung slowly, so the strumming does not need to be busy.
- Simplest: one downstroke per beat, four per chord. This is the right choice for a first attempt at the whole song, since it keeps your fretting hand as the only thing you have to think about.
- Down-down-up-up: four strokes per chord, down on beats 1 and 2, up on the "and" of beats 2 and 3, giving a gentle rocking feel without speeding the song up.
- Fingerstyle: thumb on the bass note (the lowest string of whichever chord you are holding), followed by first, second, and third fingers plucking the third, second, and first strings in sequence. This suits the lullaby character of the song better than any strummed pattern, and it is worth learning once the chord changes themselves are comfortable.
Whichever pattern you choose, keep the tempo close to 100 beats per minute. Rushing this particular song fights against what makes it recognizable in the first place.
Building the Fingerstyle Pattern, Chord by Chord
The fingerstyle option mentioned above is worth its own walkthrough, since "thumb, then three fingers" is easy to say and takes a little more explanation to actually do smoothly.
Assign your picking hand like this: thumb (T) plays the lowest string of whichever chord is currently held, first finger (1) plays the third string, second finger (2) plays the second string, and third finger (3) plays the first string. For a full bar of G, that gives you a T-1-2-3 pattern repeated, with the thumb landing on the sixth string each time since that is G's lowest note. Switch to C, and the thumb moves to the fifth string instead, since C's lowest sounding note is there, not on the sixth string, which stays muted. For D, the thumb lands on the fourth string, the lowest note in that shape.
| Chord | Thumb plays (lowest string) | Fingers 1-2-3 play |
|---|---|---|
| G | 6th string (low E) | 3rd, 2nd, 1st strings |
| C | 5th string (A) | 3rd, 2nd, 1st strings |
| D | 4th string (D) | 3rd, 2nd, 1st strings |
The pattern itself, T-1-2-3, repeated once per bar for a slow song like this one, is enough to make the fingerstyle version sound complete. Once that feels steady, a common variation plays the thumb note twice per bar (T-1-2-3-T-2-3, for instance) to fill out the sound without adding any new right-hand technique, just a repeated thumb note between the finger notes you already have.
Why Your Chord Isn't Ringing Clean
Three chords, all open shapes, and this song still produces buzzing and muted strings more often than its difficulty would suggest, mostly because two of the three shapes (D and G) ask your fretting hand to do more than it looks like from a diagram.
The G Chord Sounds Muted on the High E String
This almost always means your fourth finger, stretched across to the first string, is not pressing down hard enough or has drifted slightly off the fret. Bring your fretting hand's wrist forward slightly so the finger comes down more from above than from the side, and check that it is landing just behind the third fret wire, not on top of it.
The D Chord Buzzes on the Third String
The first finger on the second string is the usual culprit, either because it is lying flat and brushing the third string underneath it, or because it has crept slightly onto the wrong fret. Curl that finger so only the very tip contacts the string, and recheck it is on the second fret, not the first or third.
The C Chord Rings a Low String You Did Not Want
C's biggest failure point is the open low E string ringing out when it should stay silent. Angle the side of your third finger, the one fretting the fifth string, so it lightly touches the sixth string and deadens it, rather than strumming only the top five strings and hoping you miss the sixth by accident.
Chords Sound Fine Alone but Fall Apart Mid-Song
This is a timing problem, not a fretting problem. Most players can form each shape correctly in isolation but lose the beat while their hand physically moves between them. The fix is not to fret faster, it is to practice the changes on their own, out of tempo, until the hand shape for the next chord starts moving before the current strum has finished ringing.
The Sound Changes Halfway Through a Strum
If a chord sounds right on the first strum of a bar and wrong by the third or fourth, at least one finger is easing off pressure as your strumming hand keeps moving. This usually shows up first on whichever finger is doing the most work, the fourth finger on G or the first finger on D, and the fix is simply to hold that finger's pressure steady for the full four beats rather than only through the first strike.
Your Hand Cramps Before You Finish a Verse
This is almost never a strength problem, it is a pressure problem. New players tend to squeeze every chord as hard as their hand can manage, on the reasonable assumption that harder pressure means a cleaner sound, but a string only needs enough pressure to reach the fret, and anything past that is wasted effort that tires your hand out for no gain in tone. Try playing through the whole song using noticeably less grip than feels natural, right up to the point where a string just barely starts to buzz, then back off from there by a small amount. That is the actual pressure the chord needs, and it is almost always less than a tense beginner's hand is applying by default.
Reading Chord Tables Without Getting Turned Around
A surprising share of "I can't get this chord right" problems trace back to reading a chord table backward rather than to the fretting hand at all, and it is worth ruling out before you assume the shape itself is the problem.
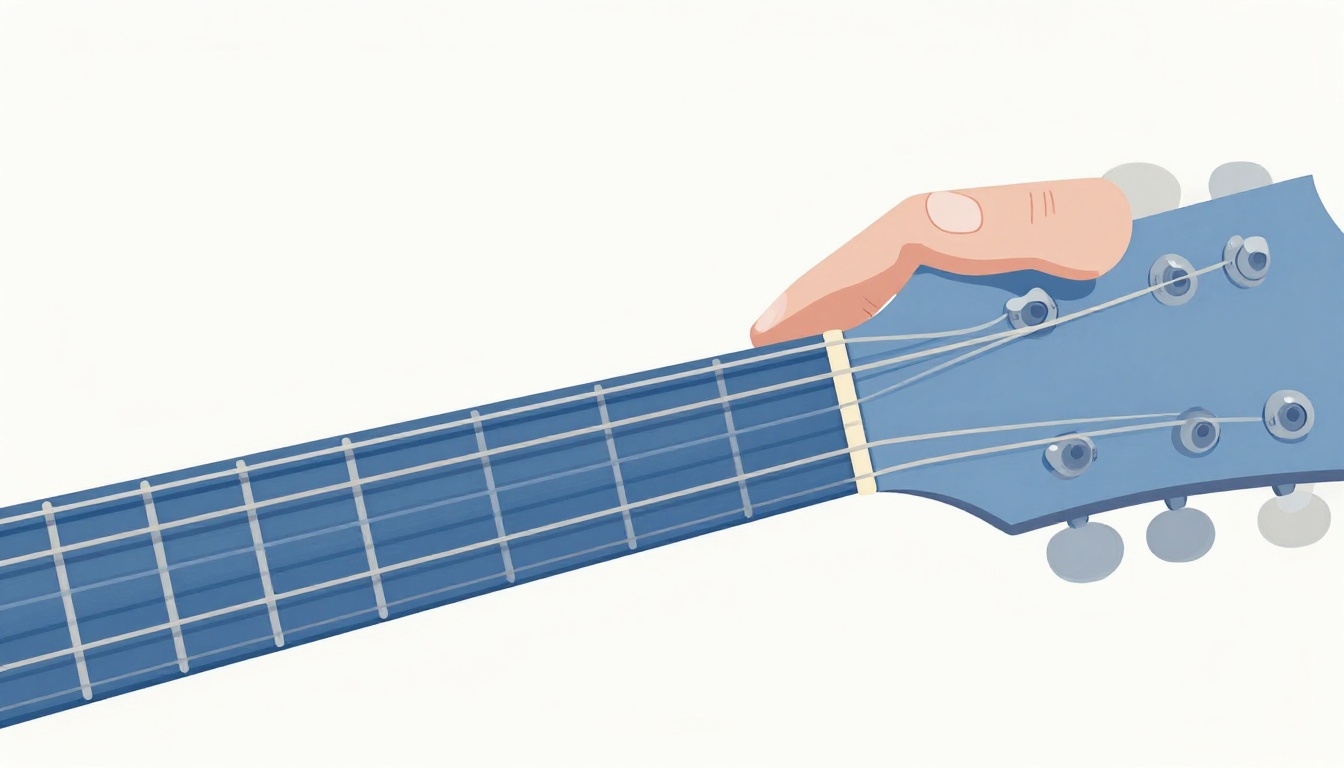
- String 6 is the thickest string, not the thinnest. Every table on this page numbers strings from the low E (thickest, closest to your face when the guitar is in playing position) as string 6, down to the high E (thinnest) as string 1. A table that says "string 6, fret 3" means the thick, low-pitched string, not the thin high one.
- Fret numbers count spaces, not the metal wires themselves. "Fret 3" means the third space back from the nut, where your finger actually presses down, not the third thin metal strip you can see or feel.
- A chord table and a chord diagram picture the neck differently. A table like the ones on this page simply lists string and fret as numbers. A drawn diagram usually shows the neck standing upright, as if the guitar were vertical in front of you, with the low E string on the left. If you are used to one format and switch to the other, it is easy to mentally flip left and right without noticing, which produces a chord that looks right on paper and sounds wrong in your hands.
- "Open" and "muted" are opposites, not two names for the same thing. Open means play that string with no finger on it at all. Muted means do not let that string ring, either by not strumming it or by resting another finger against it. Mixing these up on the C chord specifically, where the sixth string is muted and several others are open, is one of the more common early mistakes.
If a chord still sounds wrong after checking your fingers against a table, re-check the table itself against these four points before assuming your hand placement is at fault. It often is not.
Getting Smoother Changes Between G, C, and D
The shapes are not the hard part of this song. The movement between them is. Two things make the G to C to D cycle noticeably smoother:
- Anchor a finger where you can. Between C and G there is no shared finger position, but between G and D, the third finger stays on roughly the same side of the neck for both, which means less total hand travel if you think of the change as a small shift rather than a full reset.
- Practice the change, not the chord. Hold G for four beats, then change to C and hold that for four beats, on a loop, with a metronome at a slow, steady tempo. Once that change is boring, add D into the same loop. This isolates exactly the skill the song is testing, which is not "can you form a G chord" but "can you leave a G chord and arrive at a C chord without a gap."
Once G-C and G-D are both smooth on their own, playing them inside the actual song stops being a memory exercise and starts being muscle memory, which is the point where the song starts to sound like a song instead of three separate chords stitched together.
Easier Versions for Small Hands or First-Week Players
If the full open shapes are still a stretch, either literally or in terms of hand strength, two adjustments make the song playable sooner without changing which chords you are naming.
- Drop the low notes and strum only the top four strings on every chord in the G version. G, C, and D all still sound recognizably correct with just the top four strings, and it removes the need to accurately mute or catch the lower strings while your hand is still learning the shapes.
- Use two-finger versions. A two-finger D (first finger on the second string, second finger on the first string, second fret both, leaving the third string open instead of fretted) sounds slightly thinner but is far easier for a small or new hand, and a two-finger G (just the fifth and first string notes, skipping the low E string entirely) works the same way.
Neither of these is a permanent substitute, but both let a first-week player get through the whole song today rather than stalling out on one shape for a week before moving forward.
Teaching It to a Child Who Is Learning Alongside You
If the reason you are learning this song is to play it for, or with, a child, two things make that easier than treating it like any other song. First, the child does not need you to be fast, since the entire point of this melody is that it is slow and repetitive, so a strumming pattern of one downstroke per beat is not a simplified version, it is the correct one. Second, since lines 1, 5, and 6 repeat lines you have already played, a child following along vocally will recognize the return of the first chord shape by ear well before you finish explaining it, which makes this one of the few songs where a beginner's slower pace works in the audience's favor rather than against it.
If the child is old enough to sit with the guitar rather than just listen, let them strum across the strings with an open hand while you handle the fretting. This splits the two hardest skills, forming the shape and keeping steady rhythm, across two people instead of asking one beginner to manage both at once, and it gets a child making real, recognizable music on their very first try with the instrument. Swapping roles once the shapes themselves are more familiar, so the child starts forming a simple G while you strum, is a natural next step once that first version feels easy.

Why This Song Works So Well As a First Song
Three things make this a genuinely good choice for a first or early song, and they are worth naming because they are the same things to look for in whatever you learn next.
First, the chord vocabulary is small and immediately reusable: G, C, and D show up in more popular songs than almost any other three-chord combination, so the hour you spend on this song is not a dead end, it transfers directly to the next song you try. Second, the melody's range is narrow, staying within a single octave the whole way through, which matters if you are also singing while you play, since a wide vocal range on top of new chord shapes is often what makes a first song feel impossible rather than merely hard. Third, the song repeats its own material heavily: lines 1 and 2 return unchanged as lines 5 and 6, and lines 3 and 4 are identical to each other, so of the six lines you end up singing, only three are actually new musical material, covered at the start of this post.
If this song has gone well for you, the easiest songs for beginners on guitar are sorted by the same logic, matched to the exact chords you already know rather than handed to you as an unsorted list of famous titles.
Ending the Song Cleanly
The song does not need a dramatic ending, but a good one is still worth building on purpose rather than just stopping. On the final G chord, let the strum ring out fully instead of muting it, and slow the last line slightly rather than keeping strict tempo all the way through, a small ritardando that most listeners register as "the song is finishing" even if they could not name what changed. If you are playing for a child close to sleep, that slight slowdown into a chord left ringing is doing real work, since it signals the end of the song without a jarring stop.
A Practice Plan for Today
- Play the open G, C, and D shapes on their own, one at a time, until each one rings clean on every string it should.
- Loop G to C, four beats each, for two minutes, with a metronome or a steady foot tap.
- Loop G to D, the same way, for two minutes.
- Play the full six-line progression from the "Easiest Way to Play It" table above, slowly, without singing, focused only on the chord changes landing on time.
- Add the words back in and play it through at a comfortable, unhurried tempo, closer to 100 beats per minute than anything faster.
- If time allows, try the two-string melody tab on its own, separate from the chords, as a short picking exercise.
Fifteen minutes on that sequence is enough to notice a real difference by the end of a single session, since the whole song only asks three chords to move smoothly, not five or six.
Frequently Asked Questions
What are the easiest chords for Twinkle Twinkle Little Star? G, C, and D in the key of G major. All three are common open chords, and the song's structure repeats the same short pattern of them across all six lines, so there is very little new material to learn once those three shapes are solid.
Can I play Twinkle Twinkle Little Star with only two chords? Not accurately. The song genuinely uses its 1st, 4th, and 5th chords (G, C, and D in the key of G), and dropping one changes the harmony rather than simplifying it. What you can drop is the number of strings you strum, using the easier top-four-string versions described above.
What key is Twinkle Twinkle Little Star usually played in? G major is the most common key for guitar, mainly because G, C, and D are the three easiest open chords for a beginner's hand. C major and D major versions exist and use the same chord relationships, just shifted, and are covered in full above.
Did Mozart write Twinkle Twinkle Little Star? No. Mozart wrote piano variations on the French melody underneath the song, composed in his mid-twenties and published in 1785, decades before Jane Taylor's English lyrics existed. He did not write the tune itself, which was already circulating in France since at least 1761 with an unknown composer.
Why do Twinkle Twinkle Little Star and the Alphabet Song sound the same? Because they are the same melody. Both, along with "Baa, Baa, Black Sheep," were written to the same French tune from 1761. Learning the chords for one gives you the chords for all three.
What tempo should I play it at? Around 100 beats per minute is standard, unhurried and close to how it is usually sung. There is no reason to rush this particular song, since its recognizability comes largely from its steady, even pace.
Is fingerpicking or strumming better for this song? Both work. Strumming is faster to learn and a fine choice for a first pass at the whole song. Fingerpicking, thumb on the bass note followed by the top three fingers, suits the lullaby character better once the chord changes themselves are comfortable.
My D chord always sounds muffled. What am I doing wrong? Almost always the first finger on the second string is lying too flat and brushing against the third string beneath it. Curl that finger so only its tip touches the string, and confirm it has landed exactly on the second fret rather than sliding onto the first or third.
How long does it usually take to learn this song? Most beginners who already know the G, C, and D shapes can play it through recognizably within a single practice session. If the chords themselves are new, expect a few short sessions spent on each shape individually before the full song comes together, since the chords, not the song's structure, are what take the time.
Is Twinkle Twinkle Little Star hard to play on guitar? No. It is one of the more forgiving songs for a first-time player, since it only needs three open chords and repeats most of its own material, meaning you are really only learning three distinct chord sequences across the whole six-line song. The parts that trip people up, a muted G or a buzzing D, are common beginner issues with those two shapes in general, not anything specific to this song's arrangement.
Which chord should I learn first, G, C, or D? G is the best starting point for this particular song, since it opens and closes four of the six lines. Get G ringing cleanly on its own before adding C, then bring in D last, since the G-to-D and D-to-G changes appear more often in the song than any other pair.
Once G, C, and D each ring clean and the changes between them stop needing a pause, this song stops being a fingering exercise and starts being genuinely playable for anyone in the room, which is the entire reason it has stayed a first song for so many guitarists in the first place.
GuitarLowKey
Ready for fifteen focused minutes?
Open the web app and train the change that is blocking your song.