
Killing in the Name Guitar Tab: Riff, Chords, and Drop D Tuning
The Killing in the Name guitar tab in drop D: the palm-muted verse riff, the D5-F5-G5-A5 chorus, the whammy solo, and how to get the dynamics right.
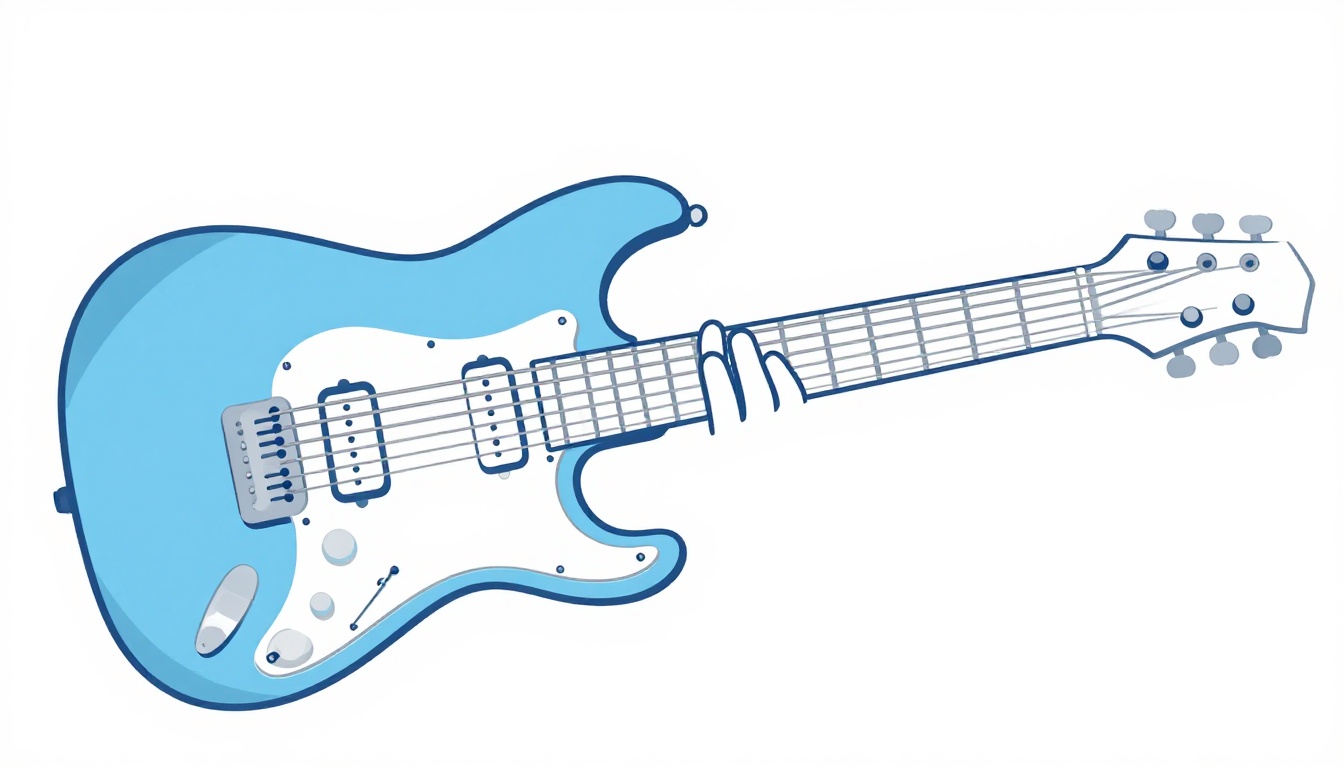
"Killing in the Name" by Rage Against the Machine is played in drop D tuning (D-A-D-G-B-E), and almost the whole song comes from one shape: a single finger barring the bottom three strings, moved up and down the neck. Tune your 6th string down a whole step to D, mute those same three strings with the side of your picking hand, and you already have the verse. The hard part is not the notes. It is the space around them, the way the riff sits back and waits, then the way the chorus opens up wide. This tab covers the tuning, the riff, the chorus chords, the solo, and the timing that makes all of it land.
What Tuning Does "Killing in the Name" Use?
Drop D. Standard tuning, low to high, is E-A-D-G-B-E. For drop D you only touch one string: tune the 6th string (the thickest, lowest-pitched string) down a whole step, from E to D. Every other string stays where it is. The result is D-A-D-G-B-E.
Tom Morello wrote the riff on a Fender Telecaster while showing a student how drop D worked, and the tuning is the reason the riff is possible at all. It turns the bottom three strings, D-A-D, into an octave shape you can barre with one finger and slide anywhere on the neck. That one trick is the entire rhythm part of this song.
Do not skip the retune to try to fake this in standard tuning. You can approximate the chorus chords as regular power chords, but the verse riff, the low open pedal notes it hangs on, and the ease of moving between shapes all depend on that dropped string.
Song Structure at a Glance
Before working through each part in detail, here is how the song is arranged. Names vary slightly between tab sources, but this is the order the sections come in.
| Section | What is happening |
|---|---|
| Intro | A single D5 chord, faded in with the guitar's volume knob rather than picked cleanly |
| Verse | Palm-muted riff built from the one-finger power chord shape, with the guitar dropping out for stretches |
| Chorus | Open, ringing power chords: D5, F5, G5, A5 |
| Interlude | A repeating picked pattern bridging chorus back into verse |
| Guitar solo | Whammy pedal over a driving rhythm underneath |
| Bridge | The song's loudest, most intense section, building toward the screamed refrain |
| Outro | A low, sustained chord with pick scrapes worked in as texture |
Keep this table in view while you learn each part. It is easy to practice the verse riff and the chorus chords as two isolated exercises and never actually rehearse the handoffs between them, which is where most of the song's difficulty actually lives.
How Fast Is This Song, and How Should You Count It?
"Killing in the Name" sits at roughly 89 beats per minute in the key of G major, in straightforward 4/4 time. That number surprises a lot of players who assume a song this heavy must be fast. It is not. The riff's weight comes from its groove and its space, not from raw speed, and the same rhythmic phrase can also be felt and counted in a faster double-time pulse, which is closer to how the palm-muted eighth notes actually feel under your picking hand.
Practically, this means two different metronome settings will both feel "right" depending on what you are counting: a slower click if you are counting the song's underlying beat, or roughly double that if you are counting the busier picked subdivisions inside the riff. If you set a metronome and the riff feels like it is dragging or fighting you, try counting at double the click instead of assuming your timing is off. Matching your internal sense of the groove to the right subdivision is often the actual fix, not playing faster or slower.
How to Get Into Drop D (Even Without a Tuner Handy)
The reliable way is a clip-on or pedal tuner: mute the other strings, pluck the low E, and tune it down until it reads D. But if you are picking up a guitar without one nearby, there is a quick check that works almost every time.
- Play the open 4th string (D) and the open 6th string (currently E).
- Fret the 6th string at the 5th fret. Once the 6th string is correctly dropped to D, that fretted note and the open 4th string should sound like the same pitch, one octave apart. Before you tune down, that 5th-fret note is a G, an obvious mismatch you can hear.
- Slowly loosen the 6th string's tuning peg while plucking it, comparing it against the open 4th string an octave below, until they lock into the same note name.
- Fine-tune from there with a clip-on tuner as soon as you have one. Ears get you close, they do not get you exact, and a string that is a few cents flat will make every power chord in this song sound faintly sour.
Retuning one string this far changes the tension across the whole neck slightly, so play a few open chords and re-check the other strings after you drop it. A guitar that was perfectly intonated in standard tuning can drift a hair once the low string goes slack. If you switch between standard tuning and drop D often, it is worth marking your 6th string's drop D pitch on a clip-on tuner's memory function if it has one, so you are not hunting for it by ear every single time.
The One-Finger Power Chord Trick That Makes This Riff Possible
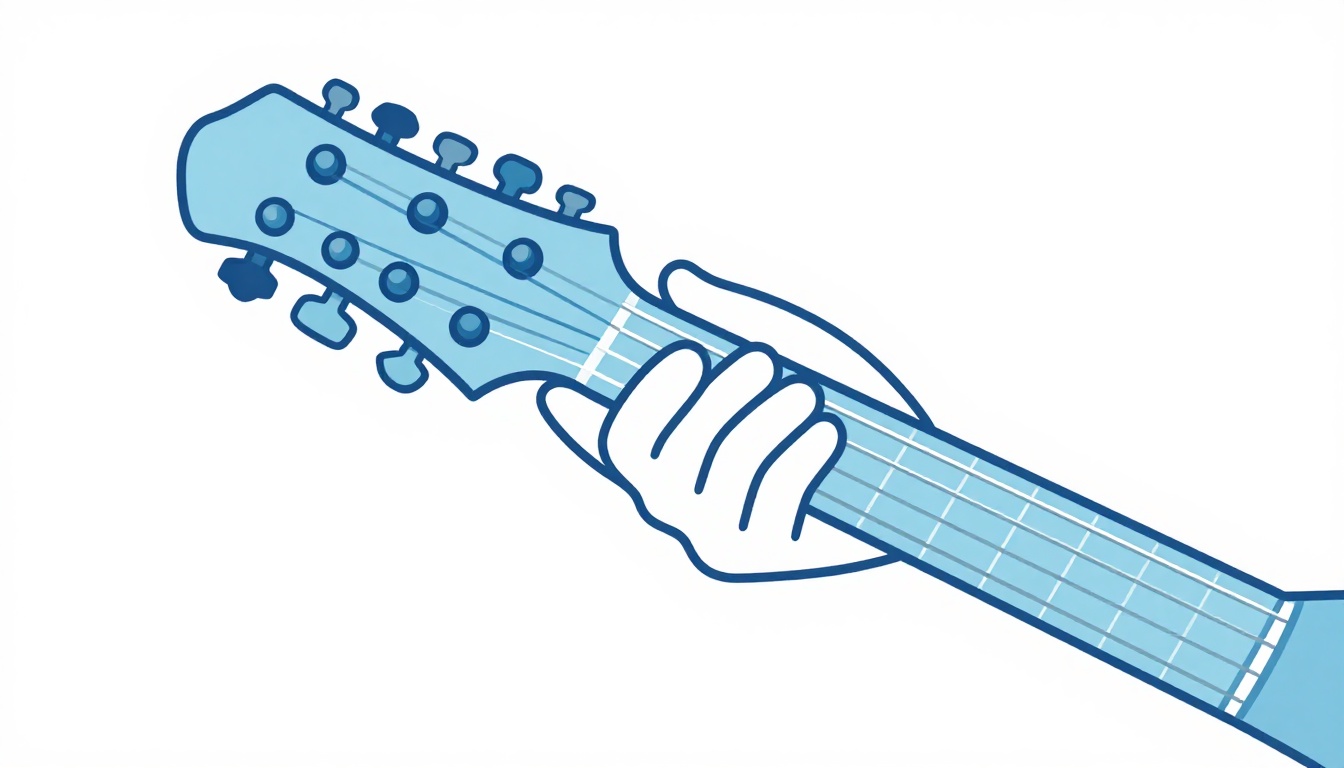
Once you are in drop D, barring your first finger flat across the bottom three strings (6, 5, 4) at any fret gives you a full power chord: root, fifth, and octave. Play it open, with no finger down at all, and you get D5.
| String | Fret | Finger |
|---|---|---|
| 6 (low D) | Open | - |
| 5 (A) | Open | - |
| 4 (D) | Open | - |
Barre the same three strings at the 3rd fret and every note moves up a minor third, giving you F5:
| String | Fret | Finger |
|---|---|---|
| 6 (low D) | 3 | 1 |
| 5 (A) | 3 | 1 |
| 4 (D) | 3 | 1 |
Move the same barre to the 5th fret for G5, and the 7th fret for A5. This is the whole trick: one finger, one shape, sliding to whichever root the song needs. No stretching between strings, no separate fingering to relearn for each chord.
| Chord | Fret (barre across strings 6, 5, 4) |
|---|---|
| D5 | Open |
| Eb5 | 1 |
| F5 | 3 |
| G5 | 5 |
| A5 | 7 |
| Bb5 | 8 |
| C5 | 10 |
Keep your barring finger relaxed and flat. You are not pressing hard, you are laying the pad of your finger evenly across three strings so all of them ring or mute together. A finger that is angled or bowed will fret two strings cleanly and choke the third.
How to Barre This Shape Cleanly If Your Hand Is Struggling
This shape looks simple on paper and still trips up plenty of players the first week, usually for one of a few specific reasons.
Your finger is bowing instead of staying flat
If the middle joint of your first finger collapses inward, the center of the barre lifts off the strings while the two ends still press down, muting or buzzing whichever string sits under that dip. Straighten the finger and let its pad, not its edge, make contact across all three strings.
You are pressing much harder than you need to
A barre chord failing usually reads as "I need to press harder," and that instinct makes things worse. The fix is almost always angle and position, not force. Roll your fretting thumb down behind the neck for support, and let your arm's weight help the barre rather than squeezing from the fingers alone.
Your thumb is creeping over the top of the neck
A thumb wrapped high over the fretboard pulls your fingers into a bad angle for barring cleanly. Bring it back down to roughly the middle of the back of the neck, pointing more or less at your first finger, and the barre becomes noticeably easier to hold flat.
Your finger is not landing close enough to the fret
Press too far behind the fret and you get buzz no matter how flat or hard you press. Land just behind the fret wire, not in the middle of the open space between frets, and the same amount of pressure will ring clean.
None of this is unique to this song. It is the same barre chord fundamentals every guitarist eventually works through, and this riff happens to be a genuinely good place to drill them, because the shape does not change and you only need to slide it, not re-finger it, for every chord in the song.
The Main Riff: How It Actually Sits in Your Hand
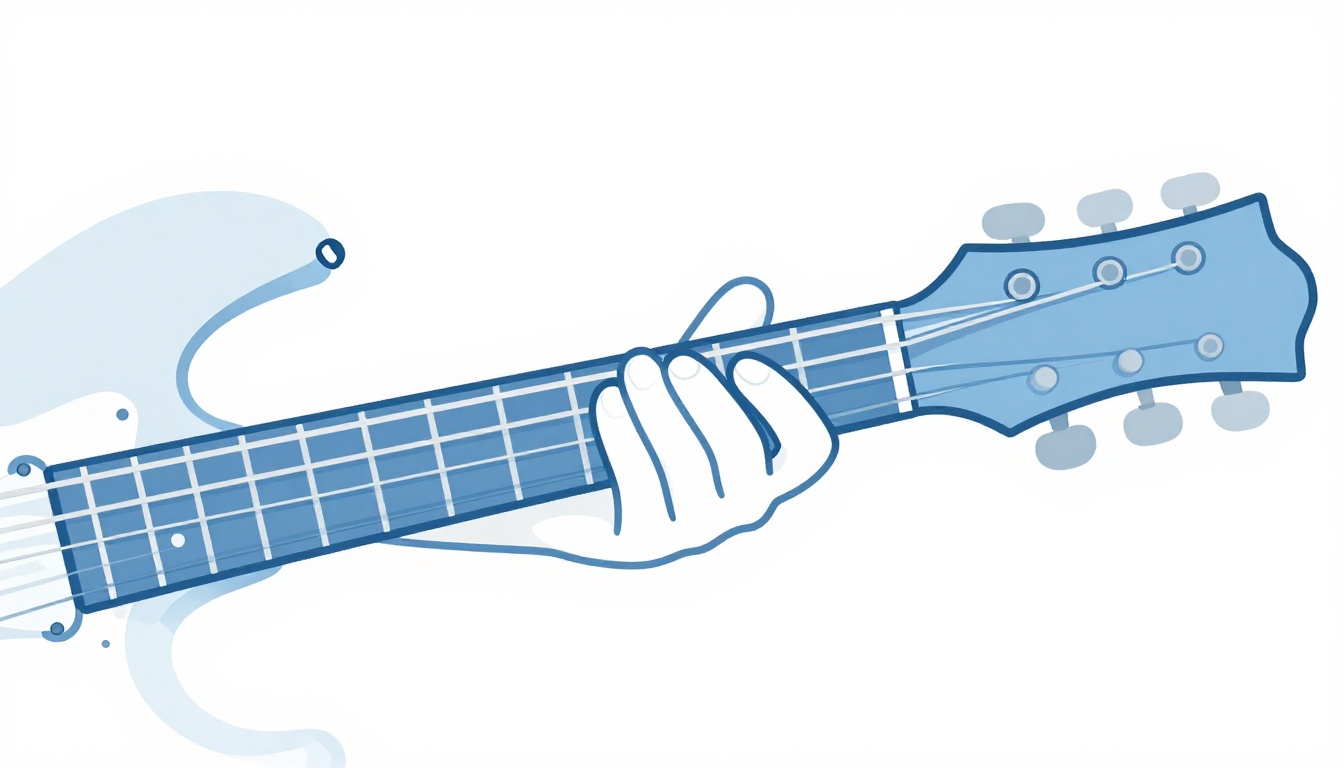
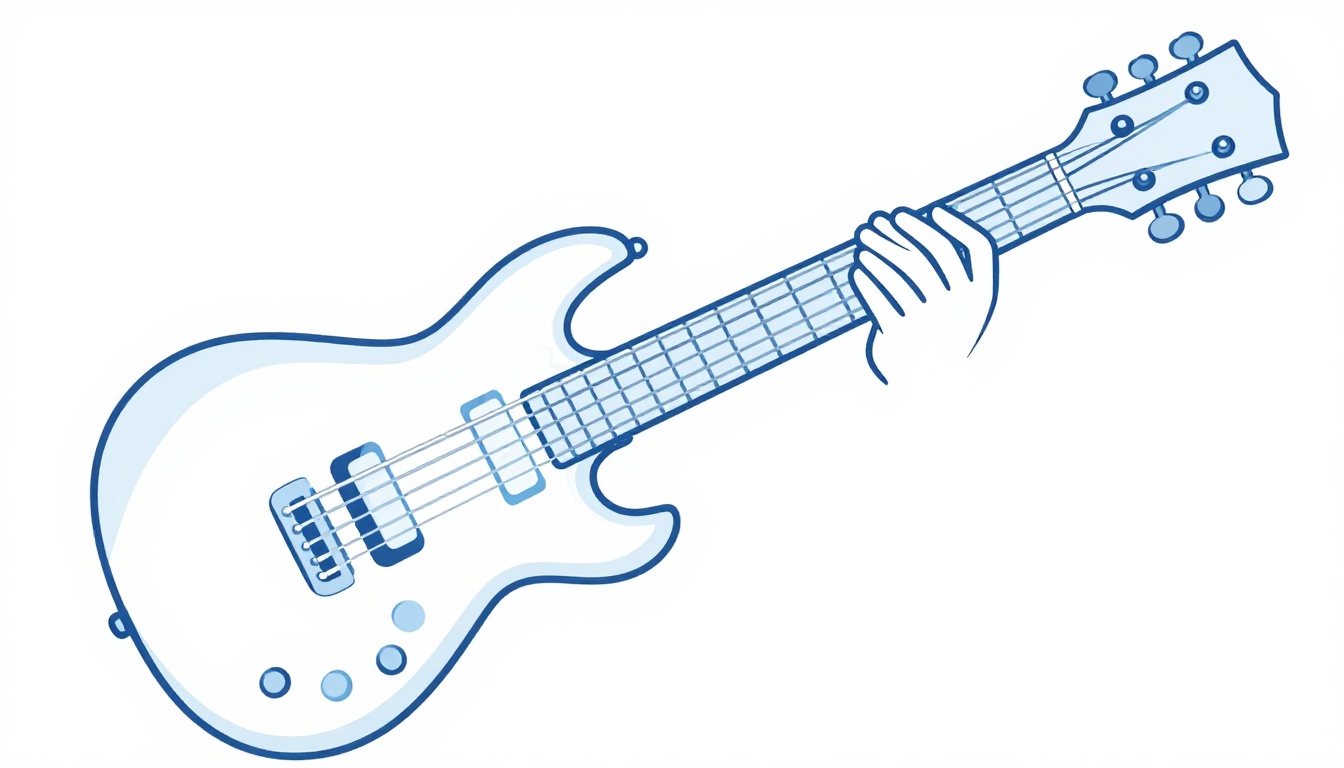
The verse riff is not a wall of constant strumming. It is built from short, palm-muted bursts on the low strings, mostly around that open D5 shape, with quick stabs up to higher frets before dropping back. The picking hand stays anchored near the bridge the entire time, muting the strings between hits so the notes come out as tight, percussive thumps rather than ringing chords.
Think of the rhythm in two halves: a repeating low pulse that sits mostly on the open strings, and a short answering phrase that jumps up the neck and back. The riff repeats for several bars before the drums and bass carry the groove alone and the guitar drops out entirely, a pause that is as much a part of the arrangement as any note. When the guitar comes back in, it lands on that pause on purpose, not a beat early.
Picking hand: mostly downstrokes
The riff's punch comes largely from consistent downstrokes rather than strict alternate picking. Downstrokes give you a heavier, more uniform attack on a palm-muted power chord riff like this one, and they make it easier to keep your palm anchored in one place against the bridge, since you are not constantly repositioning for upstrokes. Save alternate picking for anywhere the tempo genuinely demands it; for most of this riff, it does not.
Play it slower than you think you need to at first. The riff's feel comes from the gaps between the hits landing exactly on time, and rushing those gaps is the single fastest way to make a correct set of notes sound wrong.
Why Your Palm Mute Doesn't Sound as Tight as the Recording
Palm muting is the difference between this riff sounding heavy and sounding like a normal chord progression with the gain turned up. Here is what usually goes wrong.
Your palm is too far from the bridge
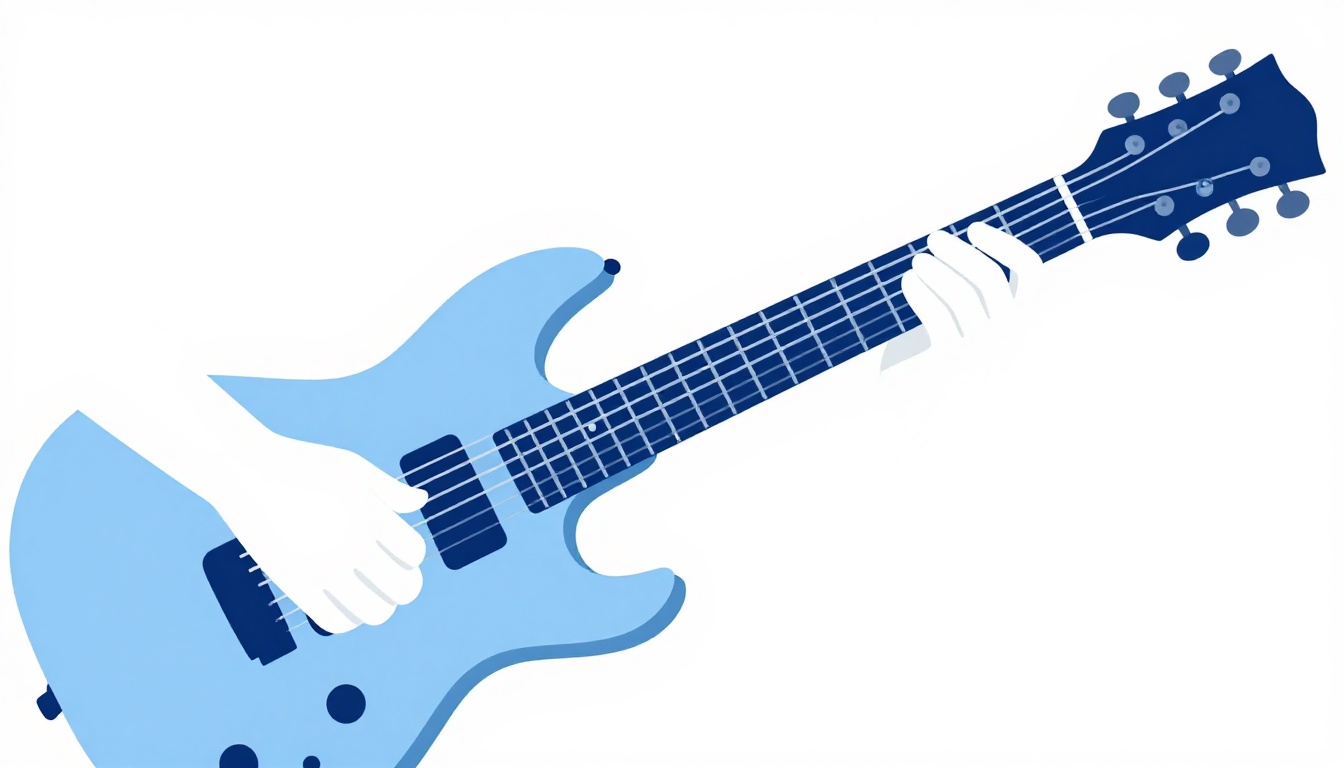
Mute right at the bridge saddles, with the fleshy edge of your picking hand resting lightly across all the strings you are about to hit. Move that hand even an inch toward the neck and the strings start to ring instead of thump, because you are damping them at a point where they can still vibrate freely.
You are pressing too hard
A heavy palm mute kills the note entirely, leaving you with a dead click and no pitch at all. You want just enough contact to shorten the sustain and take the ring out of the note, not so much that you lose the note's identity. Lighten up until you can still hear which chord you are muting.
You are not muting between hits, only during them
Muting is not something you switch on for the loud parts and off for everything else. Keep the edge of your hand resting on the strings continuously, lifting only the fraction of an inch needed to let a note ring open when the arrangement calls for it, then resettling immediately.
Your picking hand and fretting hand are out of sync
If your barre finger lifts slightly off the strings before your pick attacks, you get a string buzz rather than a mute. Both hands need to move together: the fretting hand lands the shape and the picking hand attacks the strings at the same instant, mute already in place.
Setting Your Amp Tone for This Song
You do not need specific gear to get in the neighborhood of this tone, but a few settings choices matter more than others for a riff built entirely on palm-muted power chords.
Start with a moderate to high gain setting, enough to compress the notes and give them sustain, but not so much that a muted chord turns into an indistinct wall of fuzz. If your palm mute disappears into the distortion rather than punching through it, your gain is set higher than your muting technique can currently support, and it is worth dialing gain back rather than fighting the amp.
Keep the midrange present rather than scooped all the way out. A heavily scooped tone, with bass and treble boosted and mids cut, sounds impressive playing single notes alone but tends to get lost and buzzy under a full band mix, especially on a riff this rhythmically busy. A healthier middle setting keeps the palm-muted notes audible and defined rather than washing into the bass and drums.
Bass response matters more here than on most riffs because you are spending so much time on the two lowest strings. Too much low end and your palm mutes turn into an undefined rumble instead of a tight thump. If your amp or pedal has a noise gate or similar cleanup function, a light setting can help keep unwanted string noise controlled during the busier muted sections, though it is not a substitute for solid muting technique in the first place.
The Chorus: D5, F5, G5, A5
The chorus is the most straightforward part of the song harmonically. It is the same one-finger barre shape from the sections above, moved through four roots in sequence: D5, then F5, then G5, then A5, repeating.
| Chord | Fret |
|---|---|
| D5 | Open |
| F5 | 3 |
| G5 | 5 |
| A5 | 7 |
Play these as full, ringing power chords rather than the tight, muted stabs of the verse. The contrast is the point: a controlled, choked verse riff giving way to an open, loud chorus is most of what makes the arrangement feel like it is building rather than repeating. If your chorus chords sound identical in weight to your verse riff, you have lost that contrast, and the song loses its dynamic shape along with it.
Moving your barre finger cleanly between four frets in time is its own skill separate from fretting any one of the shapes correctly. Practice the four-chord sequence on its own, slowly, before trying to slot it into the full song. Land each shape solidly, let it ring for its full duration, then slide to the next fret without picking a muted or half-fretted note on the way.
The Bridge: Building the Wall of Sound
The song's structure is one long build, and the bridge is where that build tips over into its loudest, most aggressive point. The chant that gives the song its infamous refrain intensifies here, moving from a controlled, spoken delivery into a full scream, and the guitar and rhythm section follow that same arc, growing heavier and more insistent underneath it.
Technically, the bridge does not introduce difficult new chord shapes. What it demands is commitment: heavier pick attack, less restraint on the palm mute so the chords open up further, and locking your rhythm to the vocal phrasing rather than just to a click. If you are playing along with a recording, listen for how the guitar answers each vocal line rather than running underneath it constantly, and leave the same space the original does.
This is also where a metronome stops being enough on its own. A click keeps your tempo honest, but the feel of this section comes from matching a vocal cadence, so practicing against the actual recording, not just a metronome, is worth the extra step once your hands know the shapes.
The Outro: Pick Scrapes and the Final Chord
The song winds down on a low, brooding chord, commonly voiced as a Dm7-type shape in this arrangement, with pick scrapes worked in as a texture rather than a melodic element. A pick scrape is exactly what it sounds like: dragging the edge of your pick down the wound bass strings instead of picking them normally, producing a harsh, scraping rasp.
To do it cleanly, angle the pick so its edge, not its flat face, contacts the strings, and drag it slowly and evenly from around the middle of the neck down toward the bridge. Too fast and it barely registers. Too much downward pressure and it can catch and skip rather than scraping smoothly. This is a texture worth practicing on its own, away from the rest of the song, since it is easy to either underdo it into silence or overdo it into an ugly, inconsistent scratch.
The Guitar Solo: What Tom Morello Actually Used
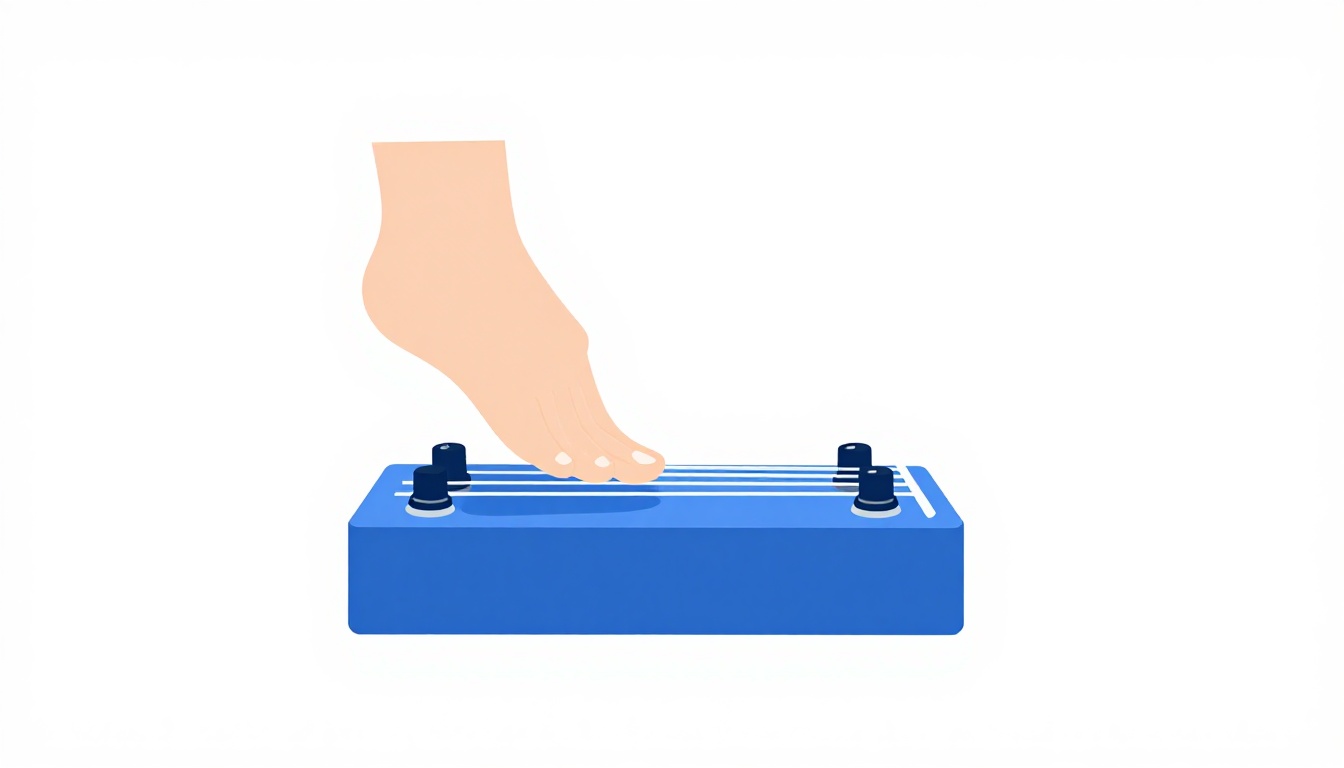
The solo is built around a Digitech Whammy pedal, which shifts the pitch of the guitar signal up or down in real time as you rock the pedal's treadle, independent of where your fretting hand is on the neck. Morello uses it here to push notes up an octave and beyond, creating the siren-like, almost vocal quality the solo is known for. It is one of the more identifiable uses of a whammy pedal in a mainstream rock recording, and it is genuinely a pedal-dependent sound, not a playing technique you can fully substitute with fingers alone.
What to do if you do not own a whammy pedal
You have two honest options. The first is to play the solo's underlying notes as written and accept that the octave-shifting effect will not be there, which still gets the phrasing and pitches right even without the texture. The second is to lean on your fretting hand instead: wide finger vibrato, aggressive bends, and sliding into notes from below can approximate some of the drama, even if it cannot replicate a pedal sweeping a note a full octave in real time.
Either approach is a legitimate way to learn the solo. A whammy pedal is a specific, uncommon piece of gear, and plenty of players who can nail every riff in this song simply do not own one. Do not let its absence stop you from learning everything else in this tab.
Studio Version vs Live Version: What's Different
If you learn this song from more than one source, do not be surprised when the details do not match exactly. Guitar teachers who have transcribed both the studio recording and Morello's live performances note real differences between them, not just performance-to-performance sloppiness. One documented example: in the refrain leading into the bridge, Morello slides into a note with vibrato on the studio recording, but bends up into the same note when playing it live.
Neither approach is wrong. A slide with vibrato and a bend into the same target note are both legitimate ways to land on that pitch, and they carry a slightly different feel: the slide is smoother and more deliberate, the bend a touch more aggressive and immediate. If you are learning this song to match the album, favor the slide. If you are chasing the energy of a live recording, the bend fits better. Either way, this is a good reminder that a tab is a transcription of one specific performance, and a song this widely covered and performed live for decades will have small, genuine variations between versions, not typos.
Signal Chain: Where Does a Whammy Pedal Go?
If you do own a whammy-style pitch-shifting pedal and want to use it for the solo, where you place it in your signal chain affects how well it tracks your pitch. The common convention is to put a whammy or pitch-shifting pedal early in the chain, before your distortion or overdrive pedals, not after.
The reason is technical: pitch-shifting effects need a clean, well-defined signal to track accurately, and distortion chops up and compresses a signal in a way that makes it harder for anything downstream to read the original pitch correctly. Put the whammy after distortion and you will often notice worse tracking, glitching, or a less precise pitch shift, especially on lower, heavily muted notes like the ones in this song's rhythm part. Put it before distortion, closer to the guitar itself, and it has the cleanest possible signal to work with before anything else reshapes it.
This is a general rule for pitch-shifting effects rather than one specific to this song, but it matters here because the solo depends entirely on accurate pitch tracking to get its siren-like character. A poorly placed whammy pedal will not ruin the rhythm parts of the song at all, since you likely will not have it engaged during the verse and chorus, but it is worth knowing before you go looking for why your solo tone sounds glitchy compared to the recording.
A Simplified Version for Absolute Beginners
If the movable barre shape is still more than your hand can manage cleanly right now, there is an honest simplified way in. Play the entire verse and chorus on the open D5 shape alone, all open strings, no fretting hand movement at all, and focus every bit of your attention on the picking hand: the palm mute, the rhythm, and the pauses.
This strips out the one skill (moving a barre shape cleanly between frets) that this song does not actually require you to have in order to feel the riff's groove. You lose the chorus's rising chord movement, which is a real part of what makes the section feel different from the verse, but you keep the palm-muted rhythm, the timing of the gaps, and the overall shape of the song's build. Once that feels solid and the rhythm is locked in, add the barre movement back in one chord at a time rather than trying to relearn everything at once.
This is not a lesser way to learn the song. Rhythm guitar in a song built this heavily on groove and dynamics is arguably the harder half of the part, and a beginner who nails the feel on a single open chord has learned more of what makes this song work than one who can hit every fret perfectly but plays through the whole thing at one flat volume.
Playing This With a Full Band: Locking with Bass and Drums
If you ever play this song with other musicians rather than alone, the sections where the guitar drops out entirely are the moments that separate a band that has actually rehearsed the arrangement from one that has not. During those bars, the bass and drums carry the groove by themselves, and the guitar's re-entry needs to land exactly where the rest of the band expects it, not a beat early out of nerves or a beat late from losing count.
Practicing with a drummer or a drum loop, specifically drilling those drop-out bars and the guitar's return, is worth more than practicing the riff itself in isolation once you already know the shapes. Count out loud through the silent bars the first several times you rehearse this with other people. It feels unnecessary once you have it memorized, but it is the fastest way to catch a miscount before it turns into a stumble in front of the rest of the band.
Common Mistakes That Make the Riff Sound Weak, Not Heavy
Too much distortion, not enough mute
It is tempting to compensate for a loose palm mute by cranking the gain further, but that only makes an unmuted string ring out louder and messier. Heavy guitar tone still depends on tight muting underneath it. Fix the mute first, then set your gain.
Playing everything at one dynamic level
If the verse and the chorus come out at the same volume and intensity, you have flattened the exact contrast that makes this song work. Deliberately play the verse riff tighter and quieter, then let the chorus and bridge open up louder and looser.
Rushing through the pauses
The gaps where the guitar drops out and the rhythm section carries the groove alone are written into the arrangement, not empty space to fill or rush through. Count through them at tempo rather than speeding up to get back to playing.
Sliding the barre shape instead of lifting and resetting
When you move the one-finger power chord shape between frets, dragging your finger along the strings without lifting can produce a scrapy slide sound where a clean, silent shift was intended. Lift just enough to clear the strings, move, and land the new fret cleanly, unless a slide is specifically what the section calls for.
Losing the barre on the higher frets
The shape gets slightly harder to hold cleanly as you move up toward the 7th and 8th frets for A5 and Bb5, since your hand angle changes and frets sit closer together. Check those higher-fret chords in isolation rather than assuming they will be as clean as the open D5 shape just because it is the same finger position.
Forgetting the shape moves as a unit
Because all three notes come from one finger, it is easy to catch only two strings cleanly and not notice, especially at a higher fret where your ear is less used to the exact sound. Play each new fret position alone and listen for all three notes ringing evenly before putting it back into the full progression.
Do You Need a Whammy Pedal or a Telecaster to Play This Song?
No, for either. The Telecaster is the guitar Morello happened to be holding when he wrote the riff, but the drop D power chord shapes in this song work identically on any electric guitar, and the palm-muted riff and open chorus chords do not depend on any specific pickup type or body style. A guitar with a humbucker in the bridge position will give you a thicker, more saturated tone that suits the song's aggression well, but a single-coil guitar played through a reasonably distorted amp tone will get you through the whole rhythm part convincingly.
The whammy pedal is a genuine limitation only for the solo, covered above. Every rhythm part in this song, which is most of the song, needs nothing more than a guitar in drop D and a distorted or overdriven tone.
Playing It on Acoustic Guitar
It works better than you might expect for the verse and chorus, though it will never sound heavy the way an overdriven electric does. Drop D tuning and the one-finger power chord shape translate directly to acoustic, and palm muting still tightens the sound in the same way, just without distortion to carry it. What does not translate is the whammy pedal solo, which has no acoustic equivalent, and the pick scrapes, which read as a much quieter, breathier scratch on unwound treble strings and barely register at all on the wound bass strings without amplification behind them.
If you are practicing on an acoustic before moving to an electric, or you simply do not own an electric guitar, learning the shapes and rhythm here on acoustic first is a completely reasonable way in. Just expect the final sound to read as a percussive, rhythmic cover rather than a faithful recreation of the recording's weight.
Is This a Good Song for a Newer Player to Learn?
It depends on which half of "hard" you mean. The chord vocabulary is genuinely simple: one movable shape covers almost the entire song, and there is no fast alternate picking, no wide stretches, and no unusual fingerings to memorize. In that sense, it is more accessible than a lot of rock riffs with a similar reputation.
Where it gets demanding is timing and control. Palm muting cleanly and consistently, holding a dynamic difference between sections, landing pauses exactly on time, and shifting a barre shape without buzzing or sliding accidentally are all skills that take real repetition, not something you get right by reading a tab once. A player who already has basic power chords and simple strumming down will likely find the physical shapes here easy and the rhythm genuinely challenging. A complete beginner can still learn it, but should expect the timing, not the fretting, to be the slow part.
If you are looking for reference on the mechanics of reading a tab like this one, string layout, fret numbers, and the technique symbols used, how to read guitar tab covers those fundamentals in more depth.
Other Techniques This Song Uses Beyond the Main Riff
The one-finger power chord shape covers most of the song, but a handful of other techniques show up around it, and knowing what to listen for helps you catch them instead of glossing over them as "part of the riff."
Octaves
Playing the same note in two places an octave apart, rather than a full chord, shows up in a few of the song's phrases. Octaves have a leaner, punchier sound than a full power chord and are common in funk-influenced rock playing, which fits a band that leaned as heavily on funk and hip-hop rhythm as Rage Against the Machine did.
Hammer-ons
A hammer-on is fretting a note by bringing a finger down onto the string firmly enough to sound it, without picking it separately. They appear in a few of the riff's connecting phrases to smooth the transition between notes without adding an extra, separately picked attack.
Tremolo picking
Rapidly alternating a pick back and forth on a single note or chord, rather than picking it once, shows up as a texture in places to add intensity without changing the underlying harmony. It reads as a sustained buzz of energy rather than a series of distinct notes.
Bends
Pushing a fretted string up to raise its pitch, most notably in the section discussed above where Morello bends into a note live rather than sliding into it as he does on the studio recording. Bends add a vocal, expressive quality that a straight fretted note cannot produce on its own.
None of these techniques need to be mastered as a prerequisite for learning this song. They are worth knowing by name so that when you hear something in the recording that is not simply "pick a fretted note," you know what it is and can look up how to execute it specifically, rather than approximating it as a plain note and wondering why your version sounds flatter than the original.
How the Riff Fits the Song's Message
Rage Against the Machine formed in Los Angeles in 1991, and "Killing in the Name" was written and recorded the following year for the band's self-titled debut album, released that November, with the song out as the lead single the month before. The band's sound, often described as rap metal or funk metal, fused heavy guitar riffing with funk-inflected bass and hip-hop-derived rhythm and vocal delivery, and this song is one of the clearest early examples of that fusion: a riff built on groove and space rather than speed, under lyrics delivered more like a spoken, escalating chant than a sung melody. All four band members share songwriting credit: Tom Morello's riff, Tim Commerford's bass line, Brad Wilk's drumming, and Zack de la Rocha's vocals and lyrics, which protest police brutality and were written in the shadow of the Rodney King beating and the Los Angeles riots that followed it.
That context matters to how you should play this song, not just how you should think about it. The riff's held-back tension, the way it refuses to resolve for bars at a time, and the bridge's slow build into a full scream are not incidental. They are the arrangement mirroring the lyric's arc from restrained anger to open refusal. Playing the dynamics flat, at one volume throughout, does not just sound less interesting, it misses what the song is doing.
The song has also had an unusual life well past 1992: it became the first download-only single to reach UK Christmas number one, in 2009, off the back of a listener campaign, and by early 2025 it had become the first Rage Against the Machine song to pass one billion streams on Spotify. Neither fact changes how you should play a single note, but it is worth knowing the riff you are learning has stayed in circulation, and in demand, for more than three decades.
Listen for This Before You Play Along
Before you run through the whole song on guitar, it is worth sitting down and just listening once, specifically for a few structural details that are easy to miss when you are focused on your own hands.
Listen for how the guitar answers the vocal rather than running constantly underneath it, particularly through the verse and bridge. The riff frequently leaves space exactly where a vocal phrase lands, then re-enters in the gap after it. Playing straight through those gaps without leaving the pause is one of the most common ways this song sounds off even when every chord is technically correct.
Listen for the exact moment intensity shifts between sections, especially the point where the delivery of the song's refrain moves from a more controlled, spoken cadence into a full scream. The guitar's dynamics track that shift closely, and knowing exactly where it happens, rather than guessing, will help you time your own build to match it.
Listen for where the whammy pedal solo actually enters and exits relative to the rhythm underneath it, since the rhythm section keeps driving through the solo rather than dropping out to spotlight it the way a more traditional rock solo section might. If you are playing this with other people, the rhythm guitarist and the soloist both need to know that boundary precisely, since neither part changes shape to signal it to the other.
Changing Cleanly Between the Riff and the Chorus Chords
The riff and the chorus chords use the same hand shape, which makes the transition between them easier than it looks on paper, but there is still a real shift to manage: moving from short, muted, rhythmically busy hits to longer, ringing, four-chord phrases without a stumble in between.
Practice the transition in isolation. Play the last bar of the verse riff, then the first chorus chord, on a loop, focused only on that single handoff. Once that specific moment is reliable, extend backward to a full verse into a full chorus. Most players who feel shaky playing this song end to end are not actually struggling with either section alone, they are struggling with the specific instant where one hands off to the other, and that instant deserves its own dedicated practice rather than getting swept along inside full run-throughs.
The same approach applies to every other section boundary in the song: chorus into interlude, interlude into solo, bridge into outro. Treat each handoff as its own two-second exercise before you ever try to play the song straight through.
A Practice Routine for Getting This Song Tight
Start with the tuning and the shape, not the tempo. Get into drop D, and spend a few minutes just barring the one-finger power chord shape at different frets with a metronome at a slow, comfortable tempo, focused only on clean, even muting across all three strings.
Next, isolate the verse riff alone, slow, with a metronome, paying attention to the gaps as much as the notes. Once that is steady, isolate the four-chord chorus progression on its own, focused on clean shifts between frets. Only after both pieces are individually solid should you link them together, starting slow and increasing tempo gradually as accuracy holds up.
A reasonable week looks like: day one and two on the barre shape and drop D tuning alone, day three and four on the verse riff in isolation, day five on the chorus progression alone, and day six and seven linking sections together at a reduced tempo before working up toward the song's actual feel. Push the tempo only once the previous step is clean, not before.
Recording yourself, even on a phone, is worth doing partway through this process. Palm muting and dynamic contrast are easy to feel fine while playing and sound flat on playback, and a quick recording will tell you honestly whether the verse and chorus actually sound different from each other yet. If you are building this into a short daily habit rather than one long session, the homepage has more on structuring focused fifteen-minute practice blocks that actually stick.
Frequently Asked Questions
What tuning is "Killing in the Name" in?
Drop D: D-A-D-G-B-E, low to high. Only the 6th string changes, tuned down a whole step from standard E to D.
Can I play this song in standard tuning?
You can approximate the chorus power chords with standard fingerings, but the verse riff and the ease of the one-finger movable shape depend on the dropped 6th string. For an accurate version of the song, retune.
Is the riff hard to play?
The individual shapes are simple, mostly one finger barring three strings. What makes it hard to play convincingly is the rhythm, the palm muting, and the dynamic contrast between sections, all of which take more practice than the notes themselves do.
Do I need a whammy pedal to play the solo?
To get the exact recorded effect, yes, since the octave-shifting sound comes specifically from a Digitech Whammy pedal. You can still learn the solo's pitches and phrasing without one, using bends and vibrato in place of the pedal sweep.
What does "palm mute" mean in this tab?
Resting the edge of your picking hand lightly across the strings near the bridge while you pick, shortening the notes into a tight, percussive thump instead of letting them ring out.
Why does the guitar drop out in parts of the verse?
It is a deliberate arrangement choice, letting the bass and drums carry the groove alone before the guitar re-enters. Treat the silence as a written part of the riff, not a section to fill in or rush past.
What key and tempo is the song in?
Roughly 89 beats per minute in the key of G major, in 4/4 time. It can also be felt and counted at double that tempo, which often matches the picked subdivisions inside the riff more naturally than the slower count does.
What is a pick scrape and where does it happen in this song?
Dragging the edge of your pick down the wound bass strings to produce a rasping texture, rather than picking them normally. It appears in the song's outro section alongside the final chord.
Does this song work on acoustic guitar?
The riff and chorus chords translate reasonably well, since drop D and palm muting both work acoustically. The whammy pedal solo and the pick scrape texture do not carry over in any equivalent way.
What genre is this song?
Rage Against the Machine's music, including this song, is generally described as rap metal or funk metal, blending heavy guitar riffing with funk-influenced bass lines and hip-hop-derived vocal rhythm and delivery.
Why does the guitar keep playing through the solo instead of dropping out?
The rhythm section drives straight through the whammy pedal solo rather than clearing space for it the way a traditional lead break often does. If you are playing this with a full band, both the rhythm and lead parts need to hold their own timing independently through that section, since neither one pauses to hand off to the other.
How long is the song, and does that matter for practicing it?
The recording runs a little over five minutes, which is long enough that practicing it end to end every single time is a slow way to build accuracy. Isolating individual sections, as covered in the practice routine above, gets you more focused repetitions per session than repeatedly playing the full track from the intro.
GuitarLowKey
Ready for fifteen focused minutes?
Open the web app and train the change that is blocking your song.